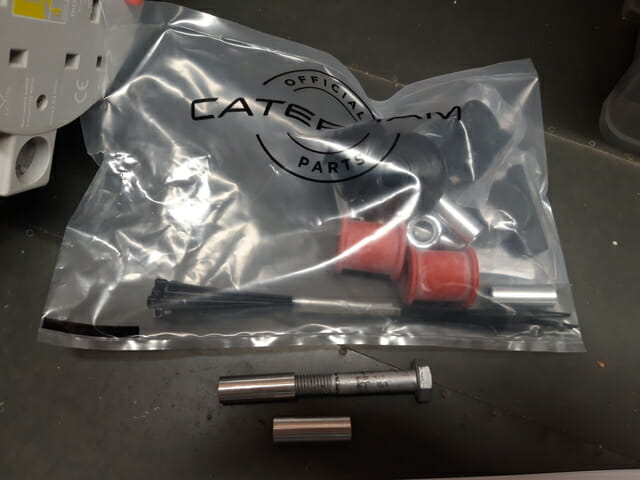
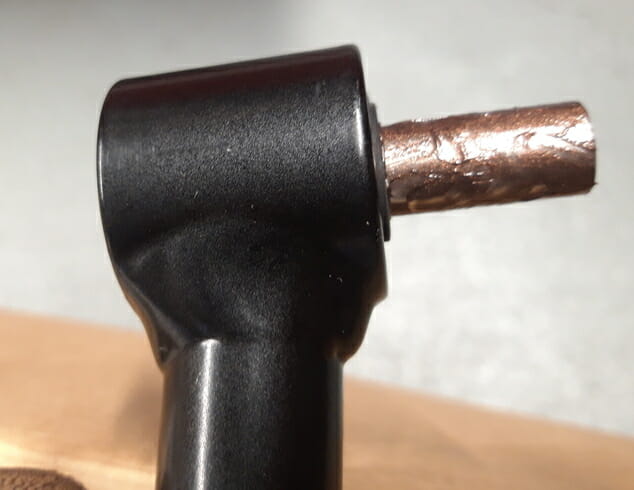
- Don’t fully torque wishbone bolts until car is finished with wheels on, on the ground
- Chamfered side of washer faces towards the lower wishbone
- Prepare headlights before bolting on upper wishbone – will fit at same time as upper wishbone
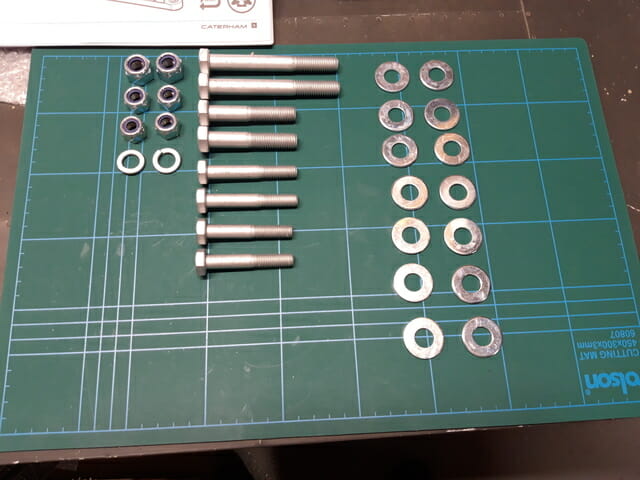
Start by checking that all bolts fit in required holes. You may find several bolts don´t. If this happens you need to use a file to file away any burrs or excess powder coating until the bolt fits nicely. This makes the job a lot easier later on. On the lower front wishbone, take a wrench and insert/tighten the required bolt to clean out any debris.
Lower Wishbones :
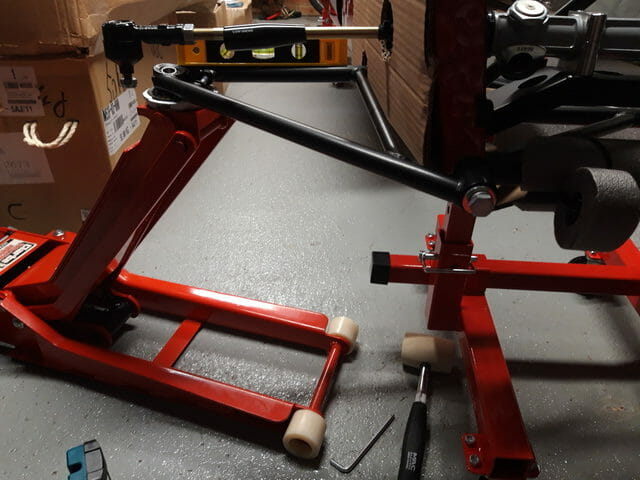
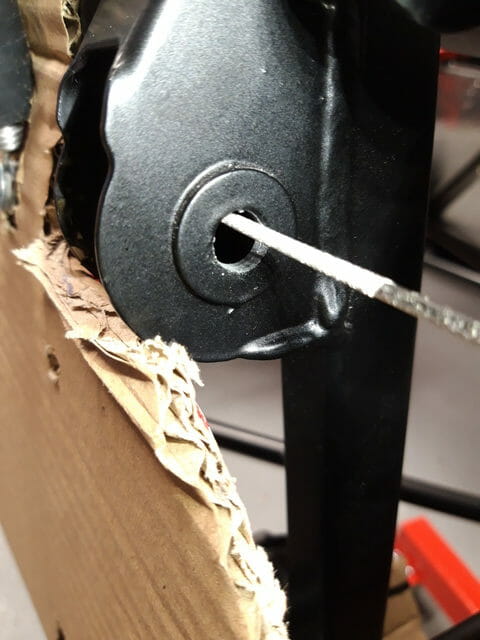
Use the trolley jack support the end of the lower wishbones. Offer the lower wishbone up to the car. Place a long allen key or pin punch in the front hole to offer support.
Start with the rear bolt on the lower wishbone. Use the 2-2-2 configuration as per the manual. The rearmost two washers are easy to fit in, make sure that the chamfered side is facing toward the wishbone. The next two washers are harder – I put one washer into place and used an allen key to support it before hammering the second washer into place using a nylon hammer. The fit is incredibly tight but once you get it moving with some wiggling it will come into place. This is covered very well on the detailed 420 build blog. Once you have the washers aligned, hammer through the bolt (coated with copper slip) and then tighten the nut.
Now move to the front bolt on the lower wishbone. I could pull the wishbone away from the car body very very slightly… this was enough to get the first washer in and some of the second. Using a pin punch to stop the washers dropping thru I used the mallet on the second washer to drive it down. I then found the easiest way to align the washers was the pull the wishbone towards me (ie away from the car moving ´ahead´ of it) and to wiggle the wishbone around. This combined with the pin punch aligned the washers well before inserting the coppaslip covered bolt. I set the lower wishbone level using a spirit level and tightened by hand. I will leave torque until the end.
Upper Wishbones :
Prepare a ratchet strap to support the upper wishbone while you work, before getting anything else into place
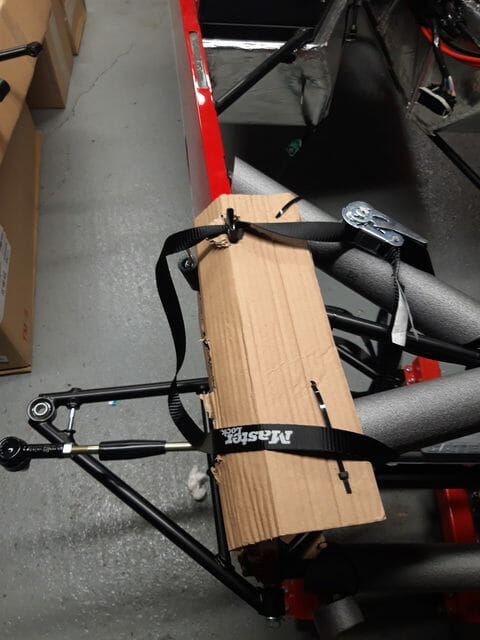
Coppaslip the Wishbone bush sleeve. You can find this in the loose bag in with the suspension. There are only 2 of these wishbone sleeves – try pushing them onto the bolt to check you have the correct ones first.
Apply some copper slip to the sides of the front of the upper wishbone as well. Offering it up to the car, you will probably find that it is slightly too long :
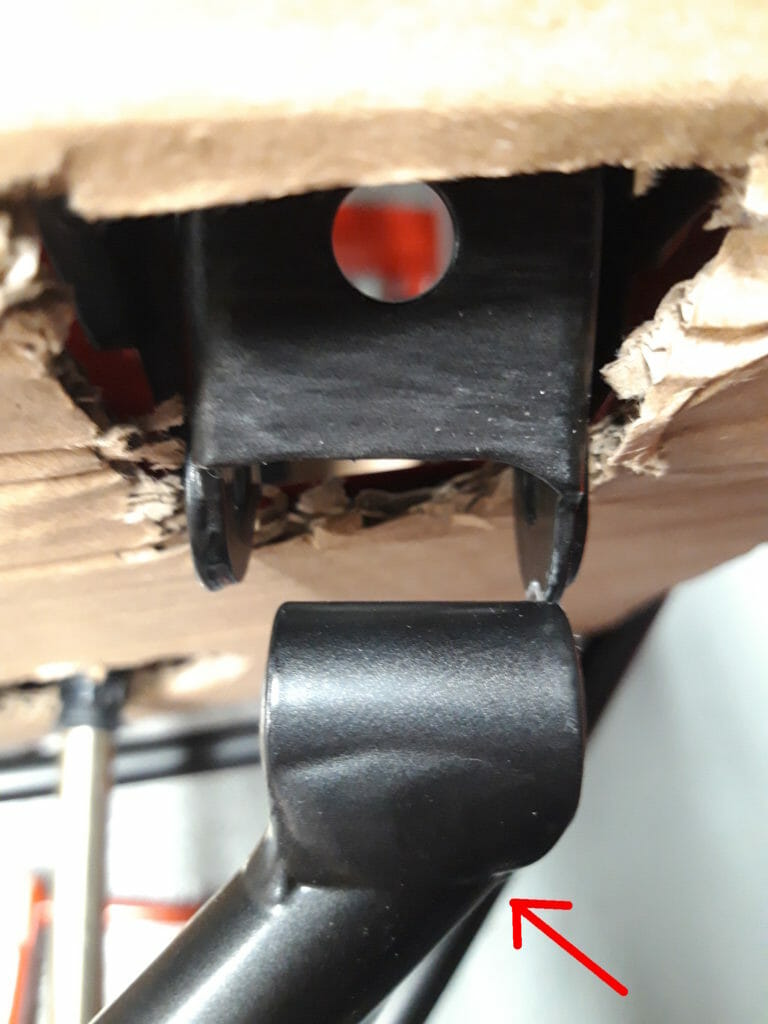
Fully insert (as much as you can) the rear of the upper wishbone. Then use a rubber mallet on the front of the upper wishbone to hammer it into place, initially applying force in the direction indicated by the red arrow in the image above.
Once the upper wishbone is in place, place a pin punch through the front upper wishbone bolt to hold it in place and rig up a ratchet strap to support the end of the wishbone
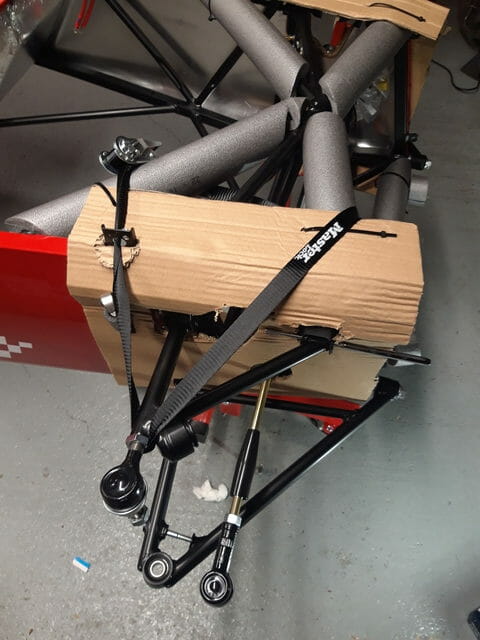
Once the upper wishbone is secure, align the rear hole and hammer through the copper slip covered bolt. Tighten the bolt, but don´t torque.
Now need to add the headlight which should have already been prepared.
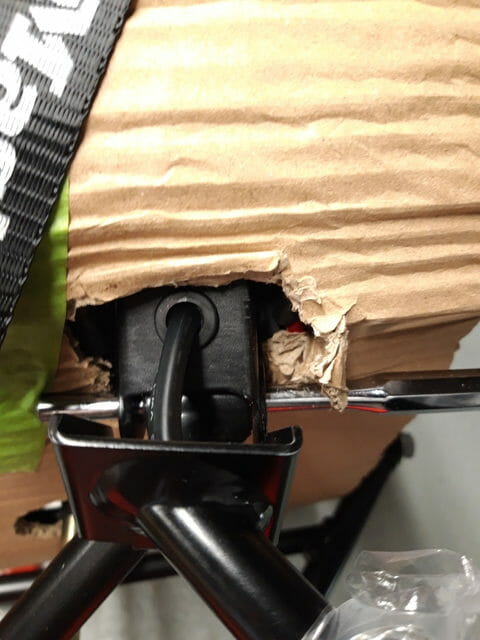
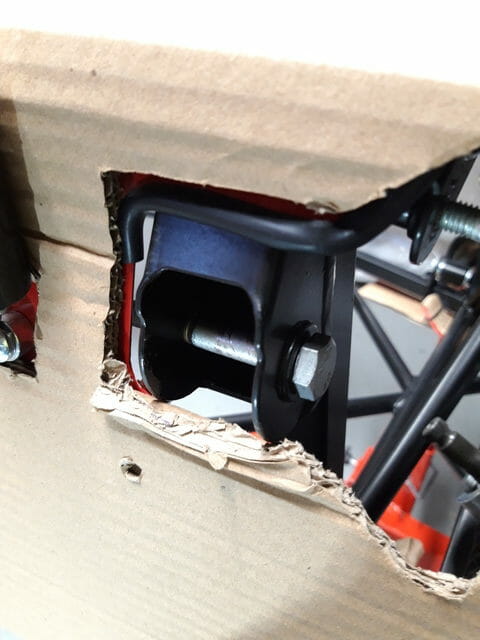
Then remove the pin punch and push the headlight stem into position, making sure that the hook is underneath the mounting point and that the top of the headlight stem is tucked in to the car body
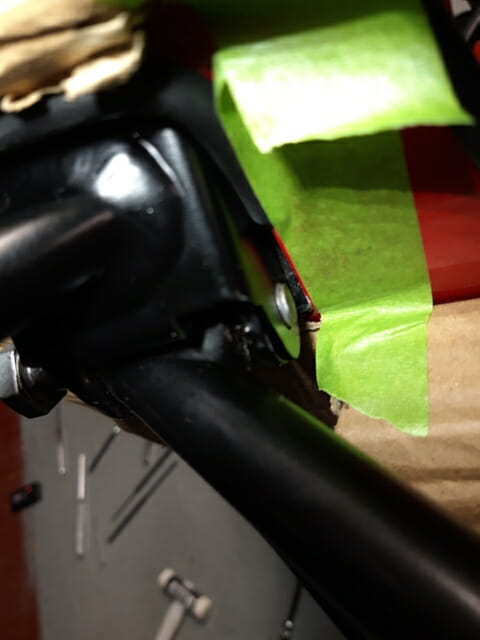
The bolt should pass through the holes to be tightened up. Do not push the bolt all the way though. Just get a little bit of the rear poking out as shown in the photo below.
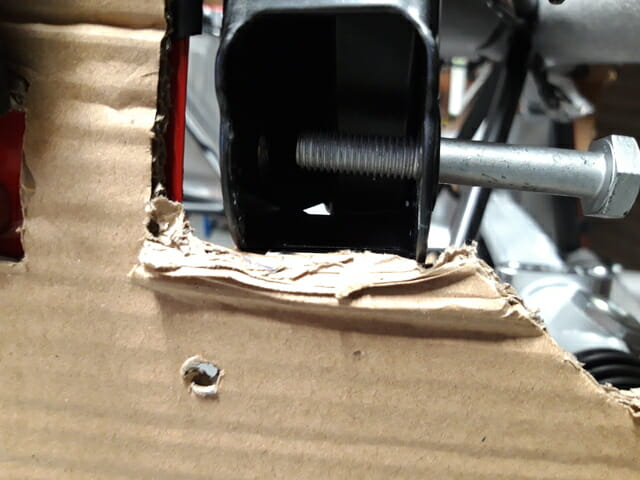
The front upper wishbone mount is very tight to the car body and it is very very easy to scratch the paint.Make sure you have some masking tape in place and push the body work in where the bolt will sit to create more space. Now hold the bolt in the open jaws of a spanner against the upper mount, before using a socket to slowly twist the bolt. This way you can tighten the bolt without spinning the nut around. Just go slowly so that you don´t thread the bolt!
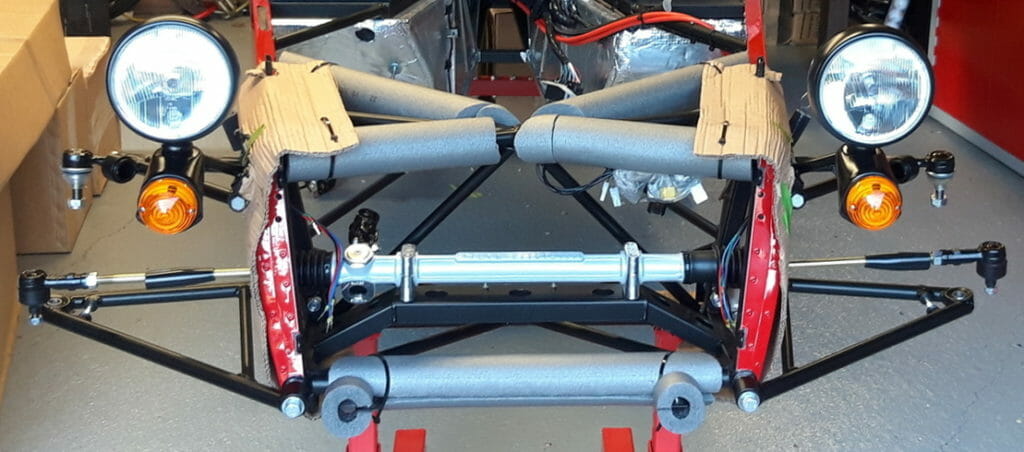
Repeat for the other side and this should be the result
