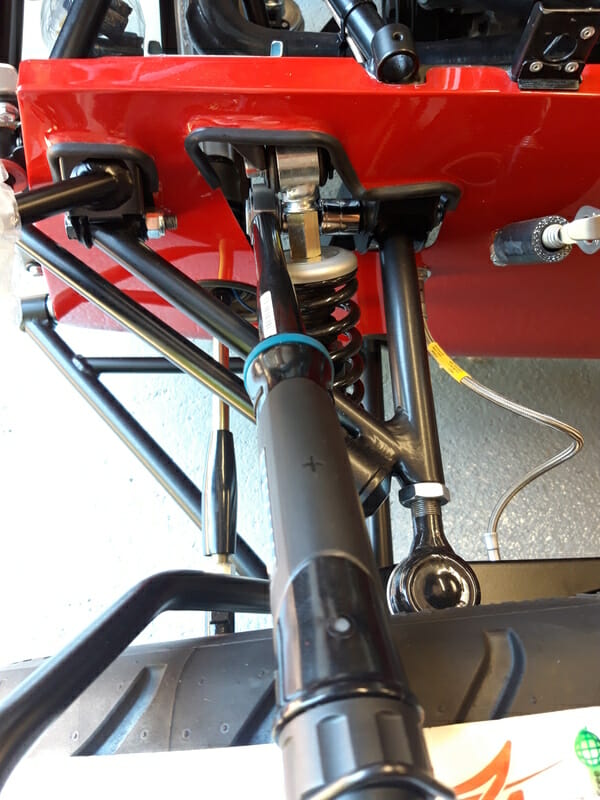
Take the opportunity now to go round underneath the car while it is still up on the mobile axle stands and touch up any scuffs or scratches to the chassis with black hammerite paint. This will help with weather protection. Note you can also get touch up paint for the bodywork from Caterham parts in the stock colours, this comes in a bottle with a brush on the cap (similar to nail varnish). Touch up any scratches or nicks in the paintwork also.
The wheels come with stickers attached to them. Remove these stickers and you can use a bit of WD40 or similar to get the residue off if you so wish.
Rear Hub Nuts
To torque up the rear hub nuts, the centre caps need to come off the rear wheels. This allows access to the nuts.
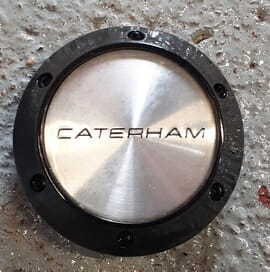
You can prize these centre caps off from the front of the wheel, with a screw driver, but I found a lot easier and less damaging to just knock them out from behind, while the wheel is not attached to the car. You can do this using a pin punch and some very gentle taps from the hammer.
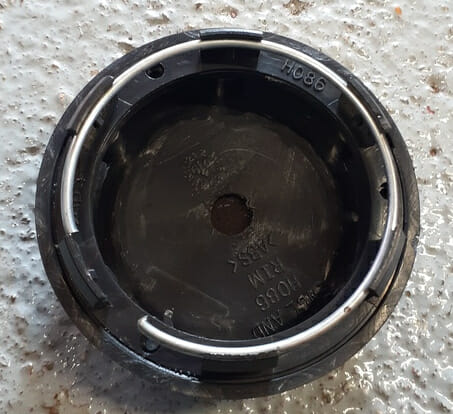
Once you have both caps off, put the rear wheels on the car. Note wheels have a direction, make sure the arrows on the side are pointing forward.
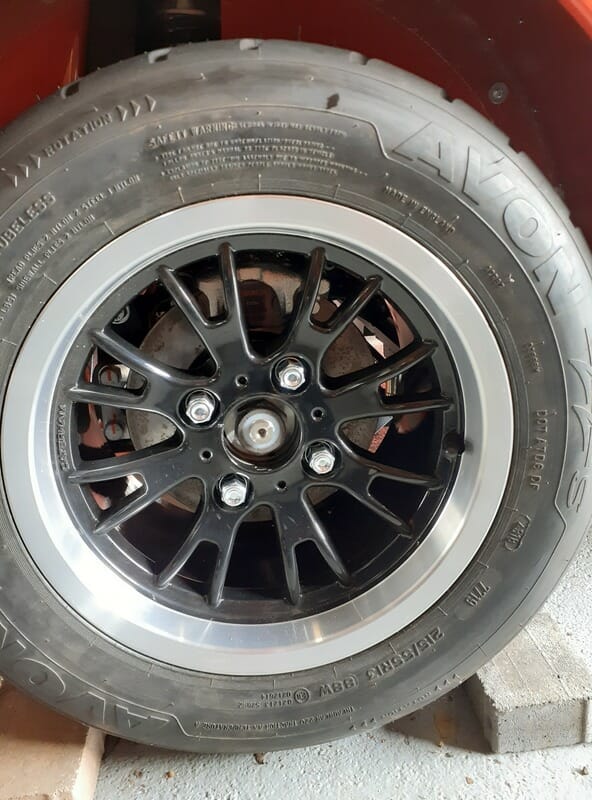
When you put the wheels on, always start threading the nuts on by hand before applying more force at the end. Don´t try to torque until car is on the floor. Put the front wheels on also, again making sure the correct wheel is on the correct side.
Now lower the car to the floor, back first then front. Chock all four wheels with bricks or similar, and fully apply hand brake.
Now using the torque adapter, torque up the rear nuts to 270Nm. I used a breaker bar. The adapter is quite intuitive to use and the manual covers everything you need to know, just be careful not to slip as it is a lot of force!
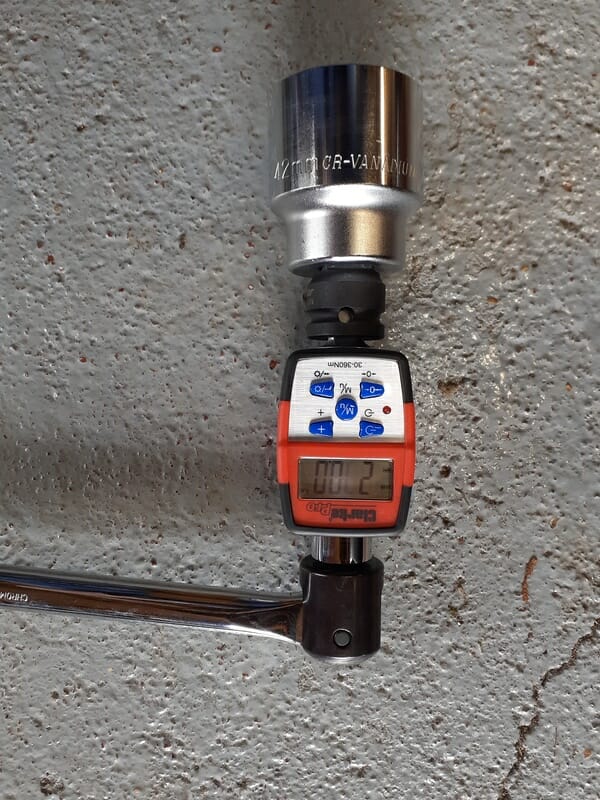
Once the nuts are torqued up, reattach the centre caps – a gentle tap from the rubber mallet helps, and torque the wheel nuts to 85Nm on the back. Don´t bother torquing front wheel nuts yet as those will come off doing the front wings.
Front Suspension
Back when fitting front suspension, the manual says to wait until it is bearing weight before torquing up. That seemed an age ago then! At the time I was worried about access issues with the ARB, but this is possible.
Lower front bolts are dead easy for access. Torque to 81Nm.
Lower rear bolts are a bit trickier, but you can still get in fine. Just make sure you don´t slip as your hands are inside the engine bay. Again, torque to 81Nm.
To access the top headlight bolt, which the Anti Roll Bar is obstructing – remove bolts holding ARB in position :
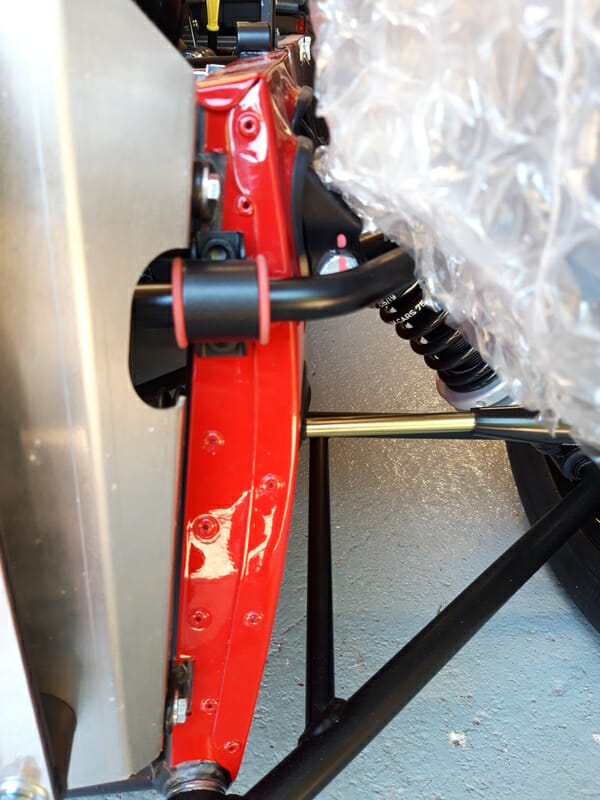
Push ARB down gently (leaving ARB in its cups) – it helps to have someone else who can hold the ARB down. You can now fit a 3/8in Halfords Advanced 17mm short socket on a short 3/8in wobble bar and torque up to 47Nm.
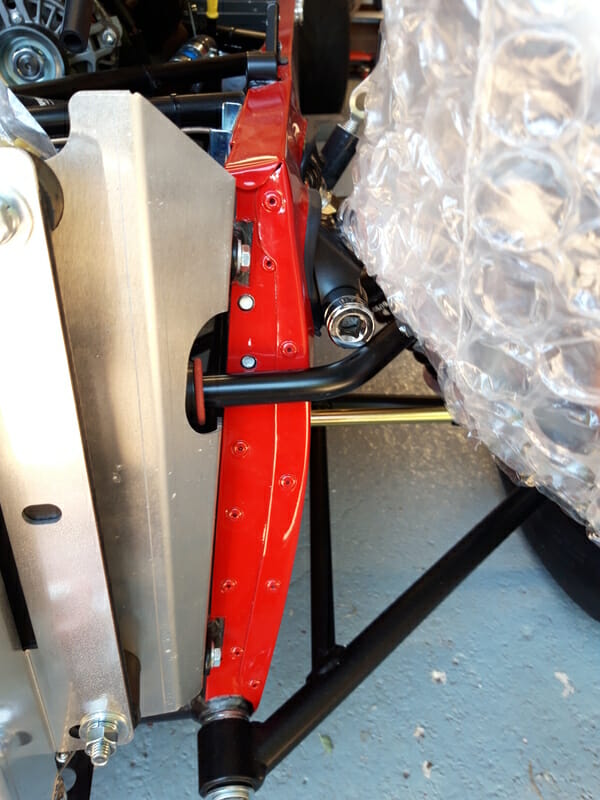
Be careful with paint on the rear spanner, you may need to use the open end of spanner to hold nut in place. As always careful not to slip and protect the headlights.
Once this is done, push the ARB back up into position, being careful not to thread bolts as you reinsert then from behind into the bracket. Then torque the ARB bolts to 20Nm.
Now the upper rear bolts – access is tricky, but possible by using the Halfords Advanced 1/2in torque wrench, with a 1/2in -> 3/8in adapter and a 3/8in. 17mm short socket. Again, torque this to 47Nm.
