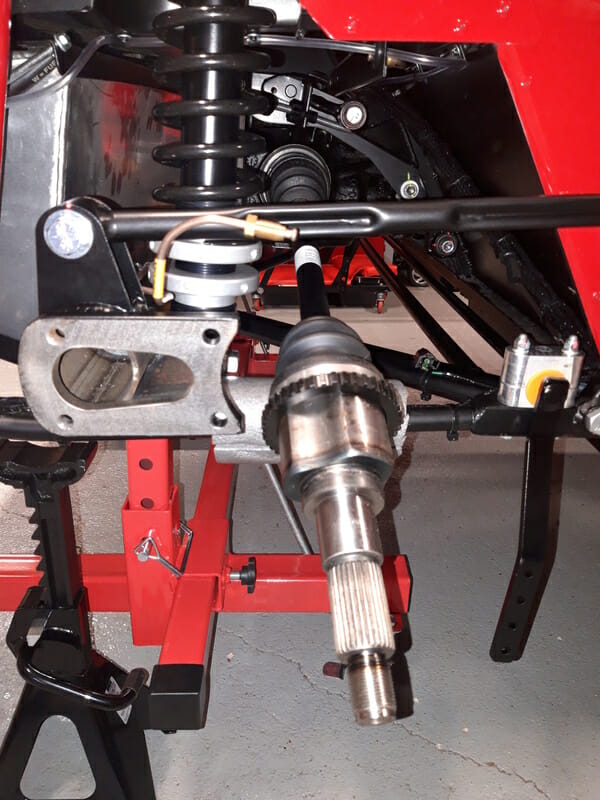
Rear ARB.
The first stage is to get the rubber bushes into place on the ARB itself. There are two orange rubber bushes in the bag with the other ARB components (bracket, drop link). The Bushes will be pushed onto the ARB from the same end, so if there is any damage, it is confined to once side of the ARB. It is easiest to hold the ARB vertically and work on this one end at the top. The bottom of the ARB should be resting on some bubble wrap or similar so you don´t scratch off the powder coating.
Spray some Holts rubber lubricant onto a bit of kitchen towel and wipe this along the side of the ARB where you are going to fit the bush.
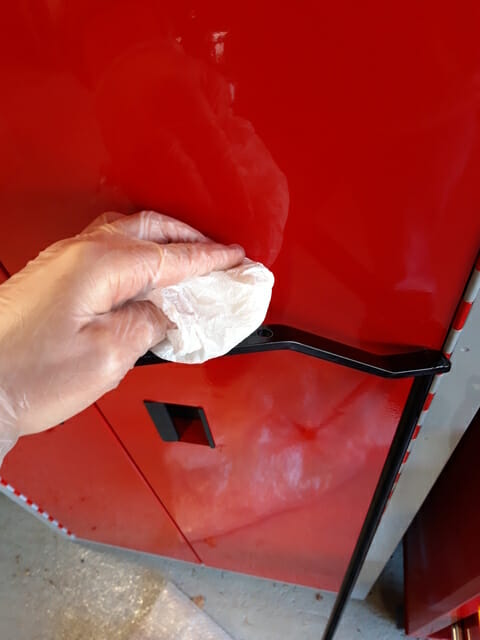
Slide the bush on as much as you can. It will get stuck and stop sliding.
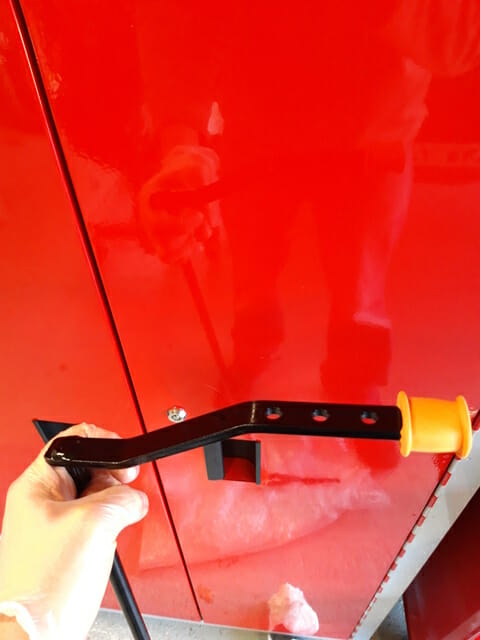
Now cover the bush with a rag or towel and give the inside of the bush a really good spray with the Holts rubber lubricant.
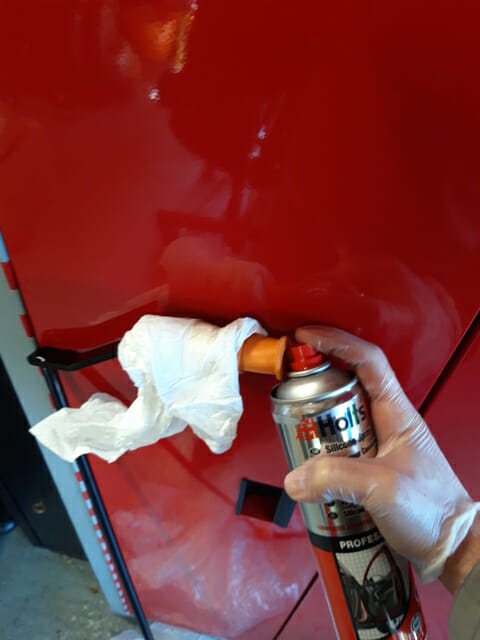
Once you have done this, you may be surprised how easily the rubber bush now slides! Slide the rubber bush as far as you can, and you will reach the 90 degree bend at the corner of the ARB. You need to get the bush around this bend. The manual recommends a screwdriver, but having sustained enough injuries, I thought a safer option was going with a pin punch.
Slide a 4mm pin punch through the rubber bush, and center on the end of the ARB arm.
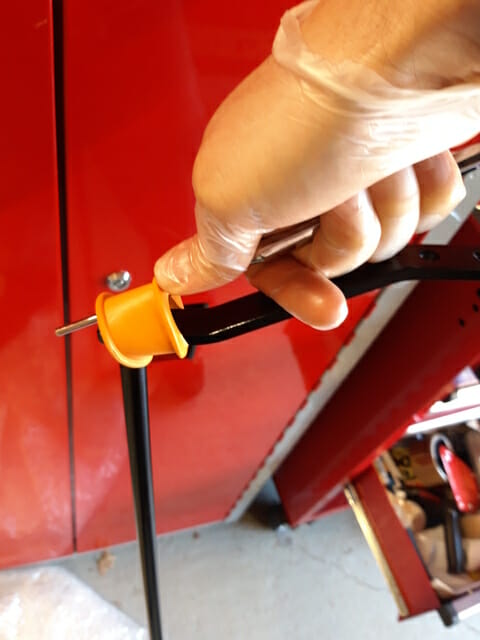
Then lift the pin punch to lever the bush. Keep your face away in case it snaps. There should be enough strength in the pin punch to lever this bush around. Once around, the bush will slide down the ARB. Then repeat with the second bush and you will have both bushes on.
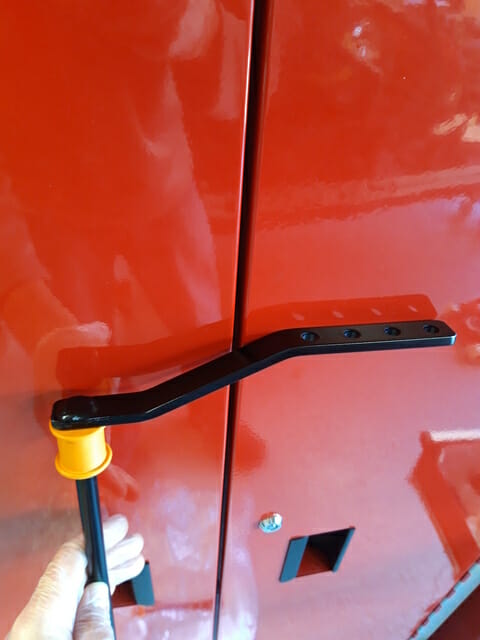
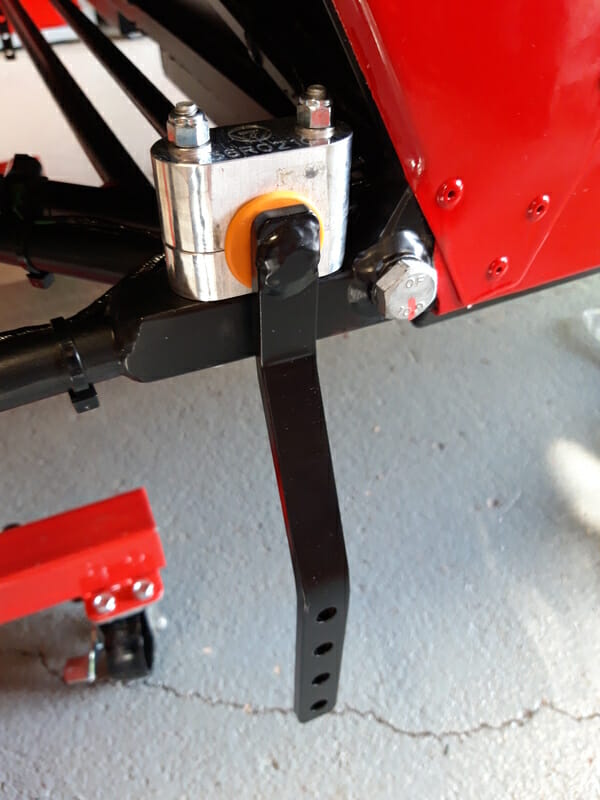
Once this part is done, it is fairly easy to get the clamps into place. Note that caterham manual says you need 8 M6 washers, but the pack only provides 4. Given we are in a lockdown at the moment (COVID-19) and the Caterham factory is shut, I ordered some appropriate washers online (A4 stainless steel, type A, M6 washers) and used 4 of those instead. The bolts are inserted from the bottom up and torqued to 14 Nm, as per the old manual.
Drive shafts
Should be easy to fit. These are what turn the wheels and go from the differential to the rear hubs. Pull the red stoppers out of the diff to begin with. Note the driveshafts are handed. They should be marked with stickers saying LHS and RHS. If not, or to check, the RHS driveshaft is slightly longer and also has a cog near the end – this cog is what makes the speedo work (in conjunction with the speed sensor that is fitted later)
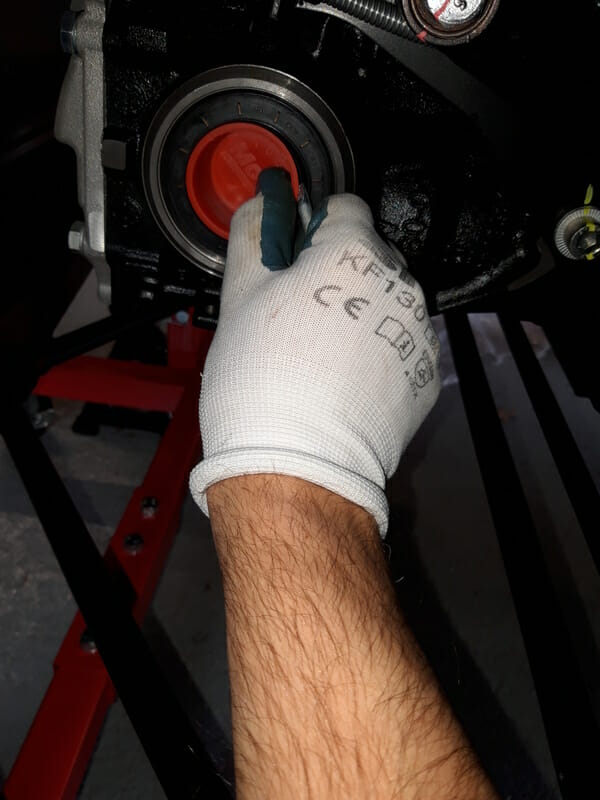
Slide each driveshaft into place in the differential. You should not require force. You have to get the splines to line up, so if you are pushing and the driveshaft isn´t going into place, rotate it slightly and try again. Once they are in place, rest the end of the driveshaft on some pipe lagging on the chassis.
