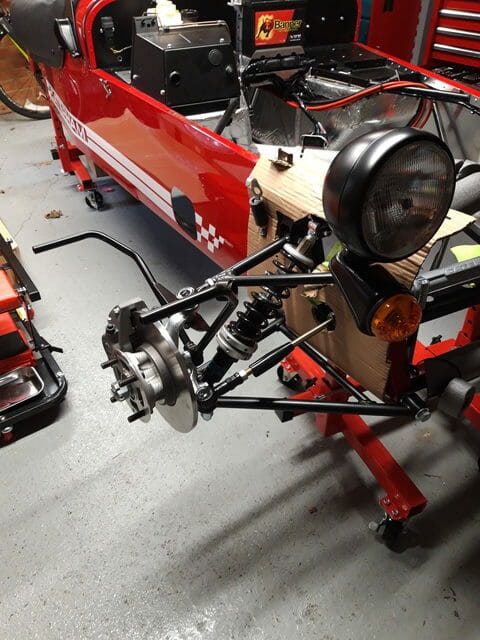
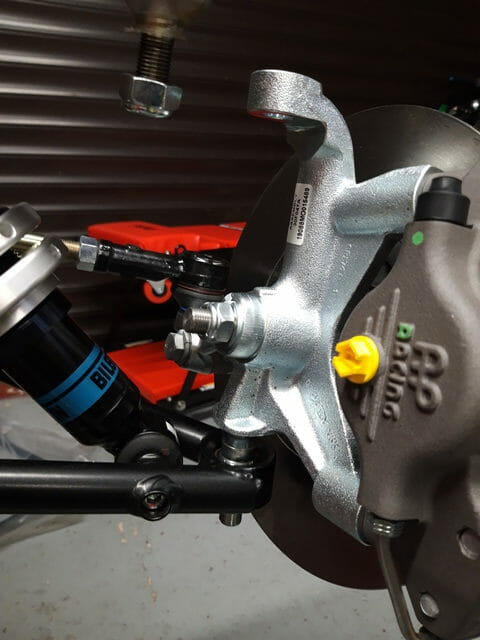
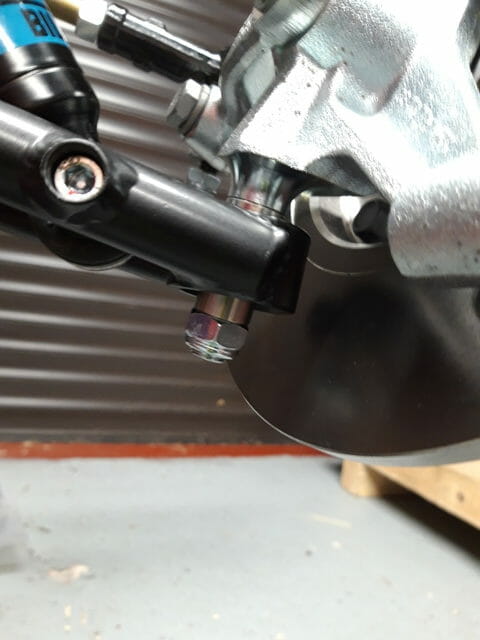
Notes
- I have the SV / ¨Wide Track¨ which has slightly different fixings.
- EDIT : You may want to take this opportunity to remove the brake pads from the uprights and apply some copperslip to the back of them (similar to what is done later with rear brake pads). I don’t know how to do this, and I didn’t do this myself during my build … and spent the first 600 miles squeaking my way through towns at slow speed!! I asked for it to be rectified at the 3 month/1000 mile service and Caterham sorted it out.
Below picture shows laying out of nuts and spacers for SV upright mounting.
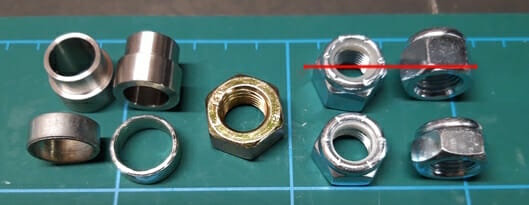
The nuts on the right hand side are 1/2¨ nuts. The top nuts, with the red line through them, are full height nuts. Discard these as you do not use them on the SV uprights, due to the spacers involved. The lower nuts are half height nuts. You get two of these nuts in Pack A. You should replace the two full height nuts (with the red line through them) with two additional half height nuts (identical to the bottom two in the photo) which are in a loose, unmarked pack which is included in the box that contains the uprights. Keep this pack handy – it also contains some large copper washers that you need for installing the front brake lines. So in all you should be using a total of four half height nuts to install both uprights. One nut will be used to secure the wingstay, one nut will be used for the main lower upright bolt to secure to the bottom wishbone.
The spacers on the left hand side are used to help secure the lower upright bolt. The spacer at the top is a ´top hat´ spacer. This is to be inserted underneath the lower wishbone. The ´ring spacer´ at the bottom is to be slid onto the lower upright bolt – note it only goes on one way, so do not force it.
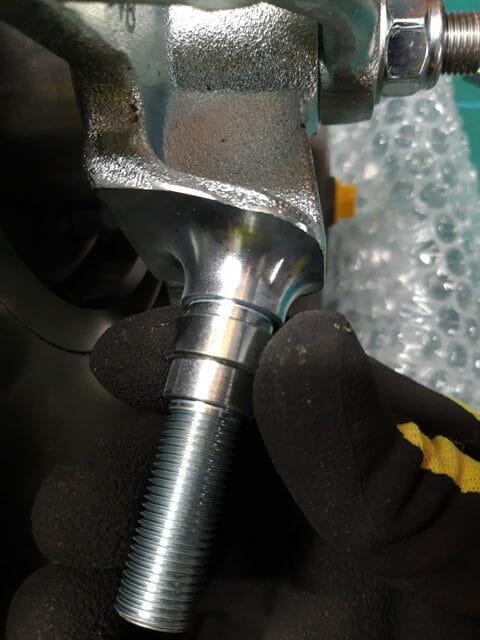
Slide ring spacer onto the lower upright bolt. It only goes on one way, no need to force it (for once). 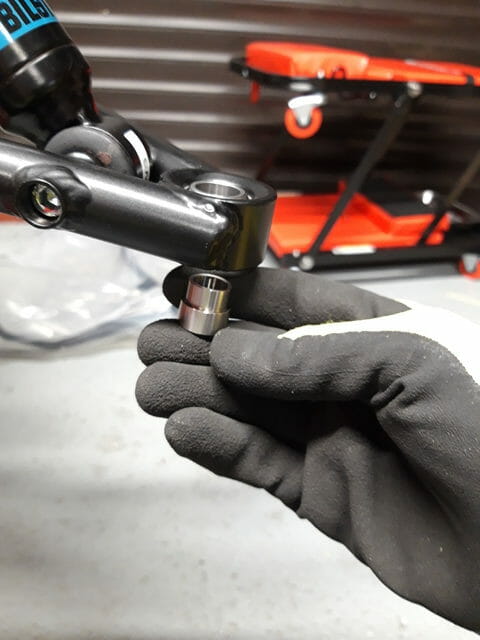
Slide the top hat spacer into the bottom of the lower wishbone
Lower the main lower upright bolt into place slowly, being careful not to knock out the top hat spacer which was inserted below. Loosely put one of the 1/2in nyloc nuts on the bottom of this to help hold in place and ratchet a few turns while holding the upright.
On the steering track rod end, remove the attached nut and discard the black plastic protective cap.
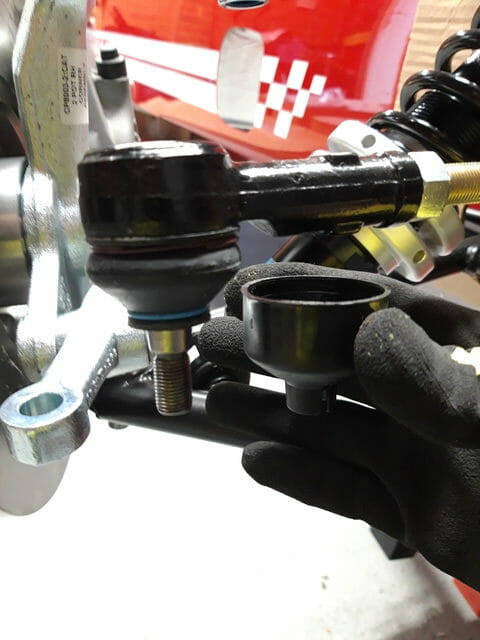
Place the steering track rod end bolt into position at the front and again ratchet this up a few turns. This will help stop the upright swinging around too much. Tighten both nuts up with a ratchet, but do not torque them yet. You may find that the bolt spins when you try to do up the nyloc nut on the steering track rod end – if this happens apply a little bit of weight from above which should help stop it from spinning. Now ratchet the above two nuts finger tight.
You now need to remove the nut and washer on the back of the upright main axle nut. This can be quite hard, I ended up using a 1/2in breaker bar with 19mm socket. Hold on to the upright as you do this to avoid any damage.
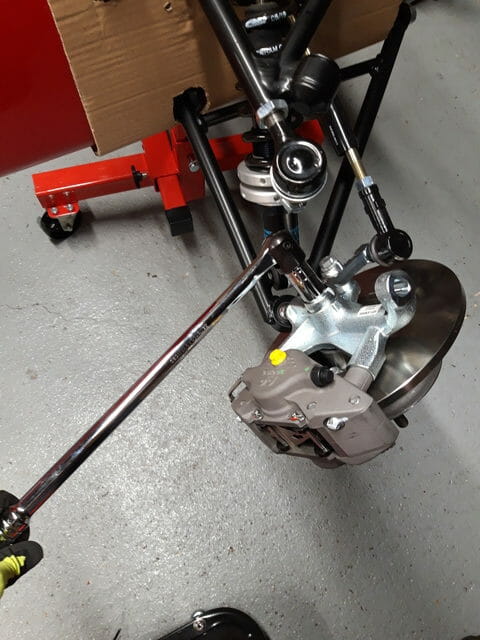
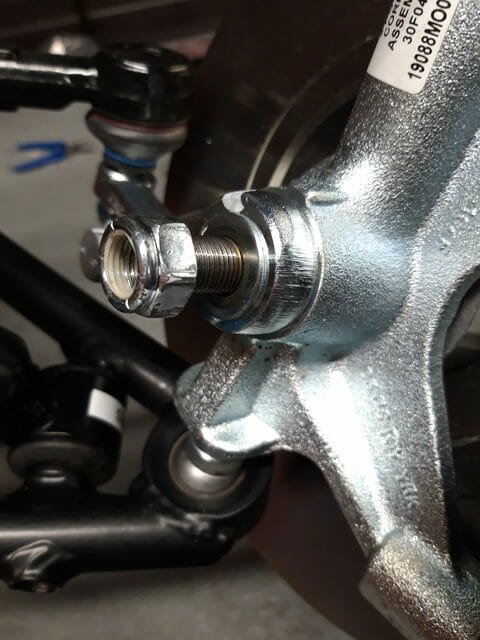
Discard both the nut that you have just loosened and the washer.
Now take out the wingstay (make sure it is the correct one for the side you are working on, they are marked RHS and LHS on the labels on the bags) and slide onto this bolt, before ratcheting not quite finger tight with the other 1/2in nyloc nut. You want to have a little bit of give left as you need to get the upper wishbone ball joint to fit thru the top of the upright.
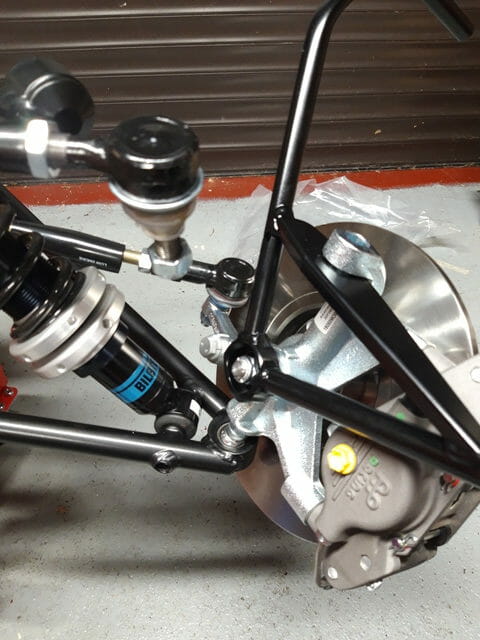
Now place the jack underneath the lower wishbone and gently jack up to help push the upright upwards. You may need to loosen the bolts holding the upper wishbone very slightly to allow it to move downwards. The objective is to get that upper wishbone bolt through the top of the upright and wingstay.
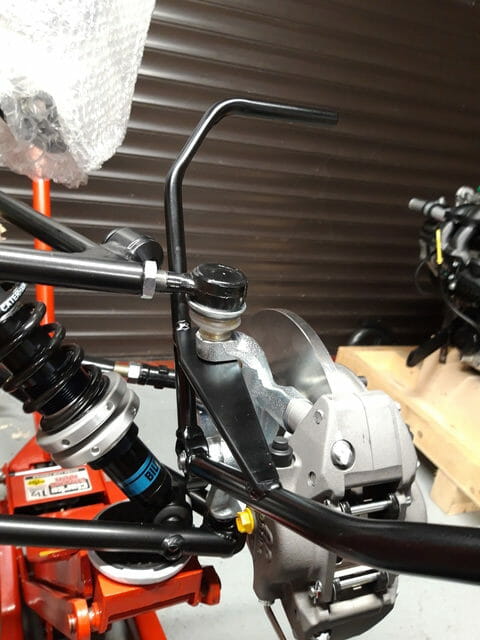
Once you have the bolt through as in picture above, you use the plain gold nut shown in the photo at the beginning of this post and tighten with a 22mm spanner. You may also need to use a 6mm allen key in the bottom of the bolt to stop it from spinning. Alternatively, try applying pressure from above which can also help stop any spinning. Keep tightening this bolt and it will pull the upper wishbone ball joint down onto the upright
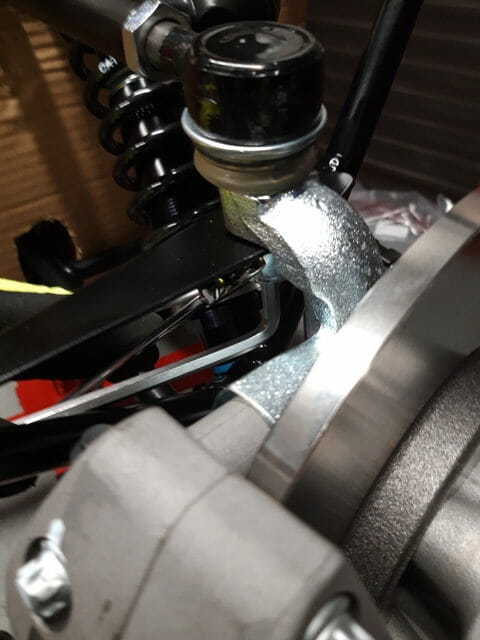
Once this has been done, undo the gold nut and place the nyloc nut which you removed from the upper ball joint earlier back onto the thread. Tighten up. You may experience some thread spinning. I used a spanner with an allen key secured in the bottom of the bolt, once I got the thread fully engaged with the nyloc, you can lower the jack slightly and this may help stop the thread spinning so you can tighten up the nut using a ratchet.
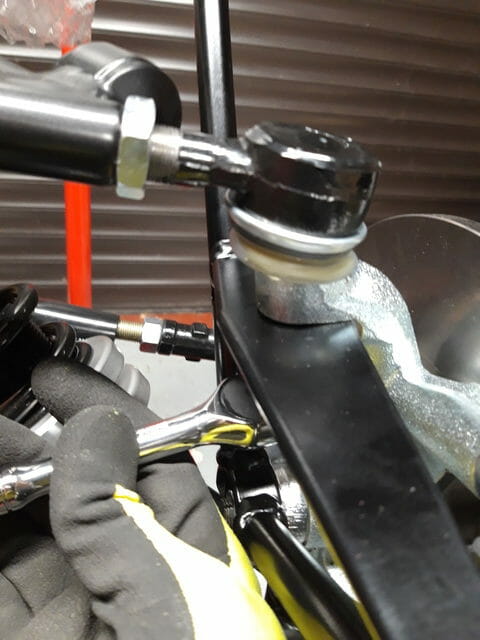
Now make sure all nuts are done up finger tight and that there is no play in the upright, before torquing all nuts and removing jack. Torque to the values given in the new manual. The new manual is missing torque for track rod end – use 34 Nm from old manual.
Upright should now be finished. The manual talks about drilling a hole through the wingstay for the ground on the indicator – do this later.
