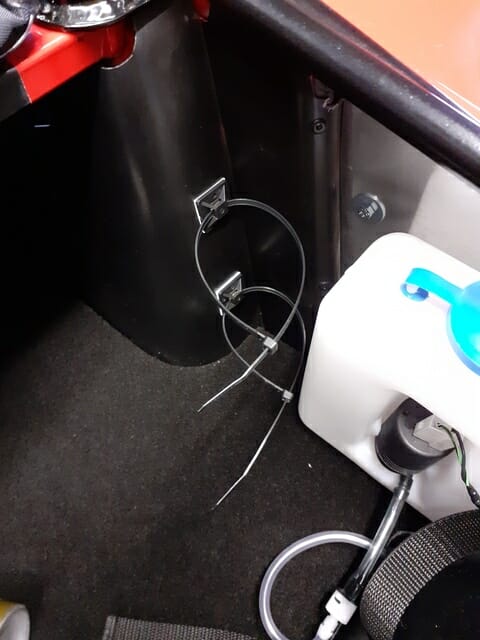
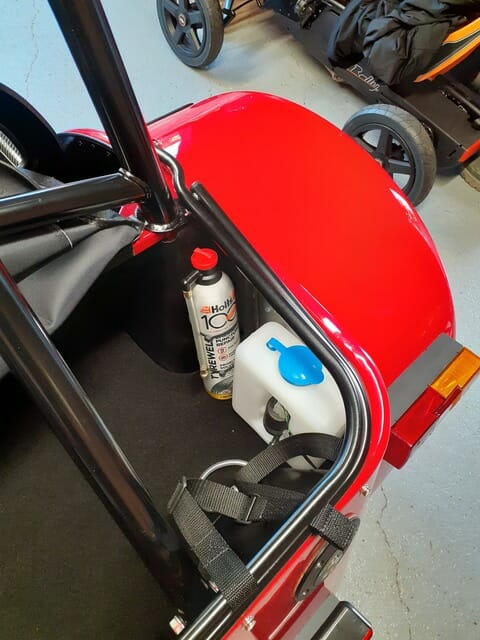
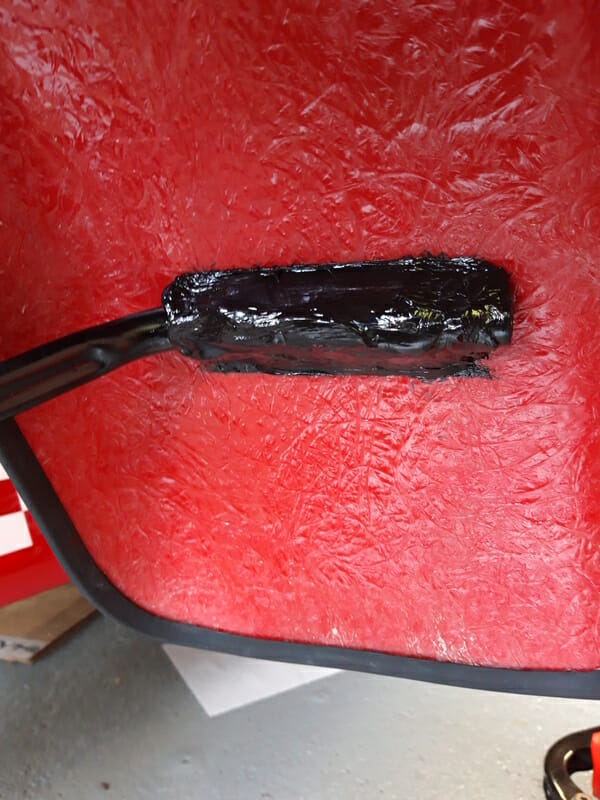
Before attaching the nose cone, make sure everything from the front of the car to the engine is proper and tidy – all wires zip tied and secured. The nose cone will block access and it can be a bit fiddly to get it on and off, so ideally you only want to do it once.
You may find that your nose cone comes with the badge pre-fitted, so this is just a matter of adding the nose cone onto the car. Make sure you apply some masking tape to the body as it can scratch the car as you put it on.
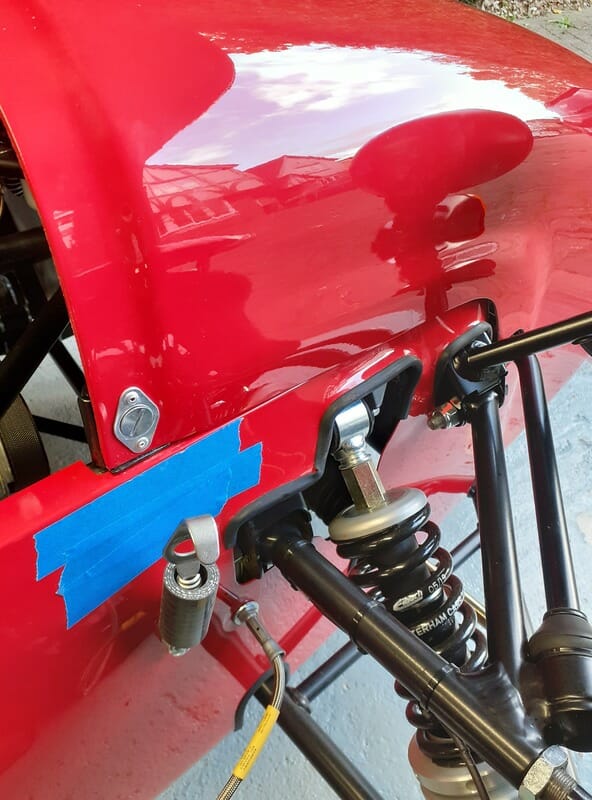
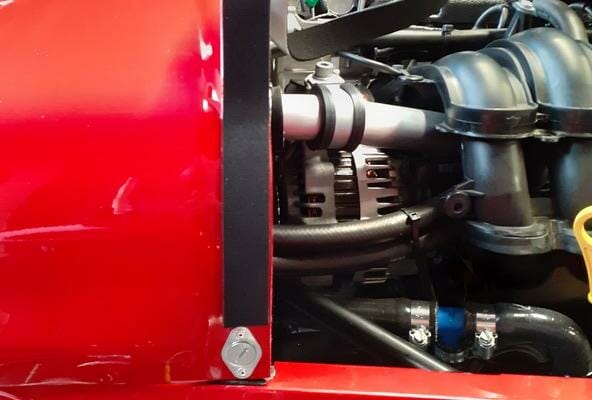
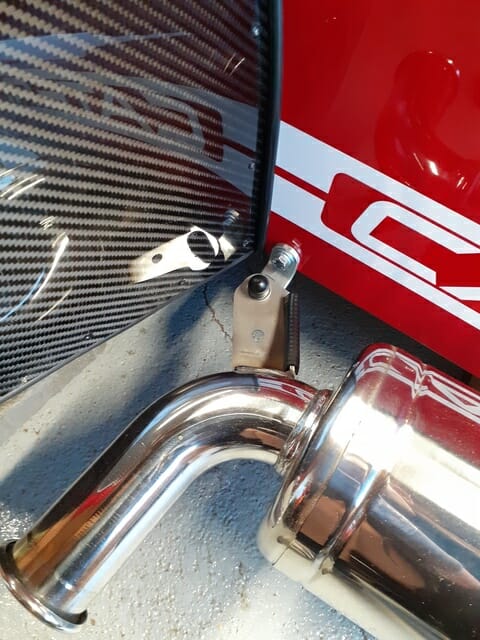
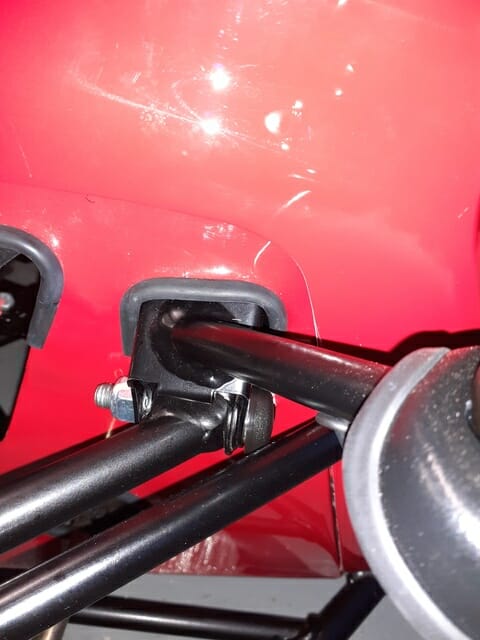
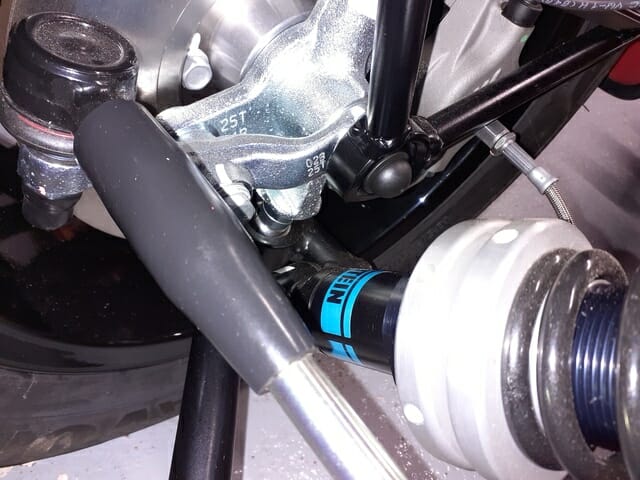
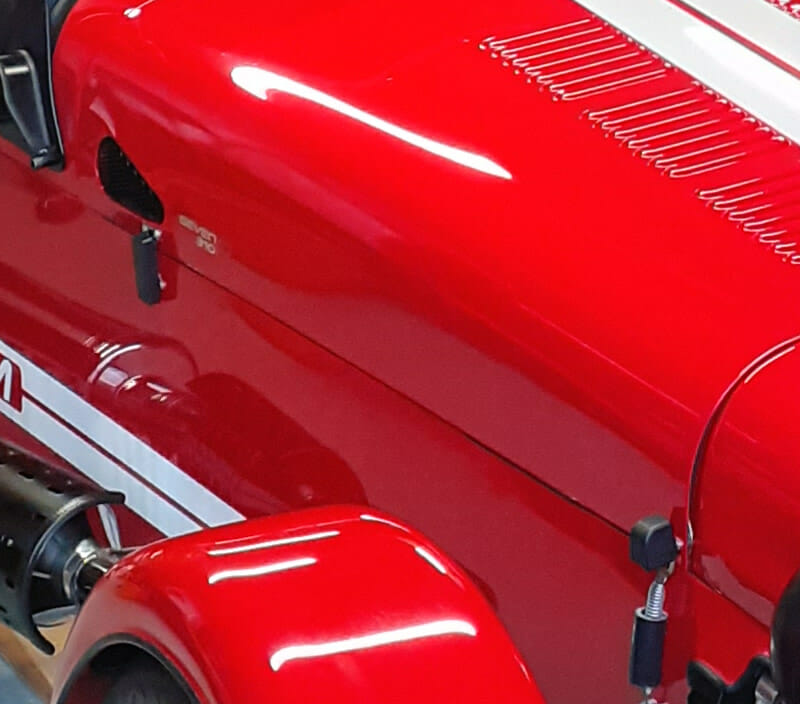
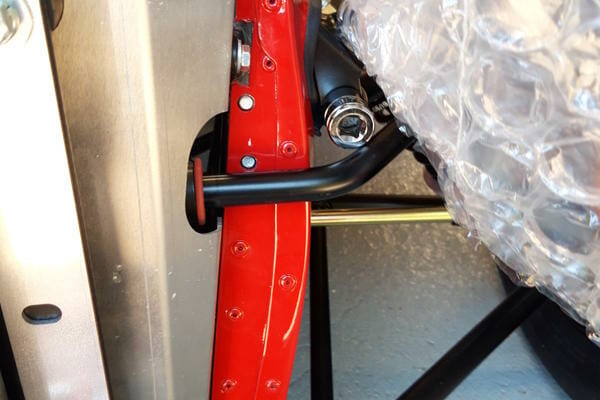
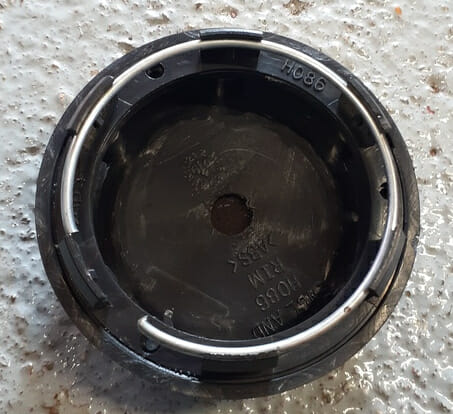
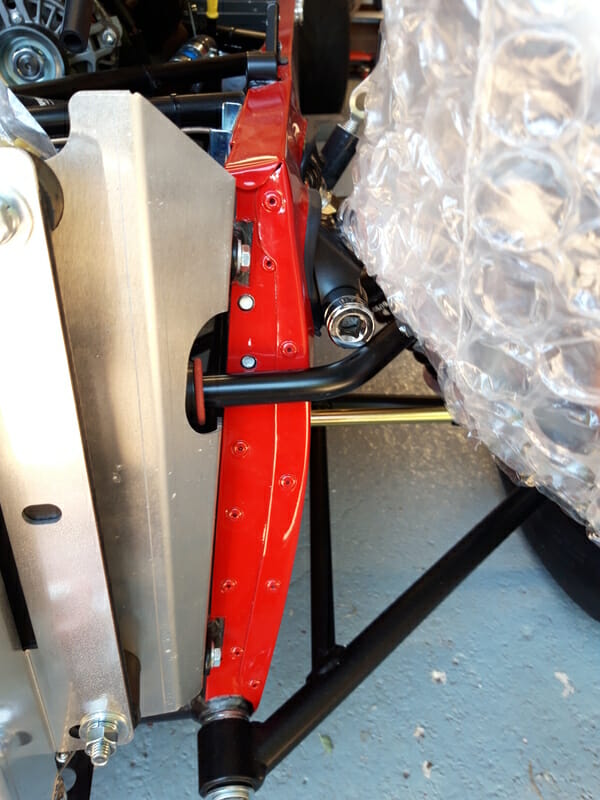
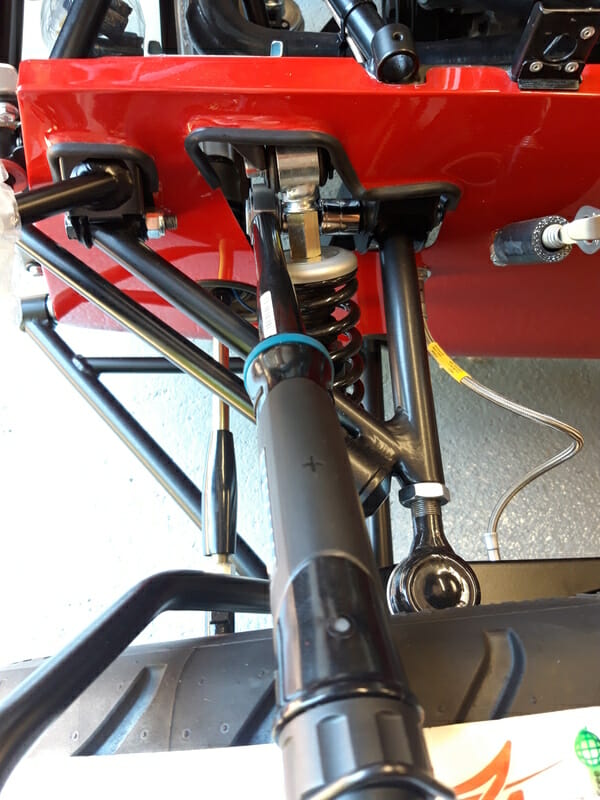
The nose cone is secured to the car using special fasteners, which are attached to the nose cone themselves. There are four in total, two at the bottom at the front, and one on each side at the top where the nose cone meets the bonnet. The nose cone sits on the outside of the mounts on the car. You then tighten up the screw that you can see in picture above and it engages the wire in the mount to hold in place.
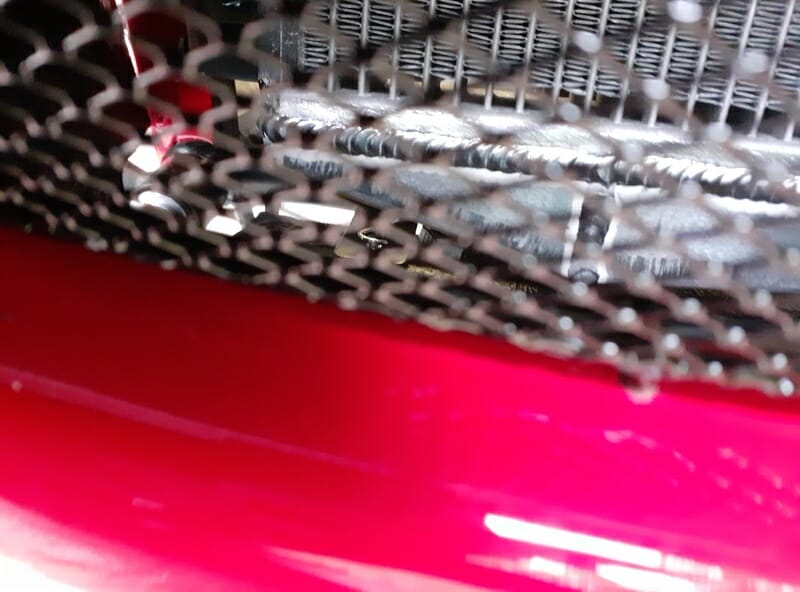
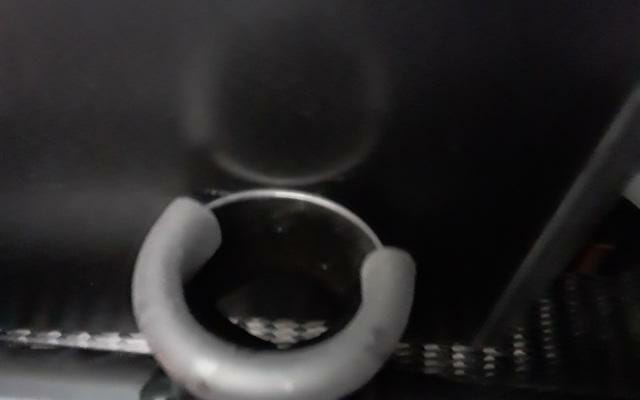
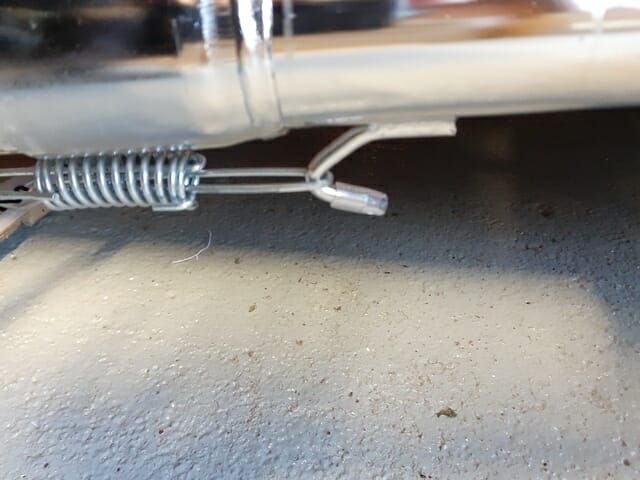
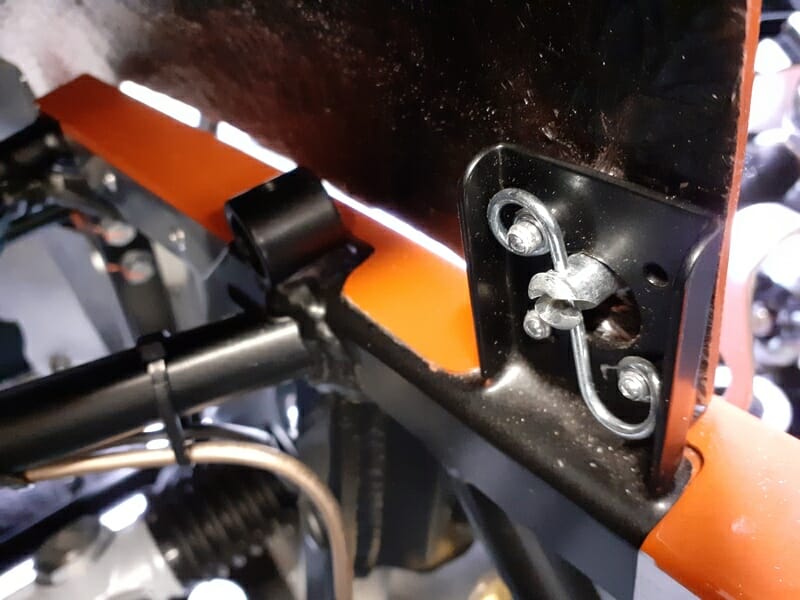
Lift nose cone into place, secure fasteners. This is how they look from inside, see how it engages the wire :
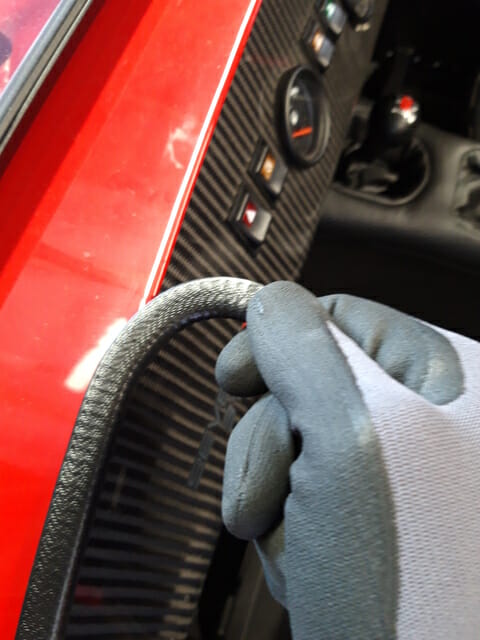
Now apply supplied foam to edge of nose cone – where the nose cone meets the bonnet. The bonnet will rest on top of this foam.
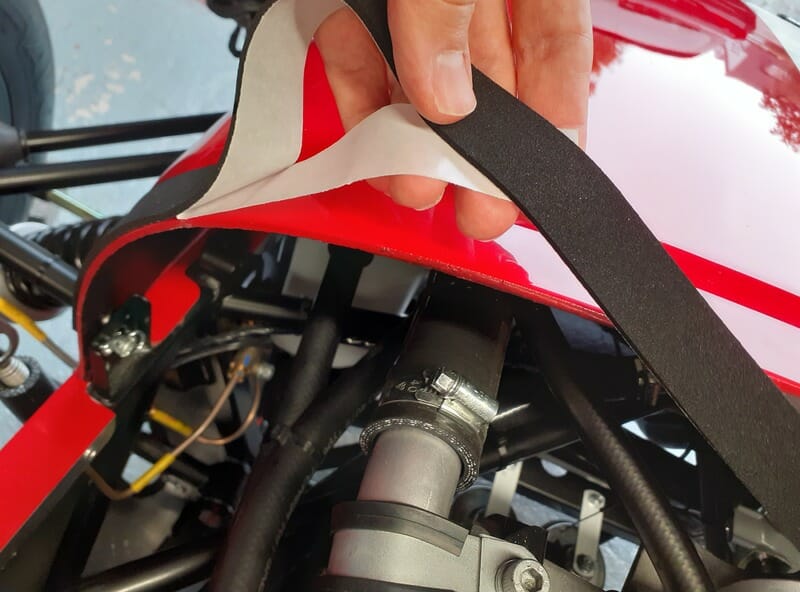
Now move on to the bonnet – start by prepping and attach foam to underside of bonnet. Before fitting the bonnet, again do a final check of the engine bay and make sure everything is properly secured and IVA ready (although bonnet easy to take off later). Apply a nut cover on the starter motor as per the IVA manual.
Bonnet on – easiest with two people but you can do it solo. The hardest part is around the air intake – easiest to get the bonnet under this intake first and then place it down. Do up clips.
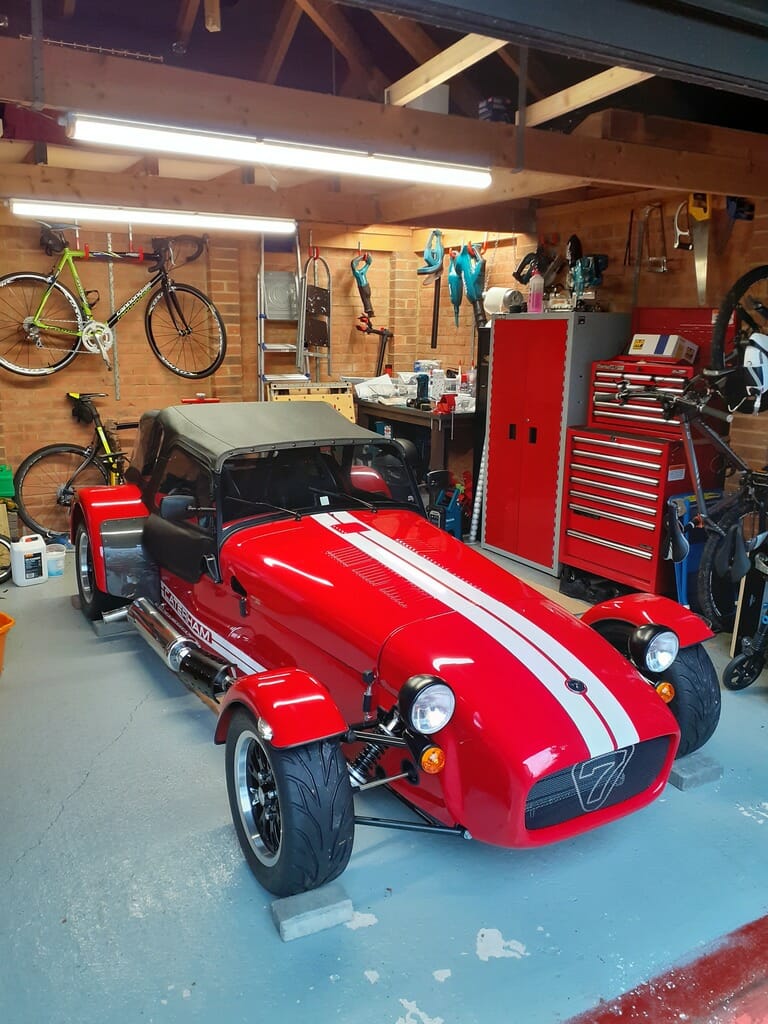
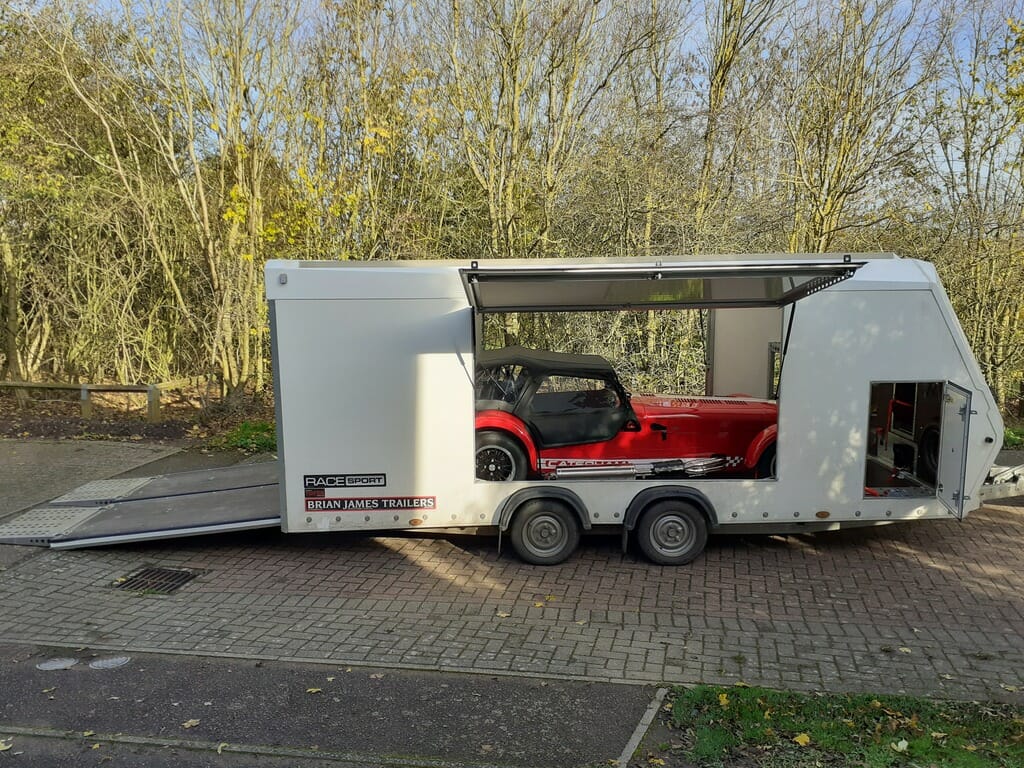
It looks like a car now :
