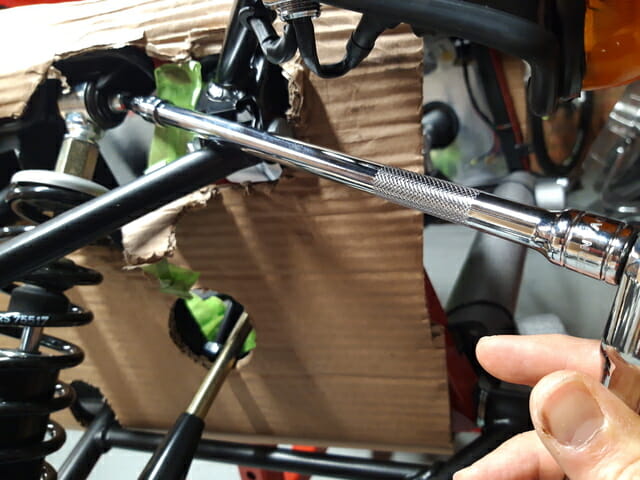
Notes
- The bottom of the damper is easy
- The top is difficult. You probably won´t be able to get the bolt out, the bodywork will get in the way. The solution is to move the bodywork out of the way. Some blogs will bring the bolt out on the inside of the body, pushing outwards to create room. This didn´t work for me. I had to push inwards from the outside of the body and pull the bolt out on the outside.
- You will probably be surprised by how much the skin can flex. Try not to push too hard.
- I decided to do the bottom of the damper first to prevent it moving around so much and given the top is so much trickier. A jack is used to help support the weight.
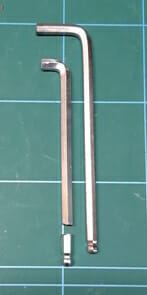
This job is a lot easier with two bespoke tools involving a 6mm allen key. Take a 6mm Ball Head Allen Key that you can butcher. Cut down the allen key at the top so it is narrower than normal. Then cut off the ball head part with maybe 10mm of space. This can be used in a 6mm socket to help torque the top suspension bolt later.
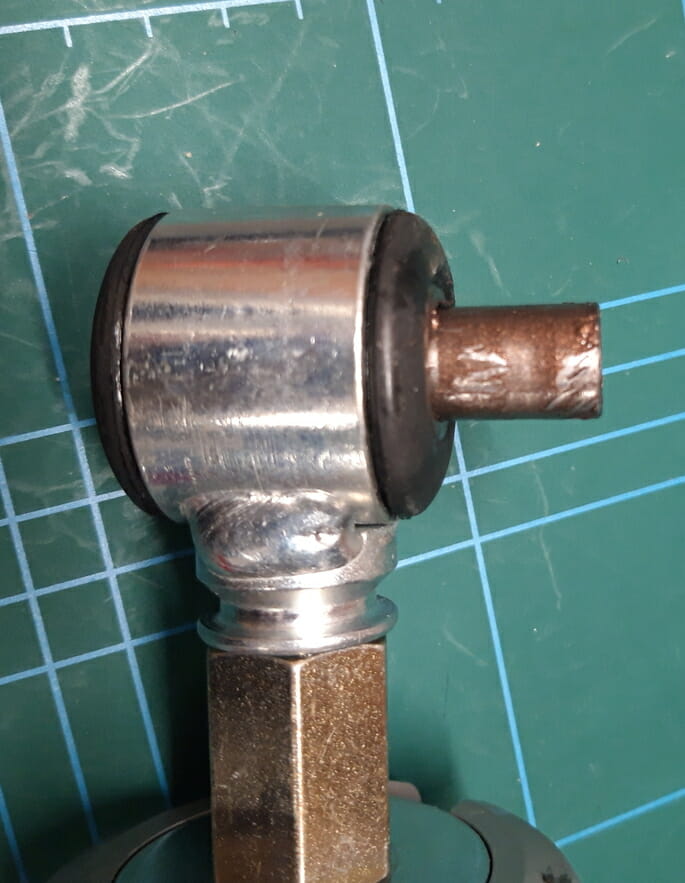
The suspension box has four dampers in there, two for front and two for rear. The front dampers are the smaller ones. You will also require four sleeves, two for each damper. These are in the bag in the damper box. Don´t forget the split washer which is in pack A, this is only required on the top of the damper.
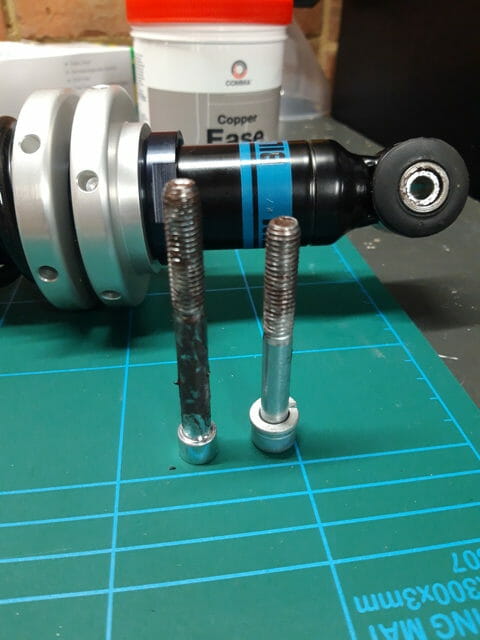
First, apply copper slip to both sleeves and insert into the upper and lower damper as shown.
Now you need to remove the caphead bolts which are in the lower wishbone and the upper damper mounting point. Removing the bolt from the lower wishbone is very easy using a 6mm allen key. As described above removing the upper bolt is very difficult. This picture gives you an idea of alignment
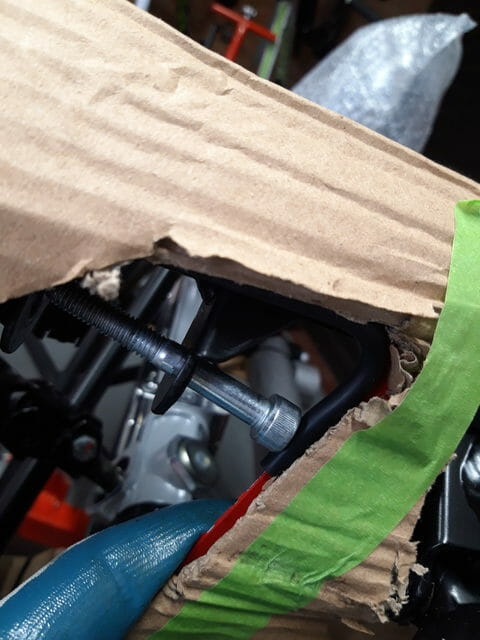
The only way you are going to get this out is by either pushing the car body outwards, and pulling the bolt out inside the car (I tried this and failed), or by pushing the car body inwards and removing the bolt on the outside of car (which is apparently easier and what I did). Make sure you apply some masking tape to protect the car body work.
Once you have both bolts out, apply copperslip to the bottom bolt, and place the split washer on the top bolt so you don´t forget it later
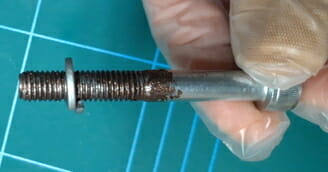
Loosen the bolts holding the lower wishbone very slightly so that it droops a bit lower, make sure you have the trolley jack in position at the outside of the lower wishbone to support the weight. Now pass the damper up through the bottom of the wishbone and get the bottom of the damper into position. Insert the caphead bolt which has been covered in copper slip into the bottom of the wishbone and do this up finger tight using a 6mm allen key.
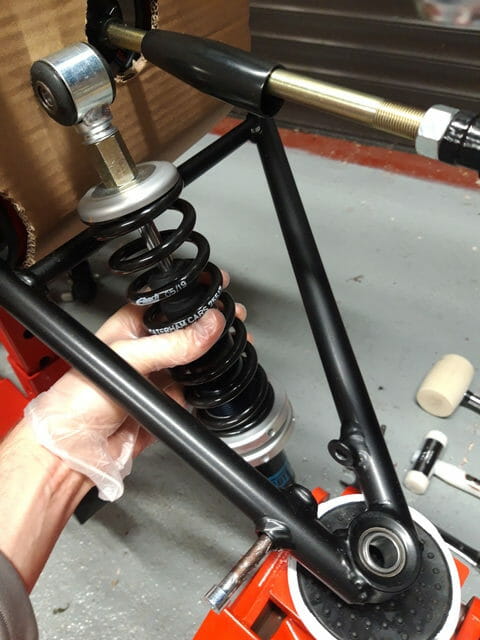
Get the top damper into position, you may need to pump the jack slightly to help slide it in. Use an allen key to help get it aligned. It should be fairly stable in the mounting point as it is quite a tight fit. Be careful with the split washer that you don´t get it trapped against the car body causing damage.
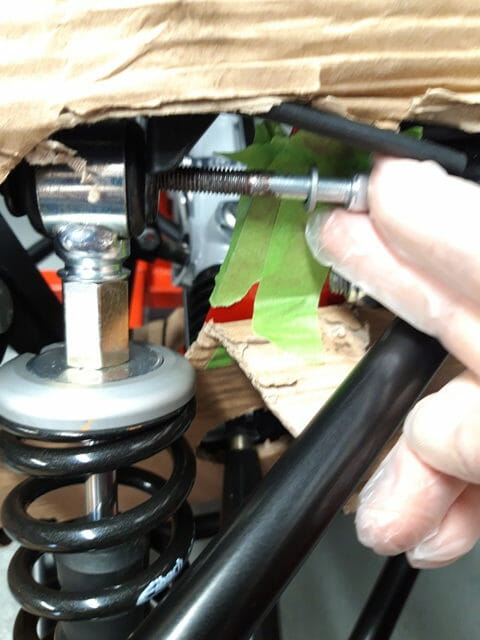
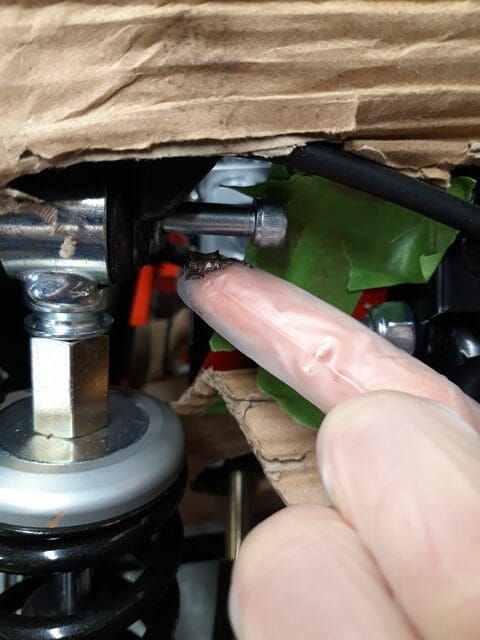
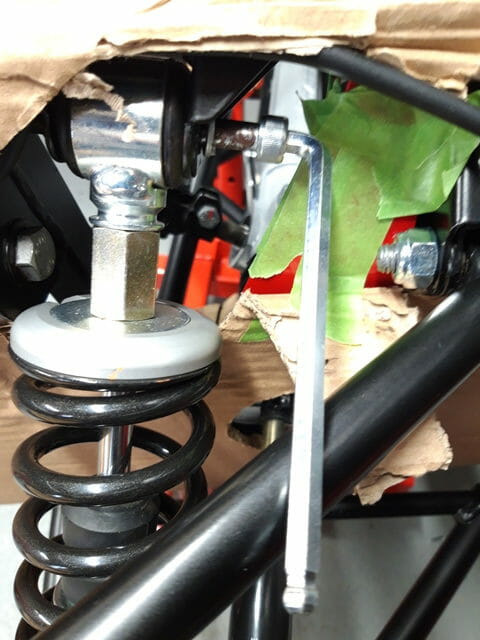
Once this has been fully tightened, torque the bottom caphead bolt to 25Nm. This should be fairly easy. Then on the top caphead bolt, use a wobble bar on the torque wrench, combined with the miniature Ball Head allen key that was cut earlier to torque the top bolt.
