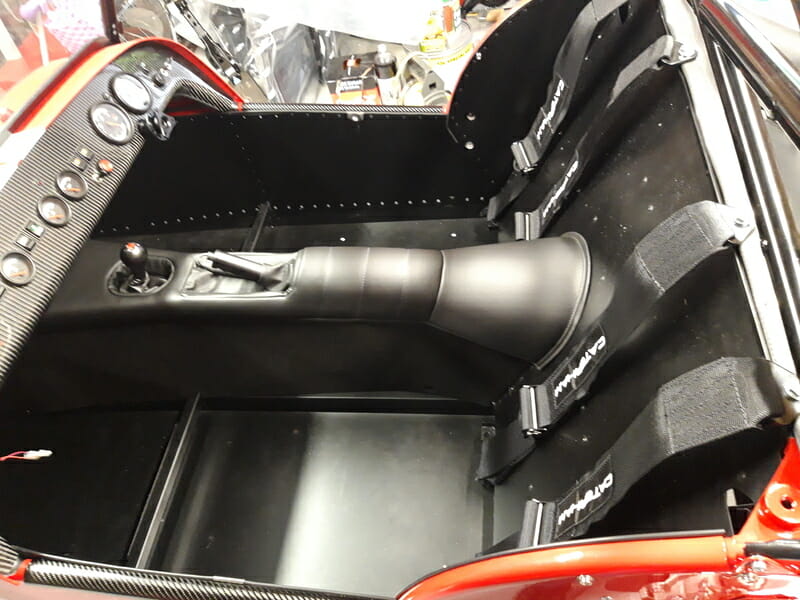
Tunnel cover plate
There is a plate provided which fits on the rear of the tunnel top. This is secured to the car with approx 20 rivets. I did notice on my wiring harness at this point there were a couple of open connections which didn’t seem to fit to anything:
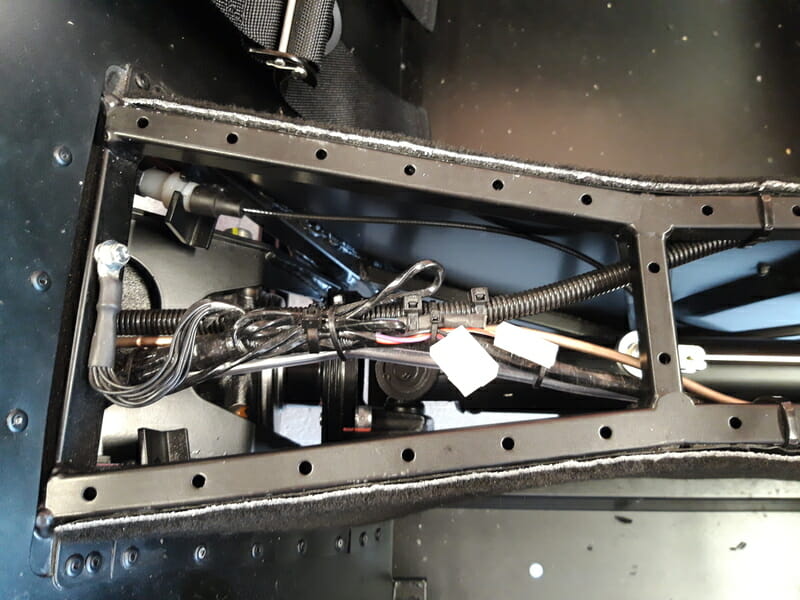
Unsure what they are for, and having been surprised a few times by this point, I decided to re-route these cables out the back of the car and secure them down by the speedo/rear ARB mount on the RHS, using zip ties to hold them to the frame next to all the other various wires. By doing this, if I ever need these connectors later for any reason, I wont need to drill out 20 rivets to get to them! I tidied the tunnel and also make the routing of the electrical cable around the handbrake neat.
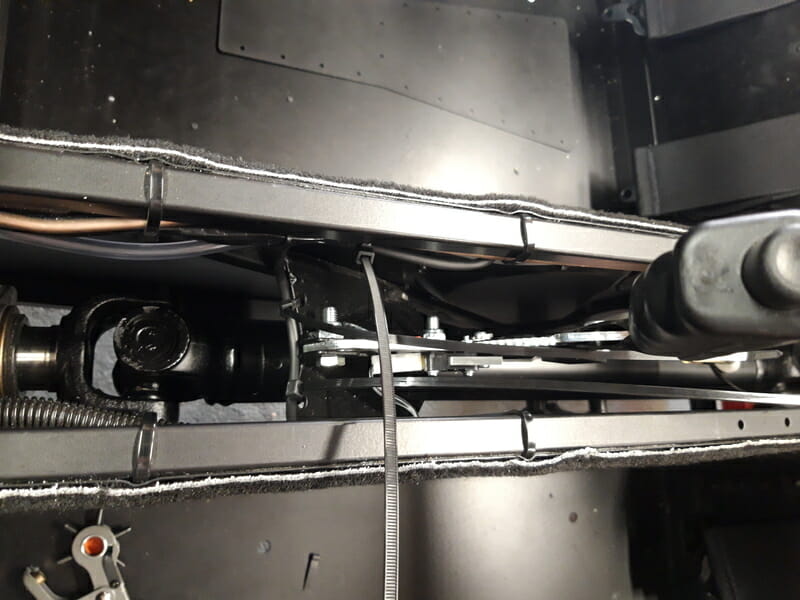
This is your final chance to triple check the tunnel to make sure all is fine before you do the riveting, so take the opportunity to make sure you understand everything going on – this is how it looked after rerouting those spare connectors to down by the speedo/ARB mount on the RHS of the car.
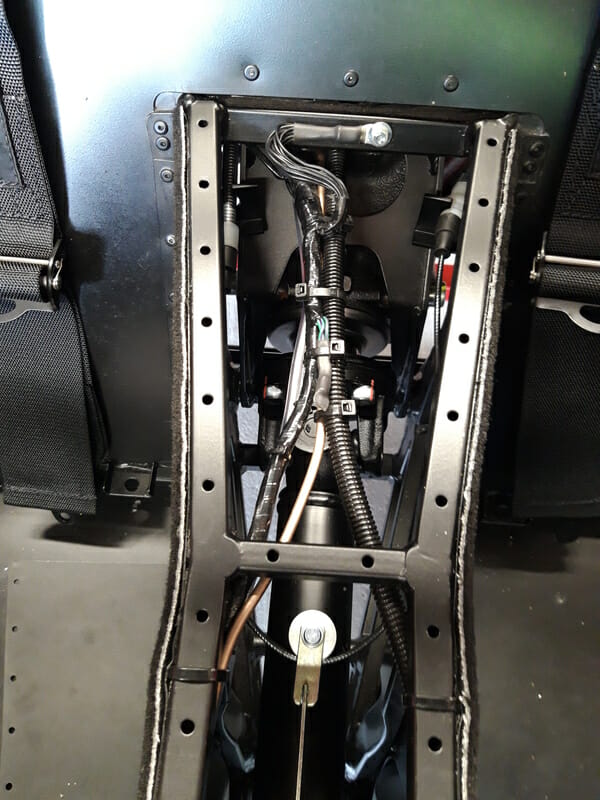
Now put the plate in place, and push all the rivets from the chassis fastener pack (ZCH01 – if you don´t get it, ask for one like I did!) into place before you rivet any of them. You may find that like a lot of things, the plate seems to be out by 1mm or so. With a bit of bending it should be in a position where you can get all the rivets loosely fitted :
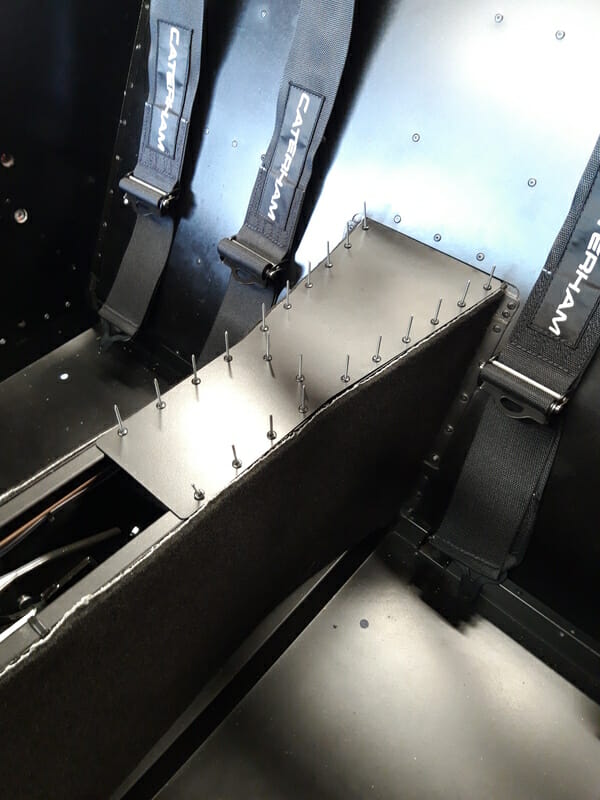
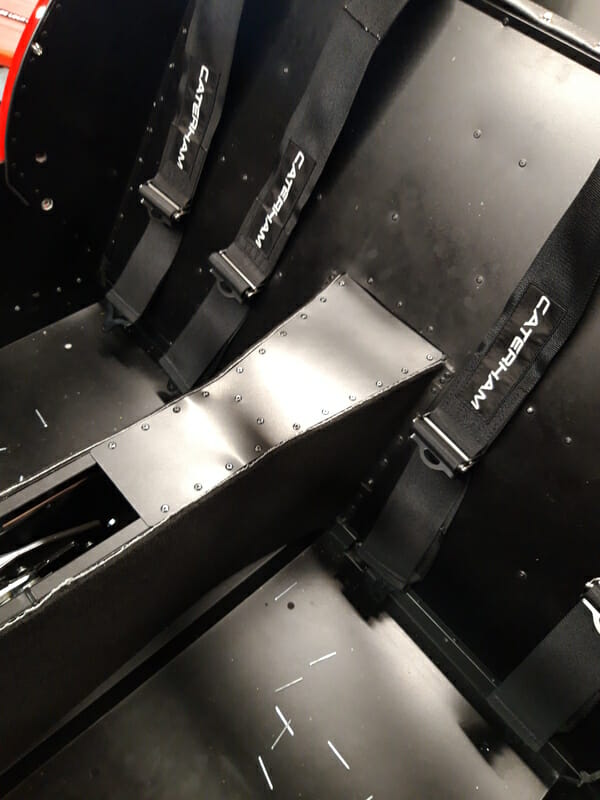
Once this has been done, start with the outermost rivets, followed by the cross bar rivets, then work your way around in a pattern. You should find that you can get the plate fitted.
Tunnel top
Now time to fit the tunnel top. I left the heat shielding around the gear stick in place. Some builders remove this, but Derek said they leave in place and I figured it would be removable later if I really needed to. To get the tunnel top on you need to have the handbrake in the fully ´erect´ position…. at this point, the handbrake cables should not be attached to the rear brakes yet. Raise the handbrake fully, then get the tunnel top and thread the handbrake through the relevant hole. Then push the front of the tunnel top into the cockpit, it will fit underneath the heater. The gearstick will fit through. Push down on the tunnel top all over, body weight should be sufficient and it will fit into place. Be careful that it doesnt catch on top of carpets – it should fit over the carpet as it is slightly wider than the tunnel.
You can now attach the gear knob. This has a small grub screw at the back. Loosen this a little, then screw the gear knob onto the gearstick. Once you cannot tighten the gearstick by twisting any more, twist it counterclockwise until the diagram is well aligned and then tighten the grub screw.
At this point the manual wants you to drill a hole in the tunnel top and use a self tapping screw to secure it into place. I decided against this. If I need to do it, I can do it later, but as I have carbon fibre race seats which will hold this in position, the tunnel wont be going anywhere and the friction fit seemed perfectly adequate.
