Get the carpet out for the tunnel and lay it out flat, placing some heavy books on it if required. This will prevent it from rolling up on itself later! Glue needs to be applied to the back of this carpet and to the tunnel itself. There are two holes pre cut at the rear of the carpet, you can push out the carpet from inside the relevant cut – make sure you choose the hole relevant to your harness/seat belt set up. I am using 4 point harnesses, so that corresponds to the rear most hole – this hole is also parallel to the hole on the far side.
Do a dry fit first to make sure that the carpet fits and to get an idea of how it works and what you have to fit around. You will notice there is some spare carpet that pokes over the top – this is normal and can be trimmed off after you have glued the carpet into place.
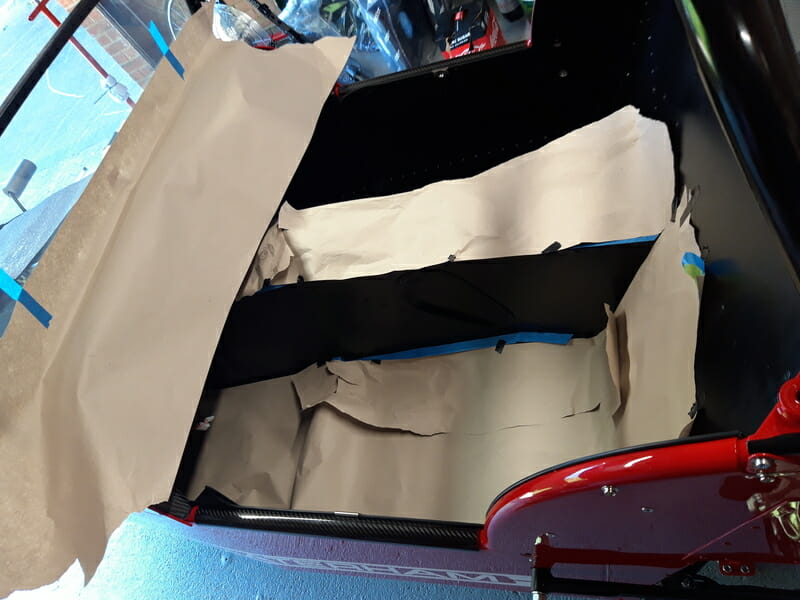
Mask up the area around where you will be spraying glue with some paper and masking tape so as not to make a mess.
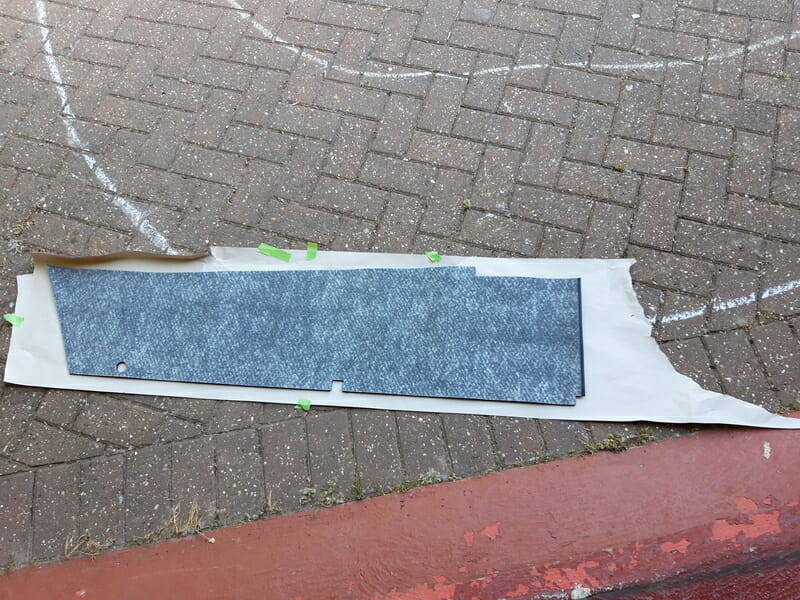
Place the carpet on the floor, upside down on some news paper, so that it is ready to have glue sprayed on its back.
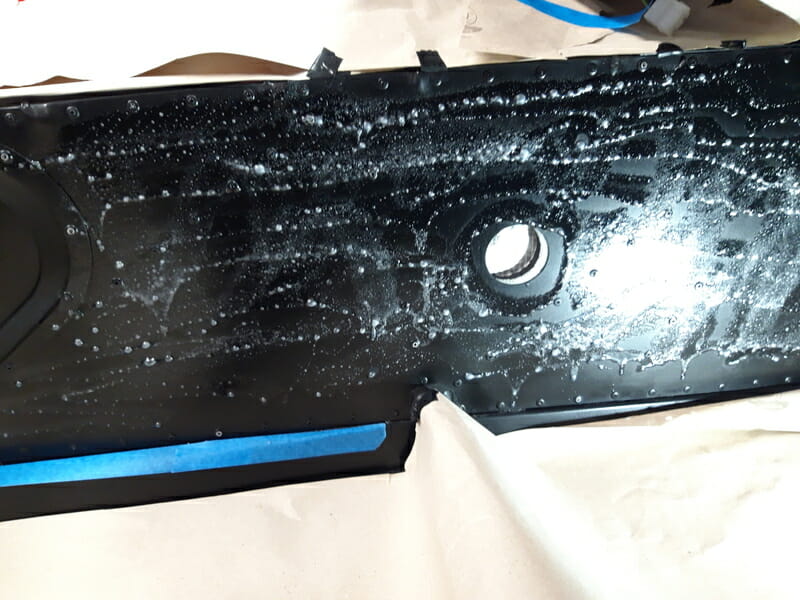
When you are ready, get your mask on (if you so wish – but you don´t really want to be breathing this in!) and disposable gloves, before spraying 3M automative spray glue (80808) liberally up and down one side of the tunnel.
This glue comes out of the can in a fairly direct liquid stream. It will be liquid at first and look slightly bubbly as it lands on the surface, and may drip down the tunnel a little so no need to spray too close to the bottom of the tunnel itself.
Once that is done, you have a couple of minutes before this will go ´tacky´, so immediately spray (liberally) the back of one carpet you have already laid out. Give it a couple of minutes and look at the glue on the tunnel – you should notice it has changed consistency somewhat which means it is ready to stick. (Note I sprayed slightly less on the far foot end of the passenger side carpet, as this is where the access for the gearbox oil is. This should hopefully make access easier later to change oil.)
Pick the carpet up and put it into place. Get the carpet up, again making sure you have gloves on, and work into place. I started around the bar about halfway down, worked towards the back, then up to the top, before going to the front.
Then repeat for the other side.
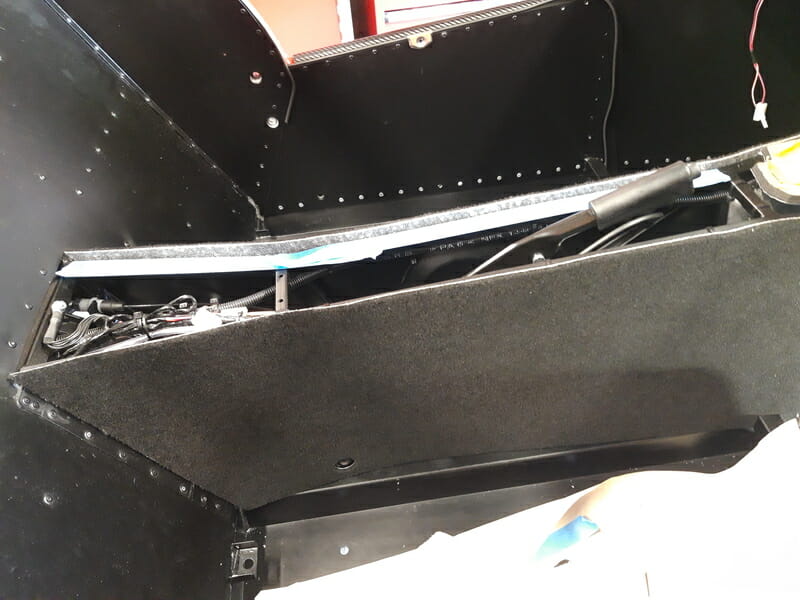
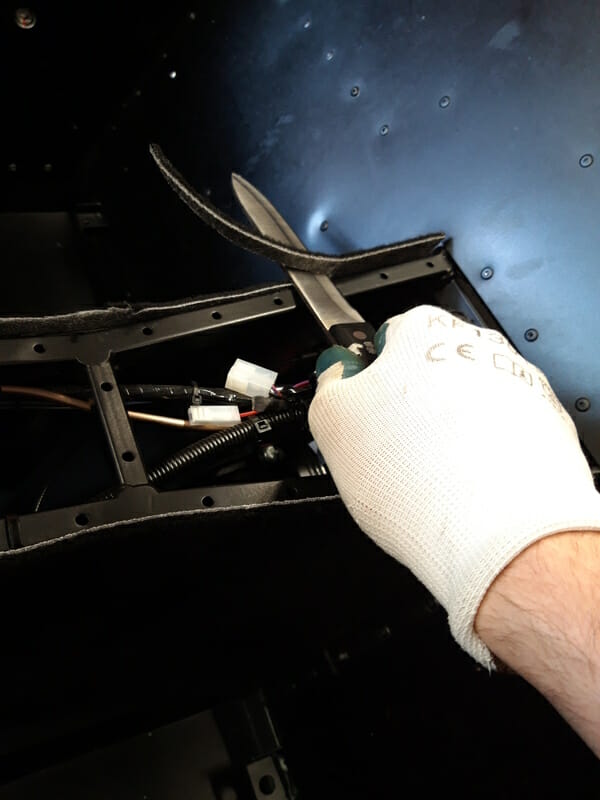
Allow the glue to set (I waited a couple of days as I was in no rush), then use a sharp knife to cut off the surplus. This was tricky using a stanley knife. I actually found a very sharp carving knife was much better to trim this back!
