I have the track day roll over bar and harnesses… during a dry run, the roll over bar looked to obstruct the holes for the bolts on the shoulder strap harnesses, so fit shoulder strap harnesses before roll over bar to save access issues later on. With the roll over bar fitted, I´m very glad I did this. This wouldn´t be an issue with a standard roll over bar.
The roll over bar needs to be fitted before the rear dampers due to access issues – again the manual is in the wrong order, don´t build up the whole back end only to take the dampers off again!
First thing to check is that the bolts for the harnesses and the roll over bar all fit fine. Some may need thread cleaning, in particular the holes for roll over bar to chassis have paint in them and needed to be cleaned with a M8 x 1.25 tap.
Fit the shoulder strap harnesses first
I have four point harnesses. The harnesses come in their own boxes, one box for each side, with all relevant fittings inside the box with the harness. The boxes are marked L/H and R/H. In typical fashion, these sides need to be swapped to comply with the guidance to keep the buckle on the inside strap (presumably to stop passengers/you from undoing the harness and slinging the belt over the side and damaging bodywork!). So I used L/H on the RHS and R/H on the LHS.
For the harness bolts, do Bolt -> spacer washer -> harness mounting plate (ie the plate the strap is attached to) -> wavy washer -> swivelling insert -> chassis.
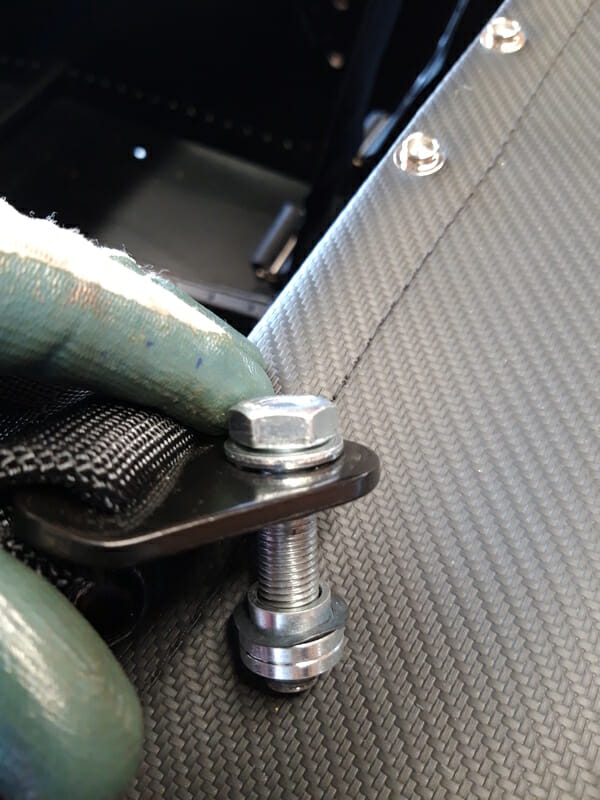
Don´t worry about the cardboard washer, you don´t have to use it. Torque to 47Nm.
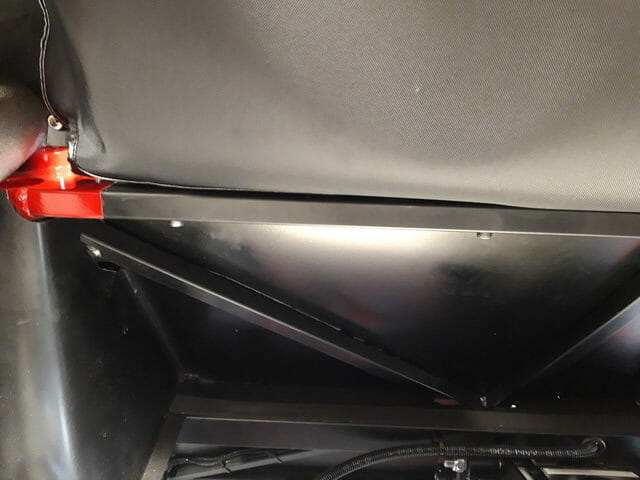
Make sure that the harness threads are visible from the boot (IVA requirement) :
Now fit roll over bar
The ¨sticks¨ which hold the roof in place, if fitted, come pre-fitted to the car and get in the way of installation of the rollover bar. You can totally remove the sticks, but I found it easier to just move them forwards. Undo the two screws holding the fabric straps (from sticks to back of car body) and move sticks over the top of where the roll over bar will go, so that they are in the main cockpit. Make sure you use some pipe lagging to protect against scratches.
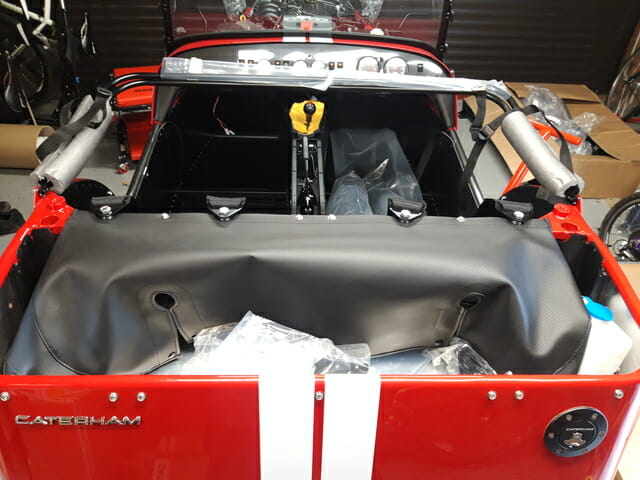
The roll bar, for me at least, was one of those caterham experiences where everything seemed to be out by a couple of mm. This is highly frustrating, especially when you are looking at a simple job on paper that should be easy. In my case the roll bar base was maybe 1mm too wide on the RHS. This meant fitting was a right pain.
There are 6 bolts in total involved with the roll over bar. Two of these are boss bolts, which come up from underneath the chassis into the bottom of the bar (hence why you do this before obstructing access with the suspension). Two bolts are on each side, just behind the bar, coming down from the top into the chassis. The final two bolts are on the rear, attaching the arms from the roll bar to the back of the car, with a nyloc nut and washers.
This is one of those jobs where I got it on in the end, but I wouldn´t say this is necessarily a ´how to´! So follow at your own risk. I tried many different orders and ways to do this, the below was the one that worked for me. My key issue was poor alignment on the RHS.
Start by protecting the paintwork with masking tape, around the two points on either side of the chassis and also protect the rear bodywork where the mounting arms come down from the bar.
Get the roll bar into rough position. This will likely require absolute brute force. Again you will worry about breaking something and scratching. I then secured the rear arms where they met the body with pin punches.
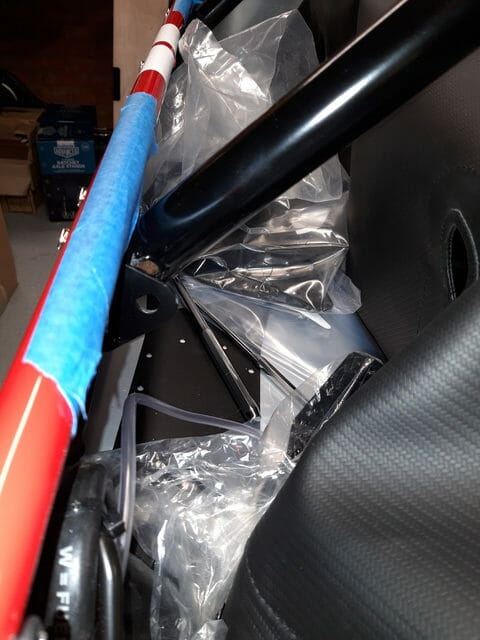
Once in rough position, you should be able to see if you have alignment issues.
Fit the bosses first.
I started by fitting the boss on the RHS (the side with most alignment issues) by lifting the entire roll bar up by about 1cm. Then by hand, which was tricky, I inserted the bolt from underneath and got maybe 1/2 to 1 good turn before it became too tough to turn by hand. This was enough to convince me I had got the thread correct though. I was most worried about cross threading, but the bar simply wasn´t precision machined for the car. Once I got the RHS boss bolt in with maybe one turn, I tried another turn using a 3/8 drive ratchet with a hex bit, which wasn´t too difficult – I did not turn this very hard/force. I then went to the LHS and repeated the process there – lifted the roll bar about 1cm up and threaded in the boss bolt by hand from underneath with one turn. Again I used the 3/8 drive ratchet to tighten up another turn, again deliberately not using much force at all.
I then tightened the boss bolts using the ratchet, but stopped before applying any proper torque. Now I just need to fit the bolts which come down from the top, securing the bar to chassis. Naturally this is where the problem was. The LHS fit fine, but RHS was out by maybe 1mm.
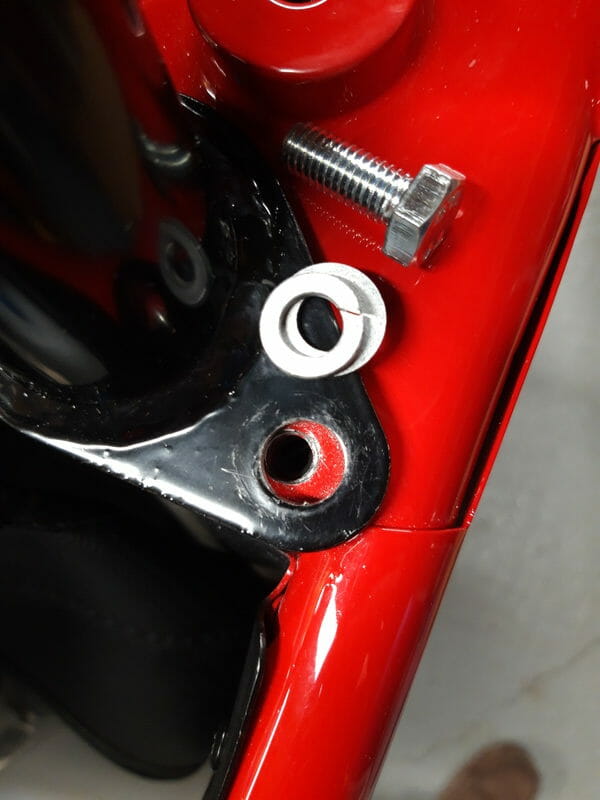
At this point, I replaced pin punches at the rear for bolts, washers and nuts (securing arms from rollover bar to rear of chassis).
I tried many different ways of fitting the roll bar, including giving a good whack with the hammer, with and without various bolts, but none made any difference – and obviously being a roll bar there isn´t any give in it! I ended up loosening off both boss bolts (careful not to fully remove them) to be able to get the roll bar off the body by about 5mm. I then protected the bodywork as much as possible with masking tape and cloth before using the dremel while the bar was attached to the body to grind out the hole, wearing mask as I did so. Derek told me that they file this out in the factory.
I wouldn´t recommend doing this while attached to the car, it is quite risky if you slip. In hindsight I would have done it at the beginning. but I simply could not be arsed to go through the pain of pulling the whole thing off again, grinding and then putting it back on.
Once the hole has been opened enough, I used Hammerite to touch up any scratches on the bar from fitting, and also gave a bit of protection to where I had grinded out the hole. I don´t intend to take the car out in the rain, but the protection won´t hurt. Then try the top bolt again and it should hopefully fit.
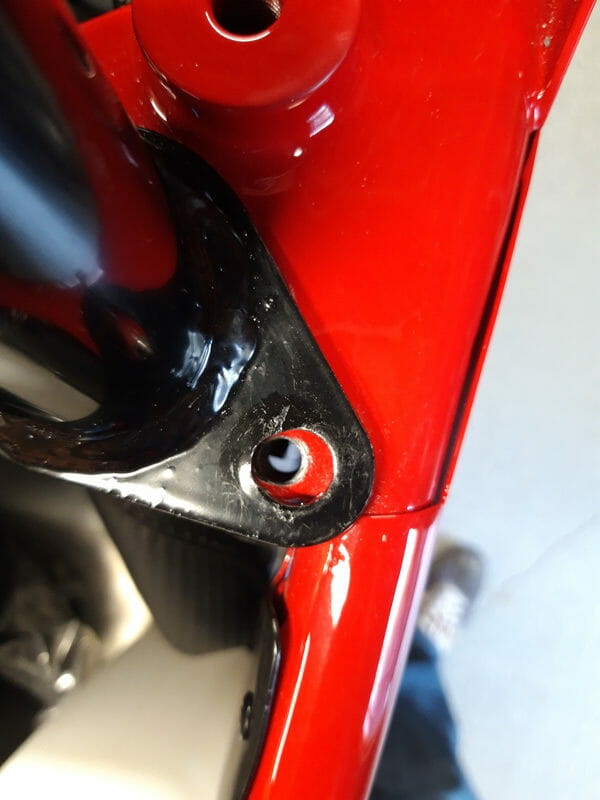
Now proceed to tighten all bolts and torque.
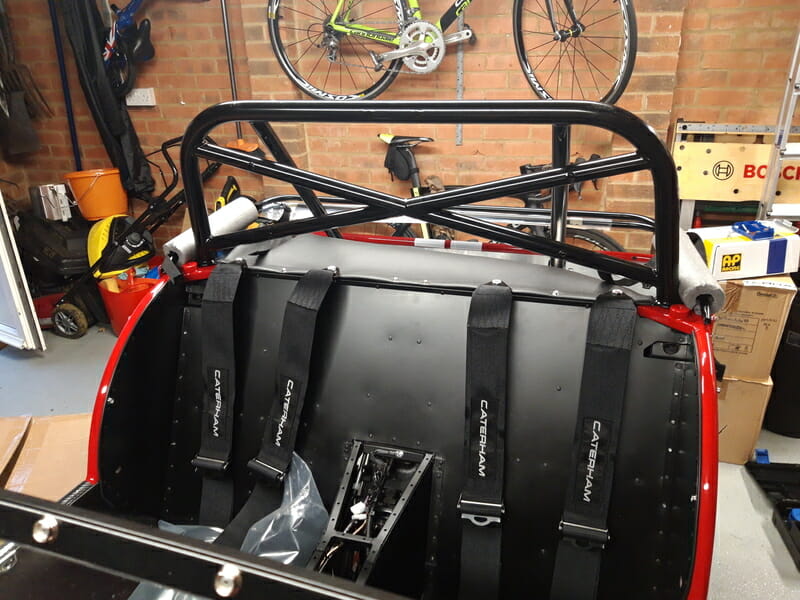
I will fit the waist harness straps after the carpet on the tunnel has gone on, later in the process.