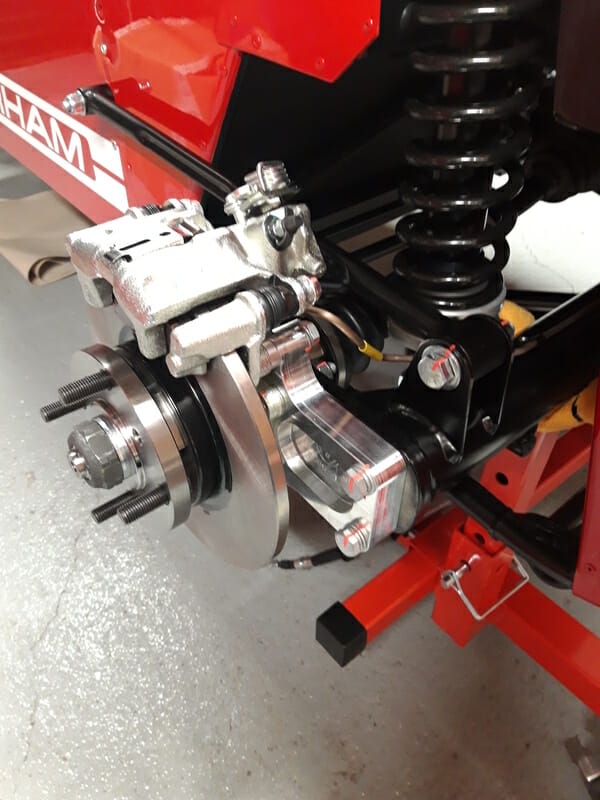
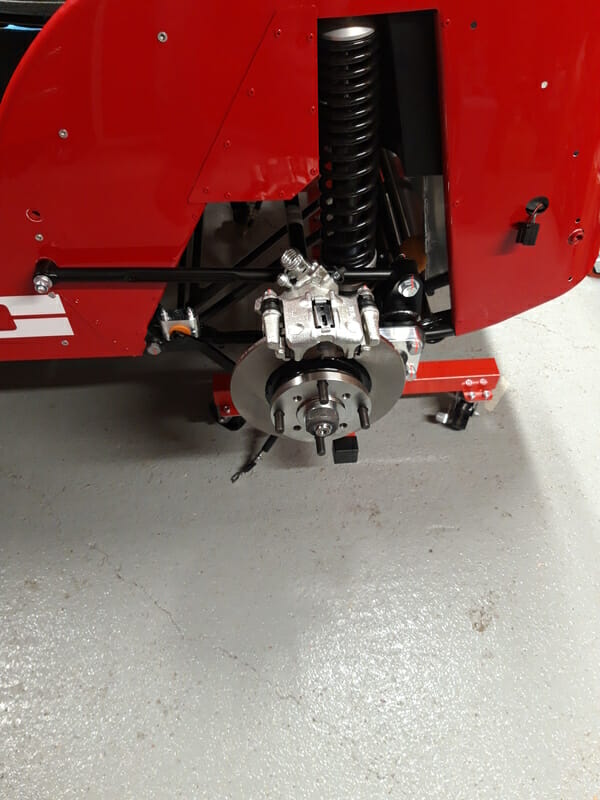
If you´ve done a dry rub of the rear hubs when you had the de dion tube on the workmate, this stage should be slightly easier. You will still need to break down the rear hub again though to easily fit.
Start by getting the de dion ear into position first. Apply a bead of transparent silicone sealant around the end of the de dion tube as per photo. This will help keep any water out of the inside of the de dion tube and prevent rusting.
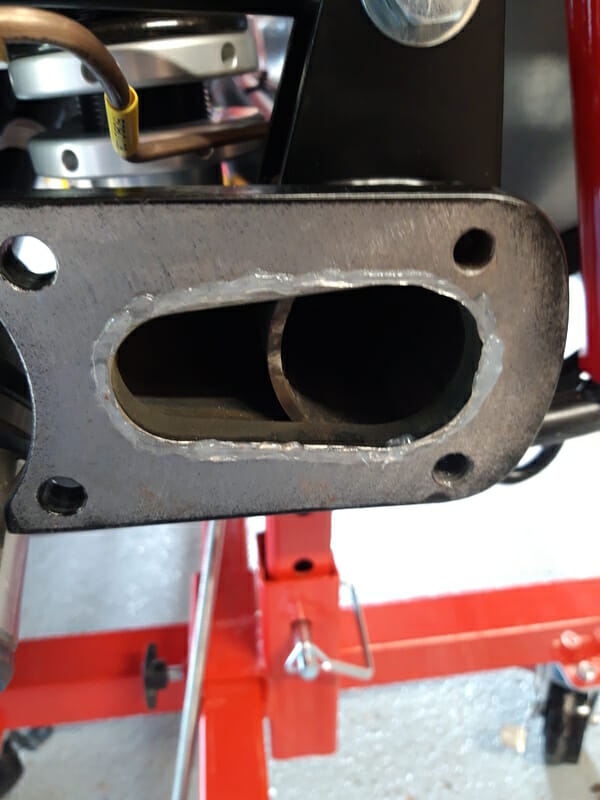
Once the bead is in place, offer up the ear, making sure that you place the drive shaft through the hole! Finger tighten the two short bolts (40mm, IE) at the end into position. They should each have a washer and a split washer, the split washer closest to the bolt as usual.
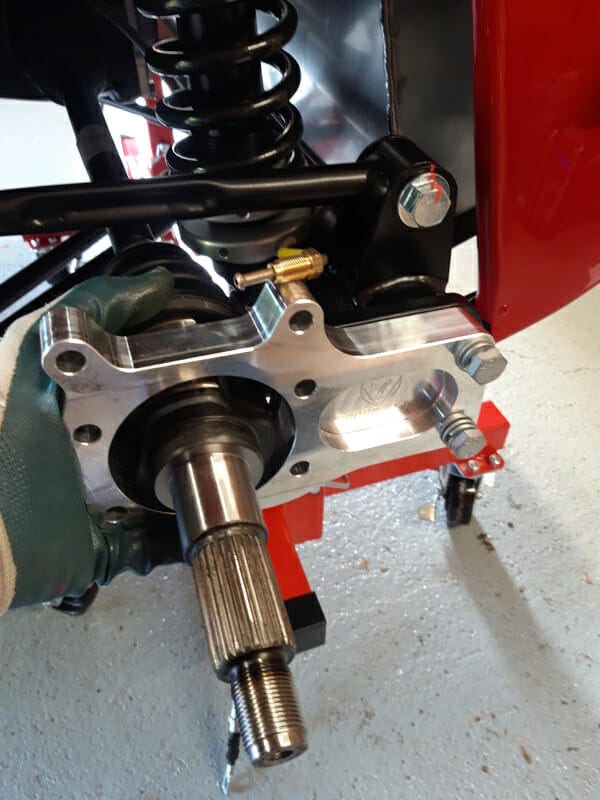
Now take the rear hub, and place it over the driveshaft. This hub may need a good push or a light tap with a mallet to slide the driveshaft through. Now take the longest bolts, (65mm, IC) and push them through the two middle holes on the ear.
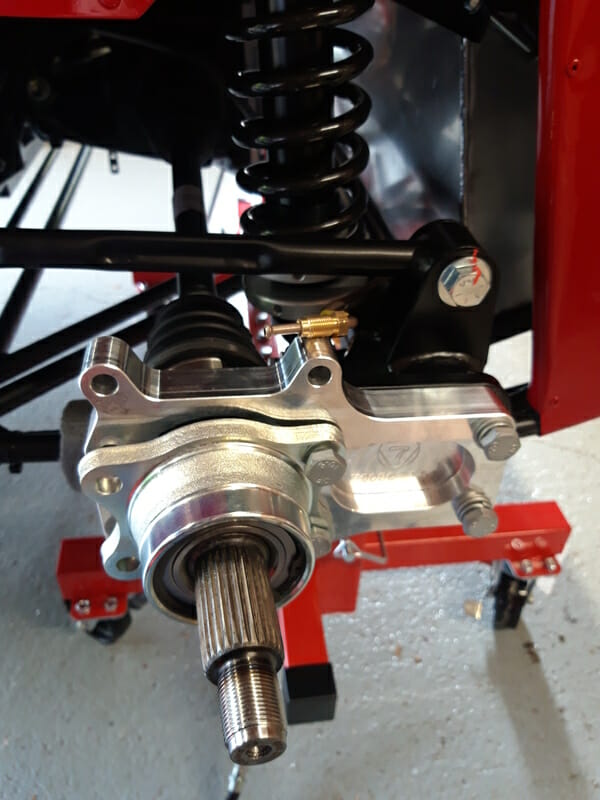
Note no washer on the outside, but there is a washer and nyloc nut on the inside. Alignment may be an issue, so a couple of light taps with a nylon hammer and some wiggling gets them through.
Finally, get the two front most bolts through the hub, ear and ARB mounting bracket. Again, plain washers and nyloc nuts at the end, before finger tightening. These bolts are the medium length bolts (55mm, ID).
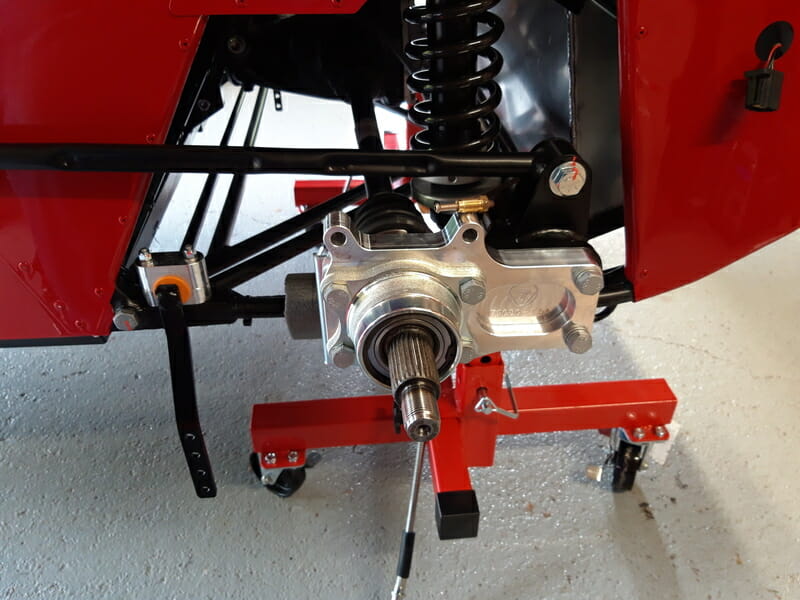
Once all of these bolts have been added, ratchet them tight, before torquing all bolts to 47Nm in a star pattern and marking as per usual. You need to torque these bolts now as access is restricted when you add the brake disk. Also, the LHS hub is relatively easy access wise for the bolts/nuts. On the RHS, access to the rear nuts is a little tougher because the cog which is used for the speedo sensor is in the way somewhat. Be careful you don´t trap your spanner in here!
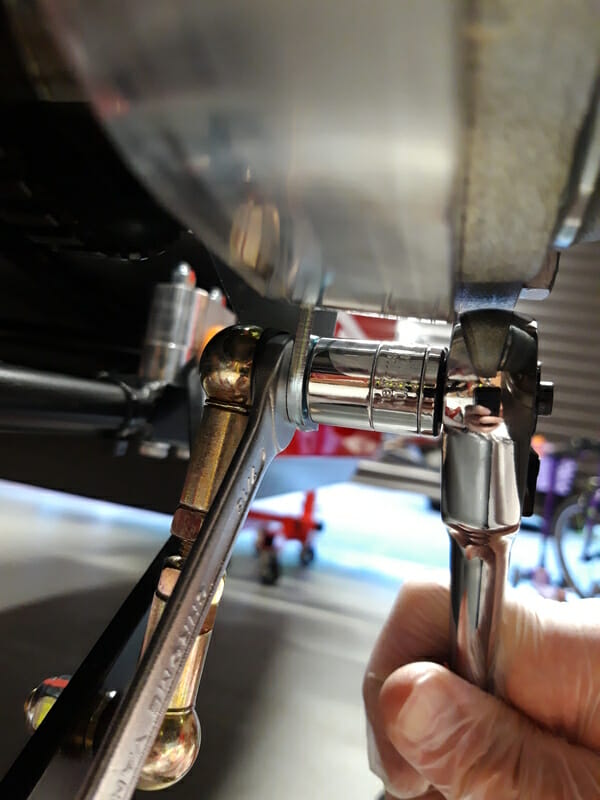
Now add the drop link, which connects the rear hub to the rear ARB using a special connector. You will need a spanner on the inside to stop this moving around. Torque the bolts on the drop link to 20Nm.
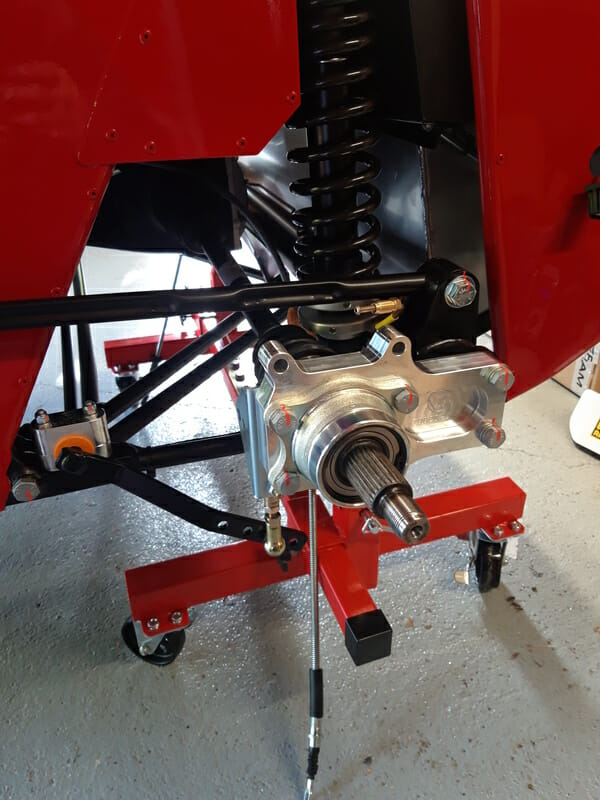
Now time to add the brake disk. First clean the brake disk using some brake cleaner and paper towels to get any detritus off. The brake disks are stored in a separate box and are relatively heavy. You should already have the nuts and washers (huge, you can´t miss them) from the bag which you used to dry fit the de dion on the workmate.
Take the brake disk and slide it on to the drive shaft.
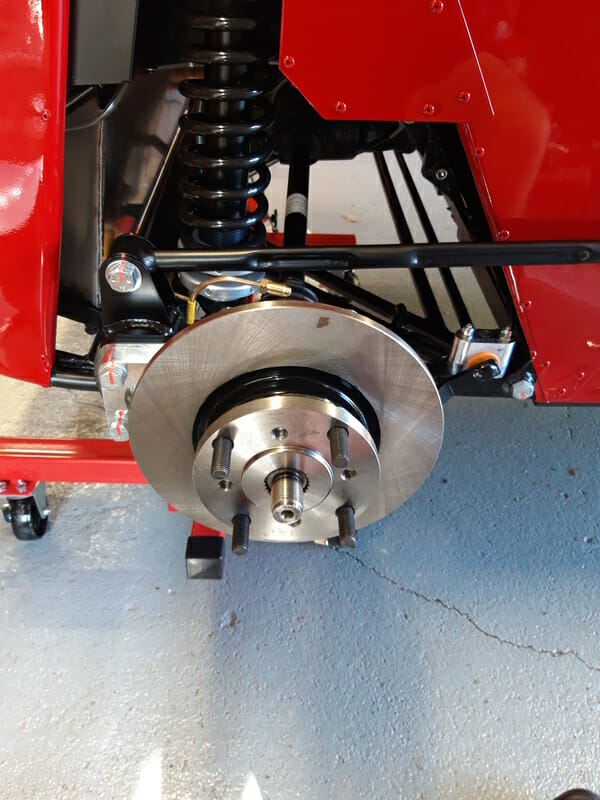
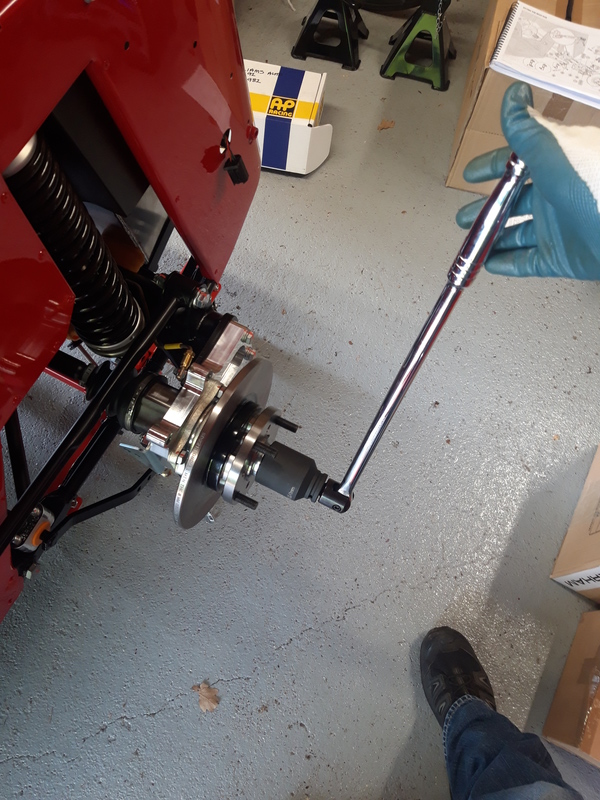
Then add the giant washer and nut. A note on the nuts… The LHS nut appears to be 41mm, and the RHS nut is 42mm. I actually purchased both a 41 and 42mm socket, and a 1/2 in to 3/4 in adapter. You could probably use a 42mm socket on the 41mm nut, but I didn´t want to do this. Note that the LHS nut tightens counter clockwise. Tighten these nuts by hand at first, then put the car into 2nd gear and use a breaker bar and the relevant socket to tighten the nut. If you leave the car in neutral, it will just spin the wheels when you try to do this. Don´t go too mad, you just want to stop the disk having any play so you can build up the rest of the rear end. These nuts are eventually torqued to 270Nm, but that can only be done once handbrake fully fitted and the car is on the ground.
Now add the caliper mount. Two medium bolts (55mm, ID), with split washer and plain washer, into the caliper mount, then through the spacer, which is from the bag with the rear hub nuts. The spacer looks like a very fat wedding ring. Make sure you use these spacers, or the rear brake assembly wont fit together properly.
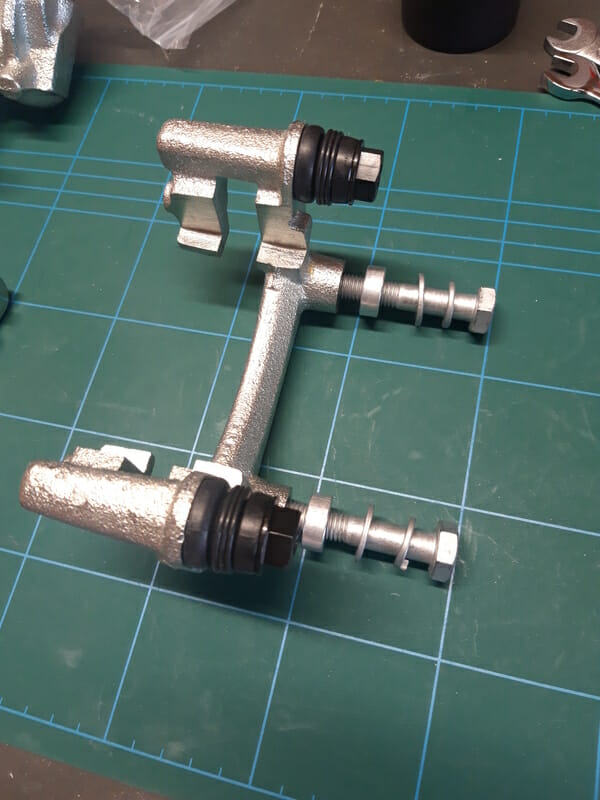
Torque these bolts to 47Nm also and mark.
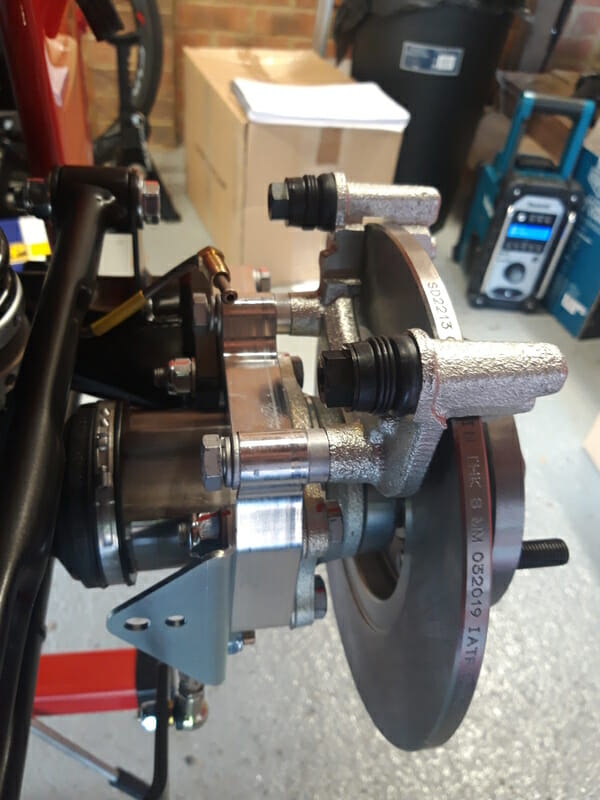
You are supplied with four brake pads. They are all the same, there is no inside/outside or RHS/LHS. Apply copperslip to the back and the side edge of the brake pads, and place into the caliper mount. The copperslip helps stop brakes squealing.
You only need to apply copperslip where the brake pads will make contact with the brake piston (on the inside) or the brake caliper mount (on the outside). This is where I liberally applied copper slip to the outer brake pad :
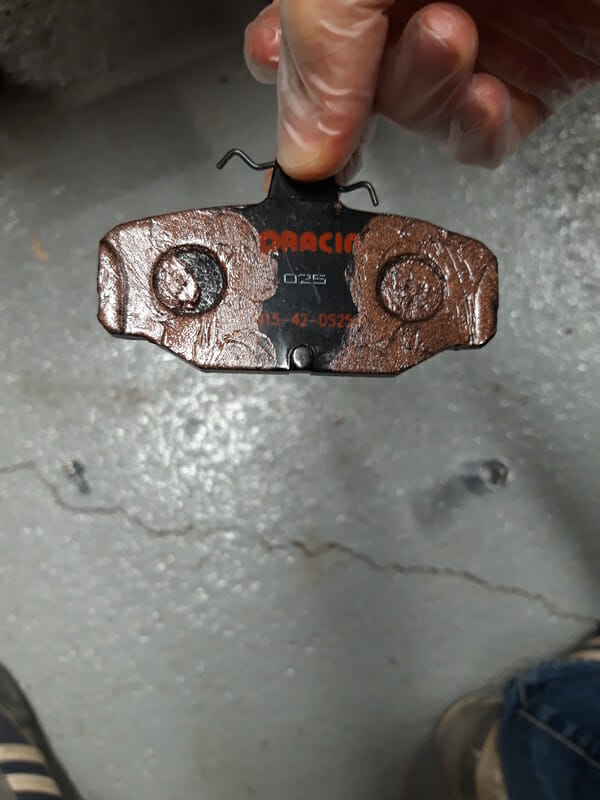
And the inside pad :
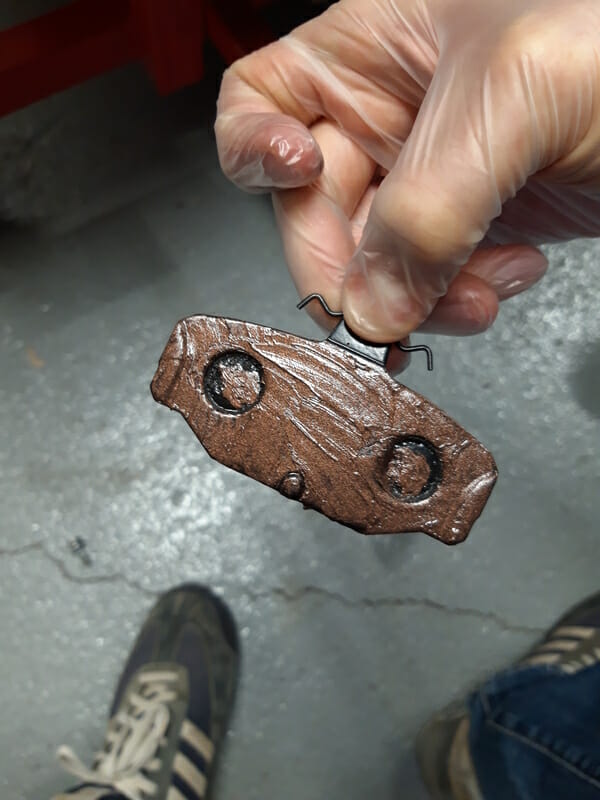
Note… I overdid it a bit with the copperslip. You only need to apply where metal from teh caliper contacts the brake pads. With both pads in position in the caliper mount :
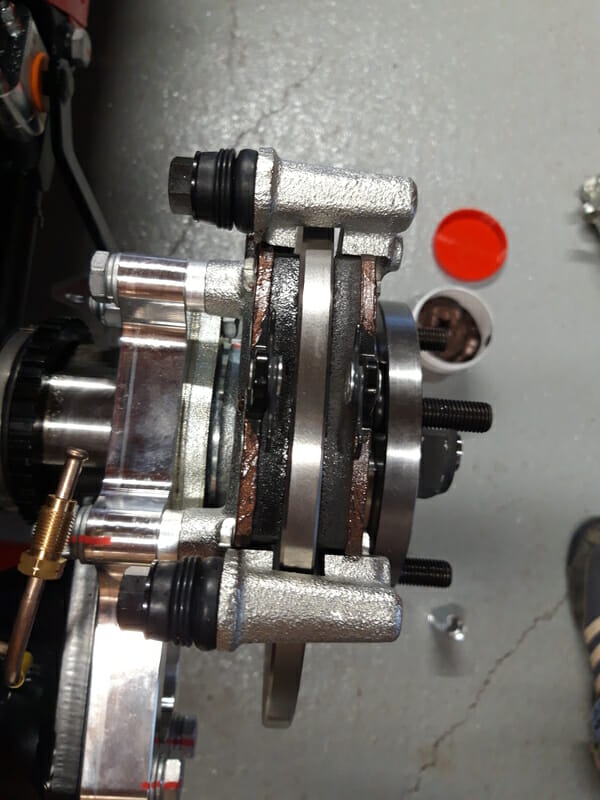
Now take the brake caliper itself and insert the shim into the top of it.
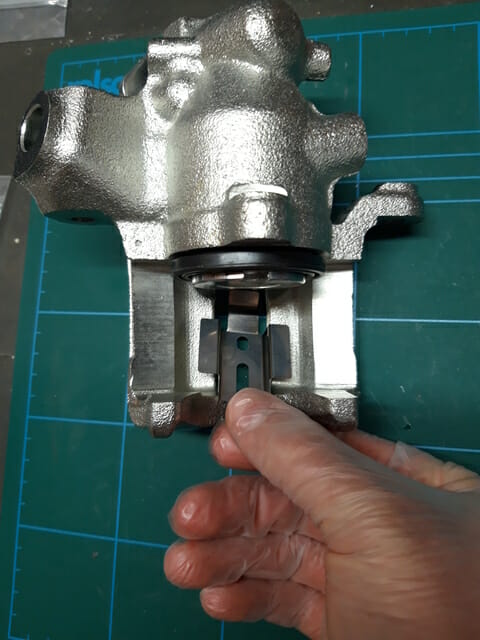
Now lift the caliper over the top of the brake pads. Take the brake line, and finger tighten the brake line bolt into the brake caliper, while the caliper is free in your hand. This means you can easily rotate the caliper to align the brake pipe and this avoids the risk of cross threading the brake line connection.
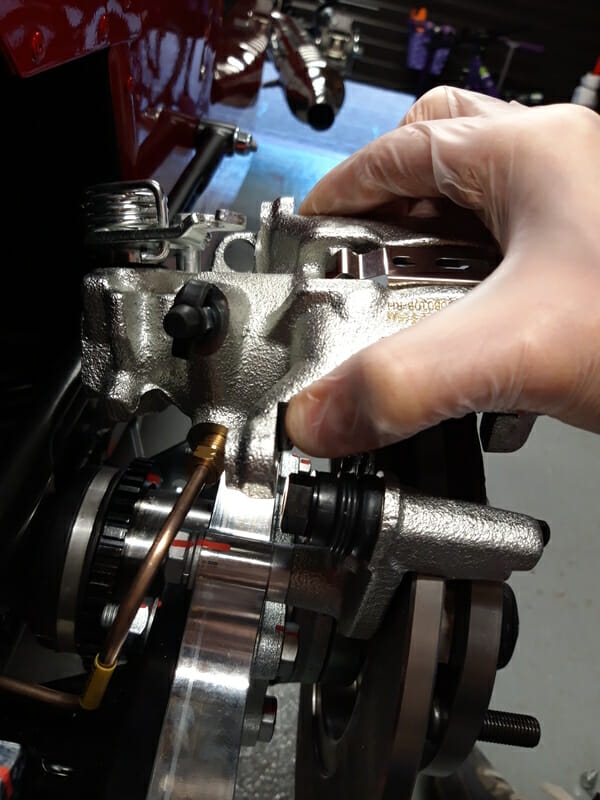
When the brake line is finger tight into the caliper, move the brake caliper down over the pads and add the two remaining bolts to hold the brake caliper to the brake caliper mount.
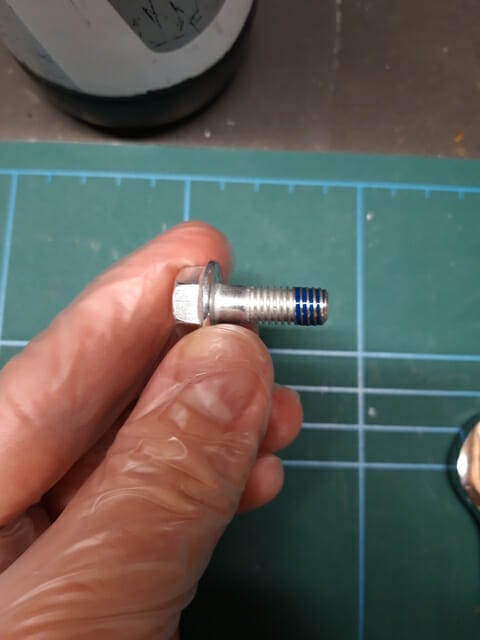
Once this is done, take one of those bolts out, apply loctite 243 to the end, then reinsert and finger tighten. Then repeat with the other bolt.
Now torque both these final bolts to 20Nm, to do this you will need a spanner on the inside to hold the caliper pin in position as you torque the bolt, as per photo:
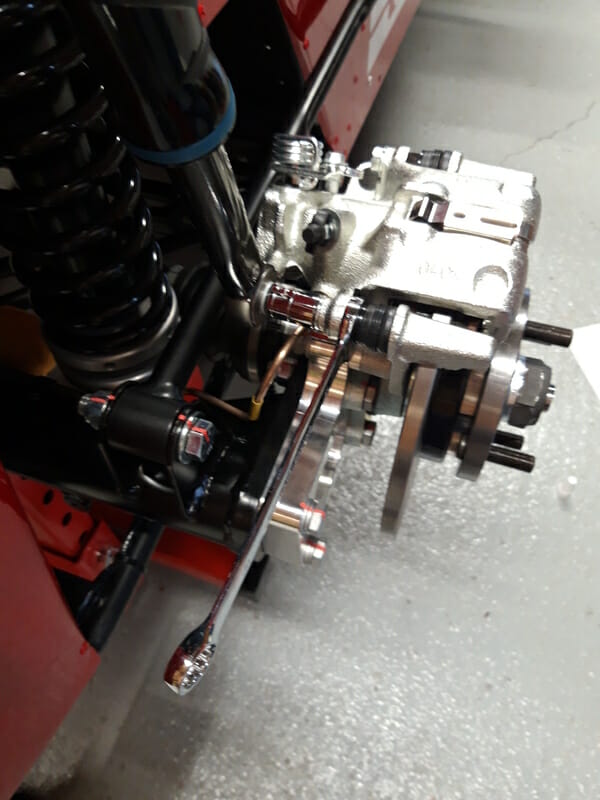
All done :
