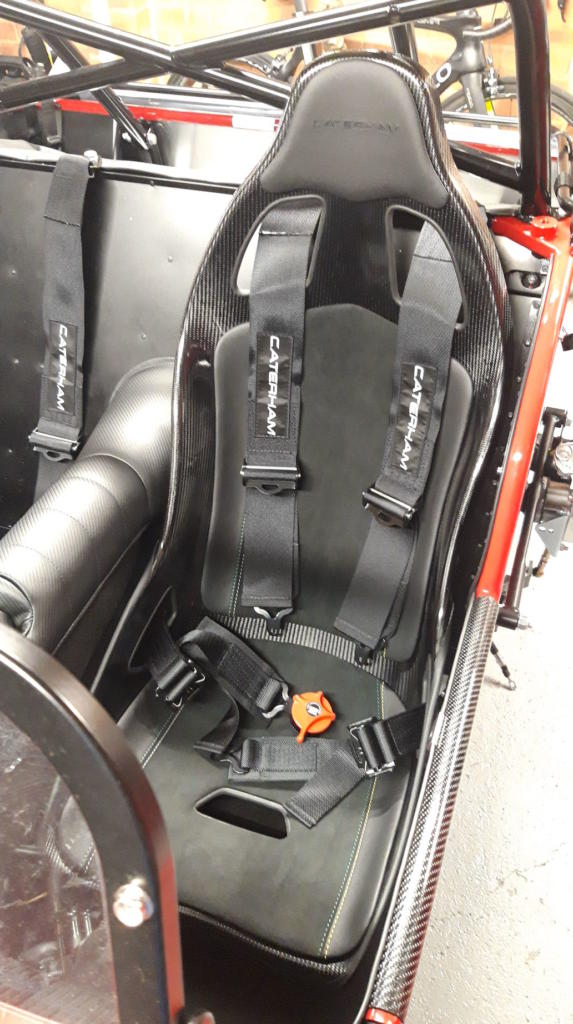
I have carbon fibre tillett seats. There are three main options of seating in the caterham – leather seats (look like fairly normal car seats), tillett composite seats (bucket seats) and Tillett carbon fibre seats (carbon fibre bucket seats). Tillett is the brand that manufactures the seat. This will vary if you have normal seats or even, I believe, composite seats, so please exercise caution. The main variation is with the spacers as far as I can tell.
With the carbon fibre seats I was supplied with two lots of pack 3FV179A (¨Caterham Seven 620R Composite Seat Fitting Z-Pack¨). This pack had a lot of parts I didn´t need, such as the countersunk caphead bolts. I didn´t have pack M or N as indicated in the manual. Wrapped with the seat itself are 8x 10mm plastic spacers. You are also supplied with mounts (two pieces of plain metal for the passenger side, which is not adjustable), and some black runners for the driver side (which is adjustable).
The bolts for the passenger seat are secured coming up from underneath the car into the mounting rails. The bolts for the driver seat are secured going down from the car, with nyloc nuts and a washer underneath.
Passenger seat
For the passenger side, take 8 x M8 bolts, the 4 M8 washers and split washers from the pack. I didn´t use the short countersunk bolts, or the countersunk washers.
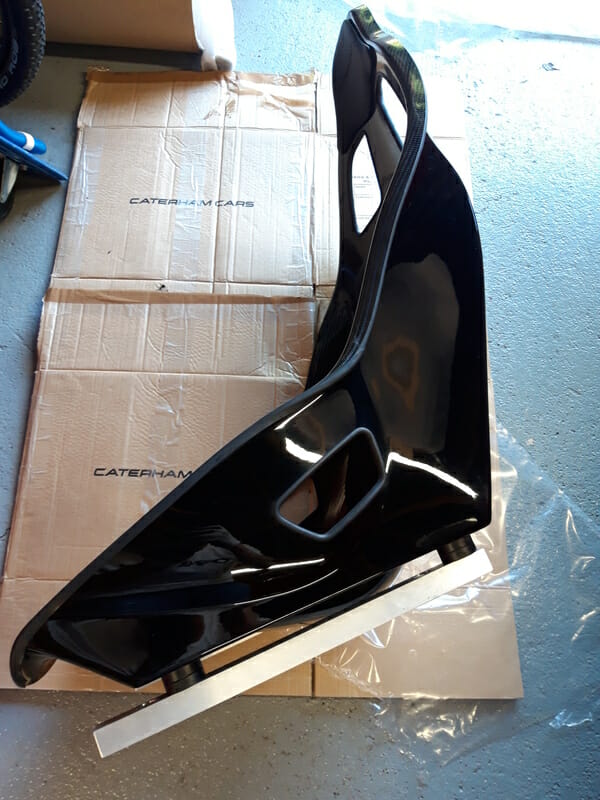
The bottom of the seat is not even – it dips down towards the floor, so you need to mount the seat to the runners with spacers. I used 2 of the 10mm spacers, which are included with the seat, on each corner. The manual may reference using thick and thin spacers, this I believe applies to the composite tillett seats, not the carbon fibre ones, so if you have composite, you will vary slightly as you will have also hopefully been supplied with pack M and N (whereas I was not). I received radio silence on my emails to Derek regarding seats.
Mount the spacers to the bottom of the passenger seats, resting the seat on some cardboard for general protection. Screw bolts through supports and into seat, note orientation of runners.
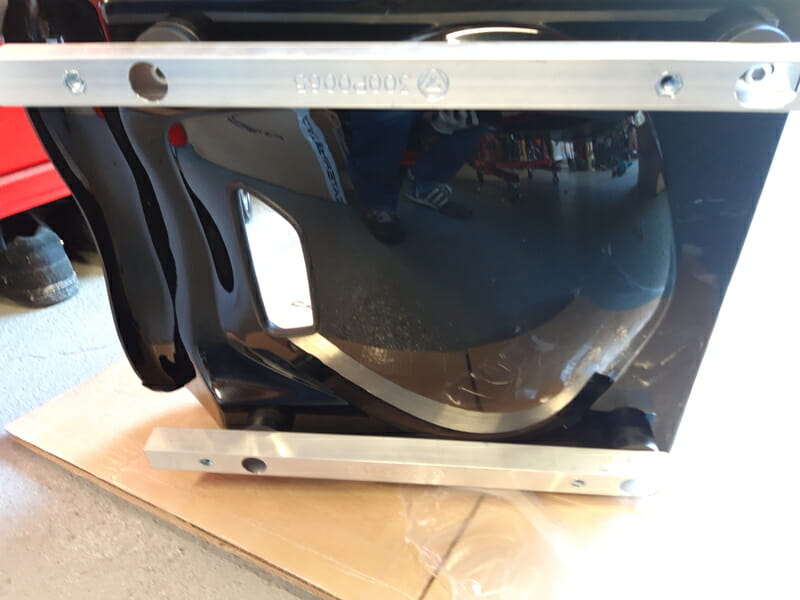
Torque these bolts to 14Nm. The new manual doesn´t refer to the any torque. The old manual refers to 14Nm. Derek didn´t reply to several emails asking about torque, and the dealer I bought the car from suggested 68Nm, which seemed a little excessive for an M8 bolt into carbon fibre! I opted for 14Nm as it would be easier to tighten later if required, was unlikely to break anything, and manual and various blogs didn´t refer to any torque at all.
Then you need to fit the seat. I started by moving the shoulder harnesses out of the way, and fully extending both lap harnesses and carefully draping them over the tunnel top/side of the car.
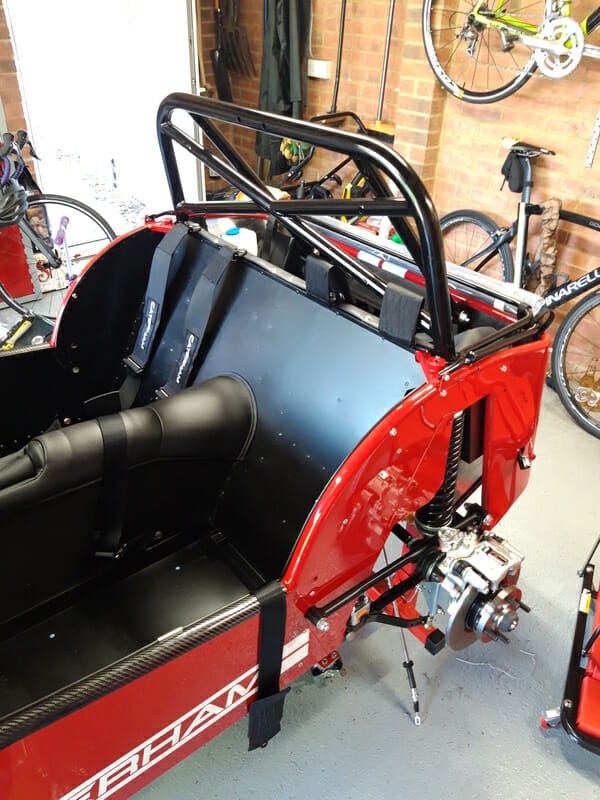
The seat is very light, so I could lift it with one hand. With the spare hand, I threaded the lap harnesses through the relevant holes – make sure they are not twisted and that the buckle you use to loosen them comes through the hole as well. Then gently place seat down on floor. Thread the shoulder harnesses through the relevant gaps at this point. You should have all four harness straps in place. Again, make sure the buckles on the bottom lap harnesses are inside the seat, not outside.
Now get under the car and see if you can see the runners looking up. Try moving seat back and forwards until you can see the threaded holes for the bolts from underneath car. I found (yet again) an pin punch useful to help center the holes on all four corners.
Now thread in the bolts with washer and split washer (split washer closest to bolt head as usual) from underneath the car up into the passenger seat mounts. Do up all four corners a few turns before tightening. Again I torqued these to 14Nm, similar thought process to that outlined above.
