The number plate light bracket is the bracket in the middle at the back of the car. The light has changed since the Caterham manual (v 1.2) – it has been replaced by an LED style light. This new light has a red and a black wire coming from it, but the wiring loom only has one single red/black coloured wire. This does not match the manual, but fitting is quite simple.
The red/black single wire from the car wiring loom needs to be connected to the red wire from the number plate light. The black wire from the number plate light needs to be attached to the car body to earth it. To do this you can use normal 12v connectors, I bought mine seperately as none were provided with the kit.
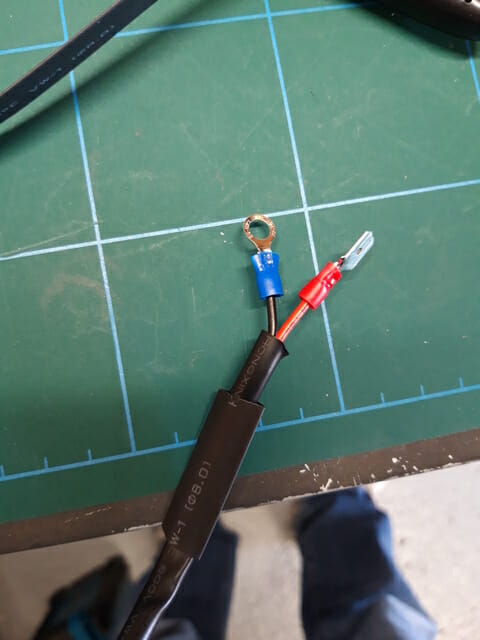
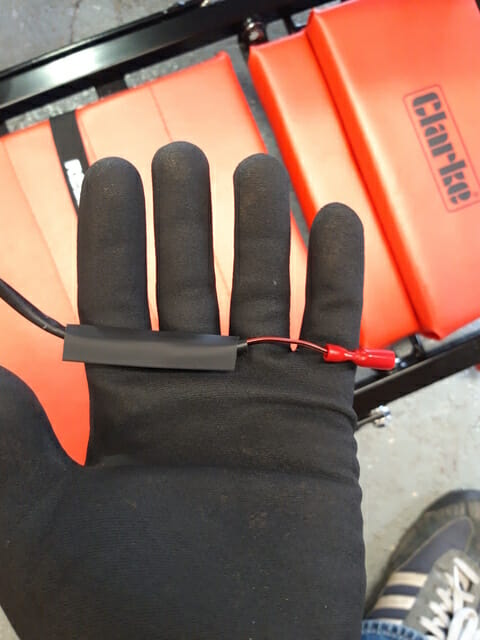
Cut about half of the wiring away from the number plate light. Add heat shrink. Once done, attach a spade connector to the red wire, and a ring connector the black wire.

On the single red/black wire from the car wiring loom, leave that at its current length, and attach the other end of the spade connector to this wire.

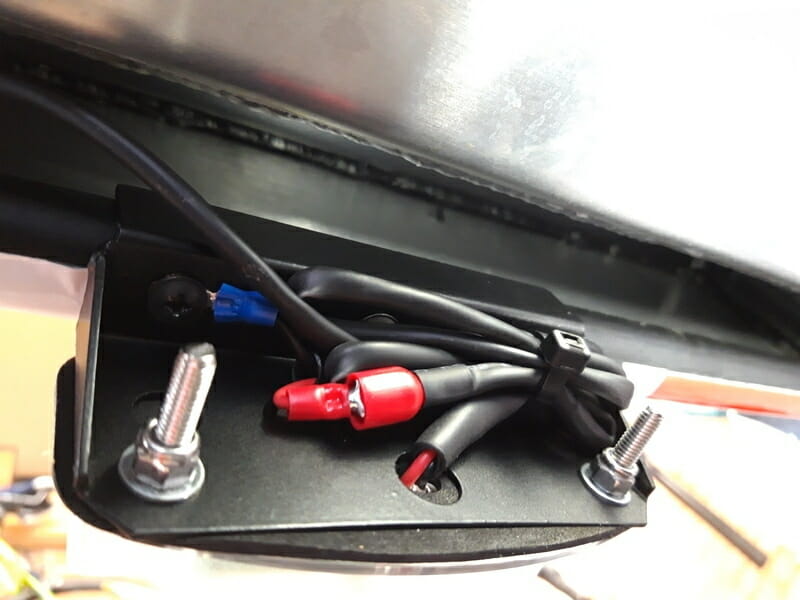
Feed the wires from the light, through the central hole in the bracket for the number plate light, securing with bolts. I swapped out the supplied normal nuts for M5 nyloc nuts (purchased seperately from Westfield Fasteners).
Now undo one of the screws holding the number plate light bracket to the rear body work, and attach the ring connector with the black wire from the number plate light here. Once you have reattached this screw, remove the screw on the other side, and attach a P clip to the car body. This P clip will hold all the wires out of the way in conjunction with a zip tie. Again, P clips were bought seperately and not included in the kit.
Now attach the spade connector (red wire from number plate light) to the connector you fitted on the single red/black wire from the wiring loom. Once done, get a zip tie and pass through the P clip and pull tight to hold all wiring out of the way.

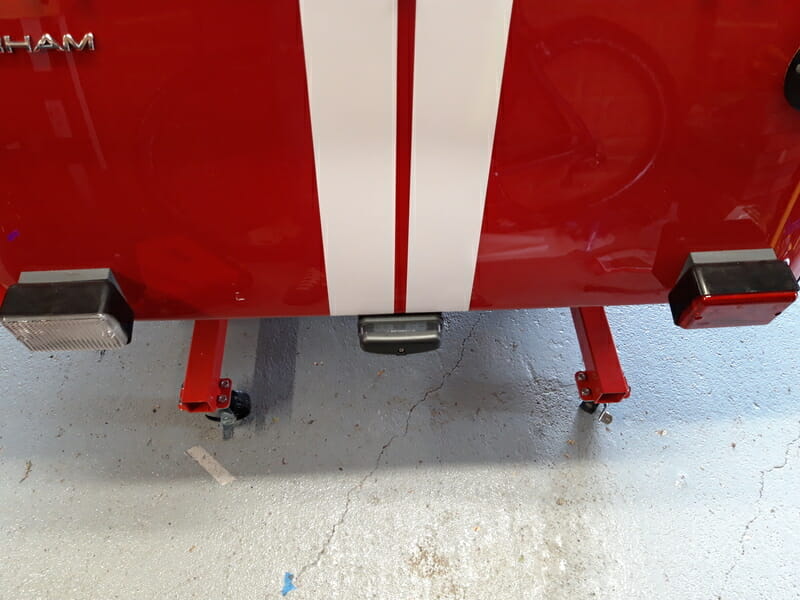
All fitted :
