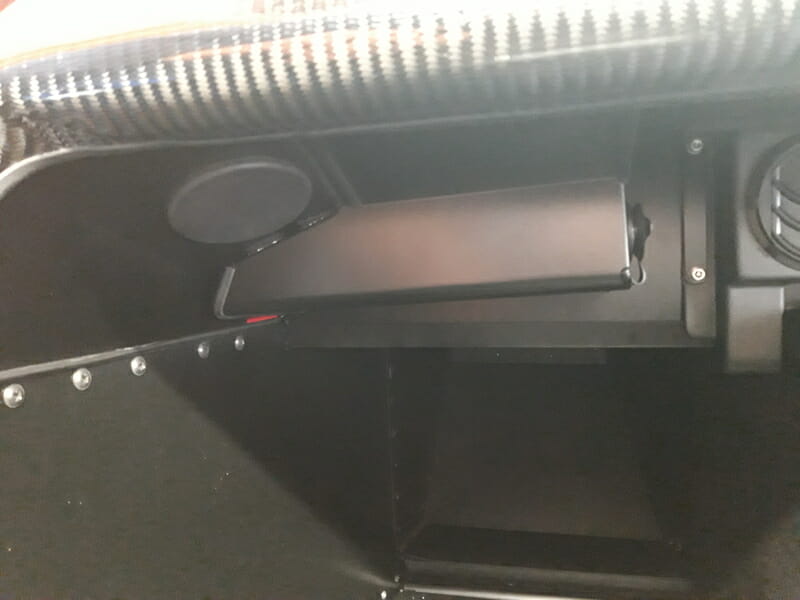
Knee trims
These knee trims are there to stop your knees bashing about under the dashboard.
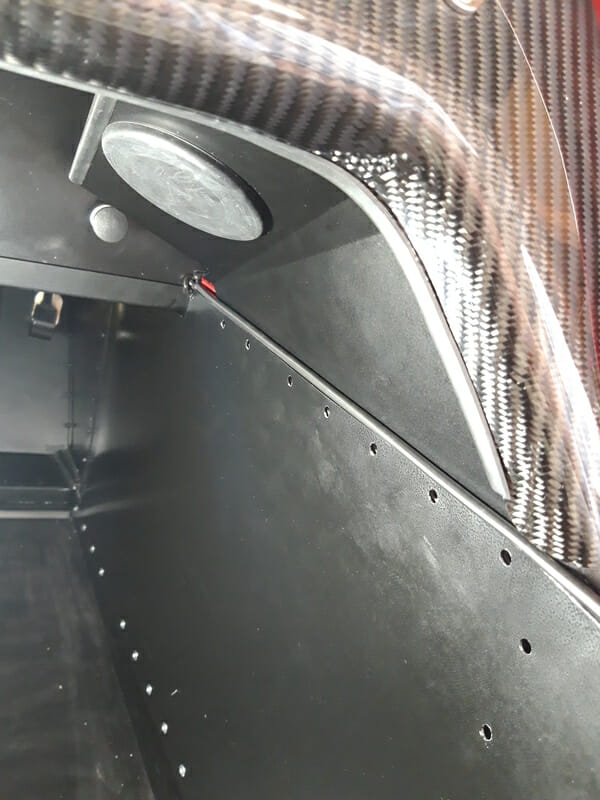
Start by fitting the IVA trim to the outer edge of the knee trim as per picture, secured with superglue.
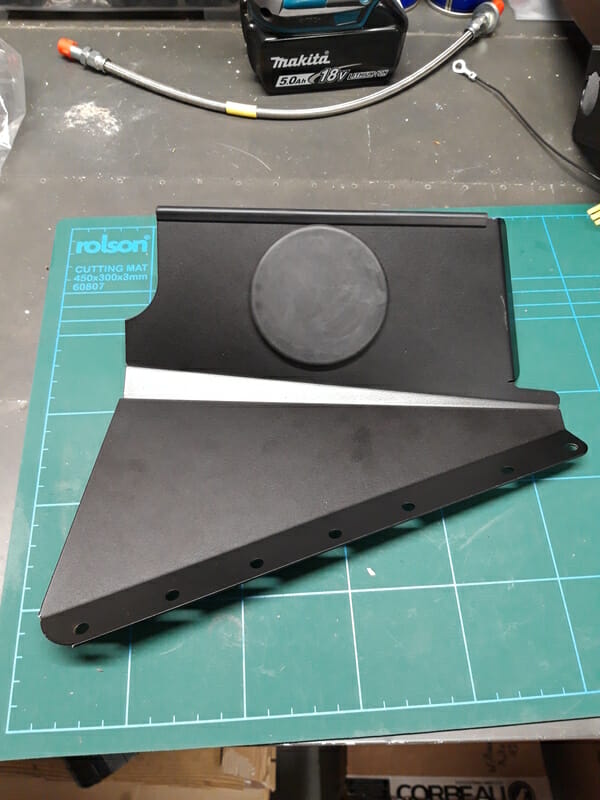
Once this is done, fit the rubber bung into position, ,making sure you have it the right way up. There is a bit of a knack to this and can take some time, but as usual once you have done one side, the other side is easy!
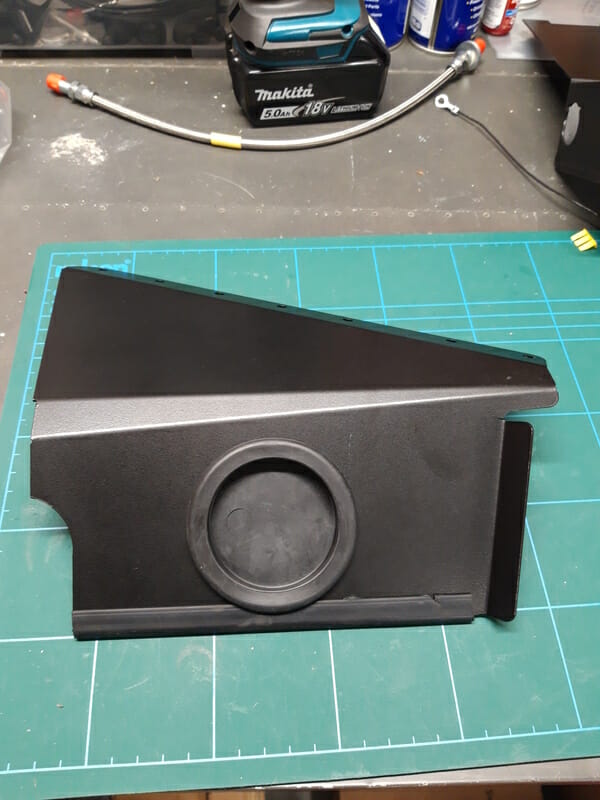
Now take the rubber piping that has been left in place. This needs to be trimmed to length first, so work out length to the end of the chassis and trim.
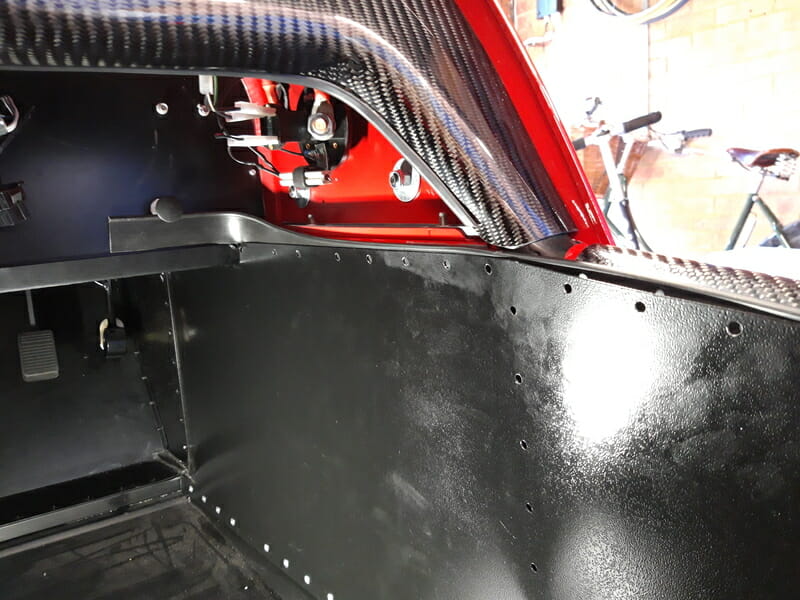
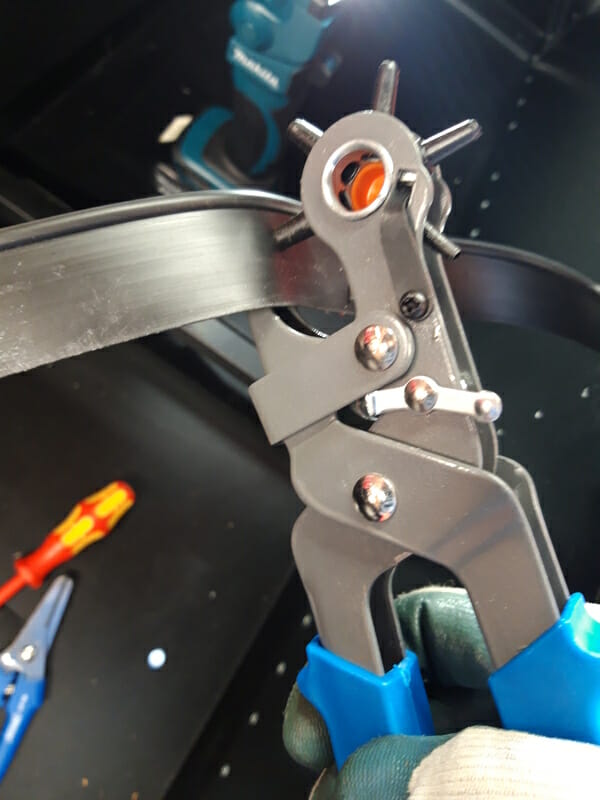
Now slide it down and mark all of the holes, using a pick or screwdriver, before pulling the trim back out and using a hole punch to punch out these holes.
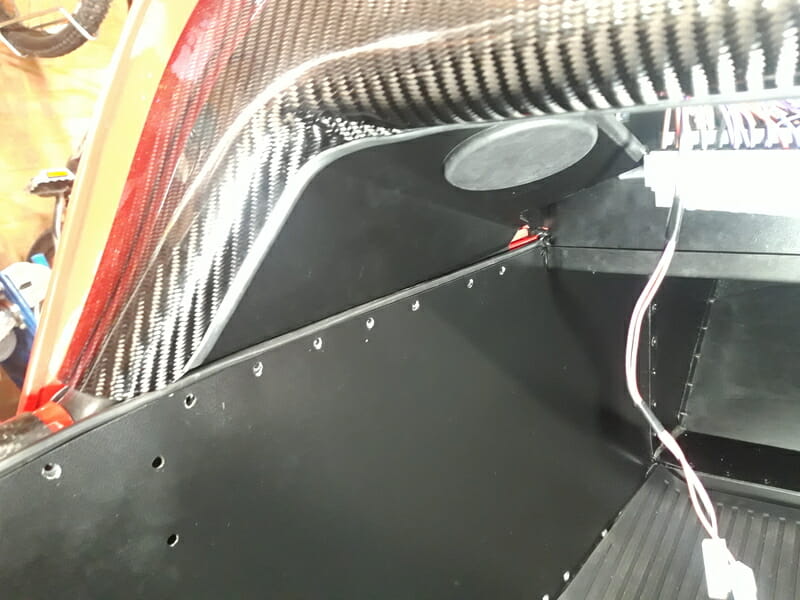
The best approach is to start with the passenger side, because you don´t have anything vital in this area getting blocked off. See if you can get the knee trim panel into place….
Unfortunately, the knee trim probably doesn´t fit, on either side. There seem to be some builders out there who can make one, or even both fit – my hat goes off to you! But also plenty of builders cannot get these to fit. The manual itself indicates that you should drill your own holes. Try to see if you can align these panels into place. In the event you can´t, get them in position as best you can. Then for extra bravery points, drill them while they are in position using a 5/32in HSS drill bit. I found that the holes were about 1cm higher than the original holes, and you want all 7 screws to be going through the panel. It should be quite obvious when the panel is securely in place, play around with it a lot and see how it fits.
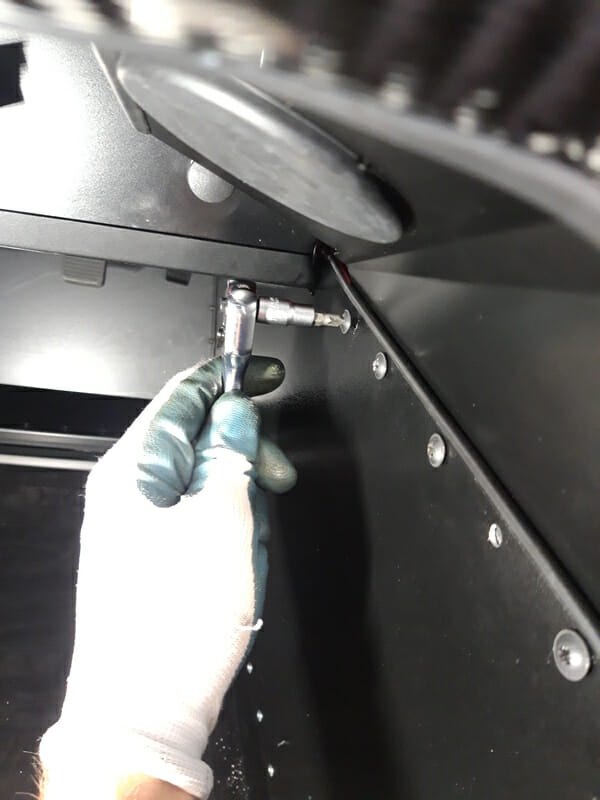
Start by drilling the middle hole. Be very careful that you don´t push too hard here. You only need to drill through the thickness of the knee trim, which is a couple of mm. The holes in the chassis should be pre drilled. if you push too hard, your drill bit is going to appear through the skin of the car and you´ll have a nice hole! So don´t push hard at all and be very very careful at this point. Drill out the middle hole and screw one self tapping screw from the chassis fastener pack ZCH01 into place. Once done, do the outer most holes, and again secure with screws.
Some of the self tapping screws can be a bit tight, as they tap. If this happens, pull them back out and run the drill in and out a few times to check there is no junk in the hole. I found that using a small quarter inch wrench with a posi head was much less likely to slip that trying to use a screw driver, especially on the far screws.
Now check the holes for the rivets carefully, you may need to drill the front most hole on the top row – I needed to do that, drilling through carbon fibre trim. If you drill carbon fibre good idea to wear a mask.Once you have all seven screws loosely holding the knee trim in position, get the black tipped rivets from pack ZCH01 and get them in position (should be 7 or 8 per side) for the final bit of riveting attaching the panel to the chassis.
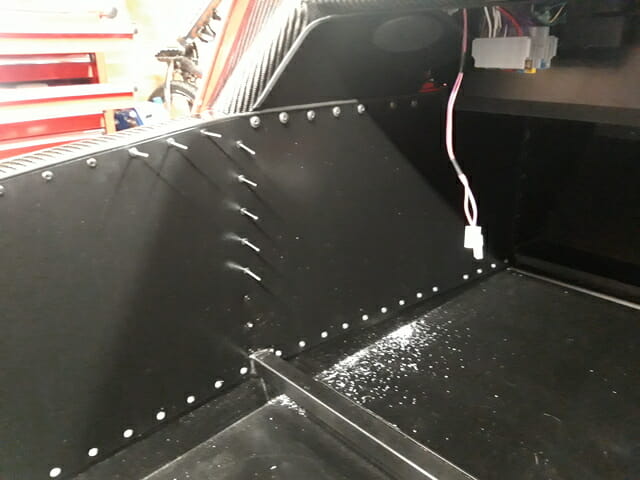
Once rivets are in position, fully tighten the screws holding the knee trim. Then pop the rivets, starting at the very bottom and working your way up, alternating with working back to front. Be very careful working around the rivets. When you use the pop rivet gun it has a tendency to jump when it snaps the rivet off as it uses quite some force. The ends of the rivets are sharp. Be careful that you don´t bounce the gun and jam your arm or wrist against the sharp ends of the rivets!
Repeat all this for drivers side, but exercise more caution here as you are blocking off some access and this will be a pain to remove later if you need to. I havent started my car at this point, so it feels like a bit of a gamble!
Give everything a good hoover and wipe down after this as there will be metal fragments everywhere.
Fuse box
The fuse box fits on the passenger side. The long wire that you see dangling out is used for the 12v cuban cigar lighter.
Start by applying all required IVA trim as usual to all of the edges, using superglue. Then add the 12V socket. This was hiding in the starter switch box that was in my boot when the car got delivered, it is caterham push fit into the hole and should be self explanatory. Finally, fit the velcro strip to the relevant edges of the fuse box. Cut small velcro strips for the longer length (if none supplied, ask) and stick to the front and upper edge of the fusebox trim as in the picture below. Leave the backing paper of the velcro on the outside until you are ready to fit!!
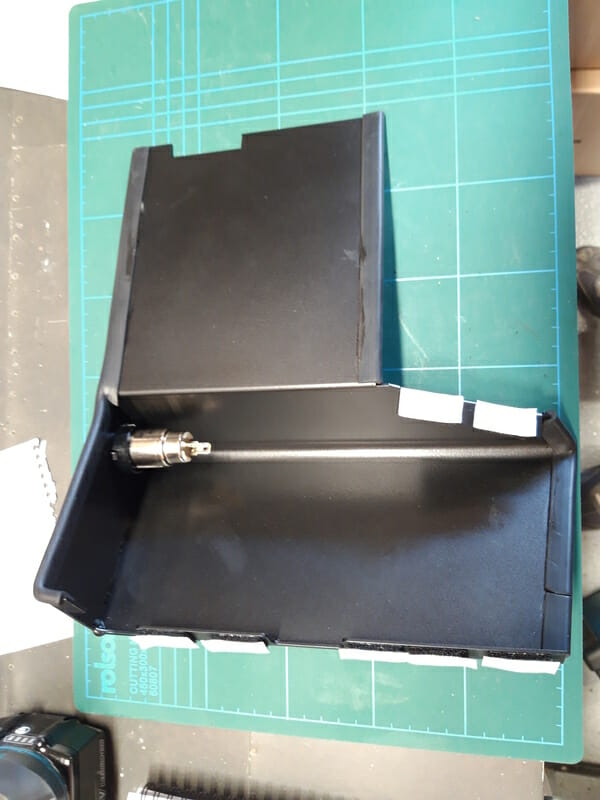
At this point do a dry fit of the fuse box to check that it fits in. The long flat bit will go above the unused steering column hole on the LHS.
When you are ready, attach the wire to the cigar lighter, get the fuse box loosely in position and then peel off the paper on the velcro pads before pushing it quite hard against the firewall, and also try to attach with some velcro to the knee trim.
