Notes
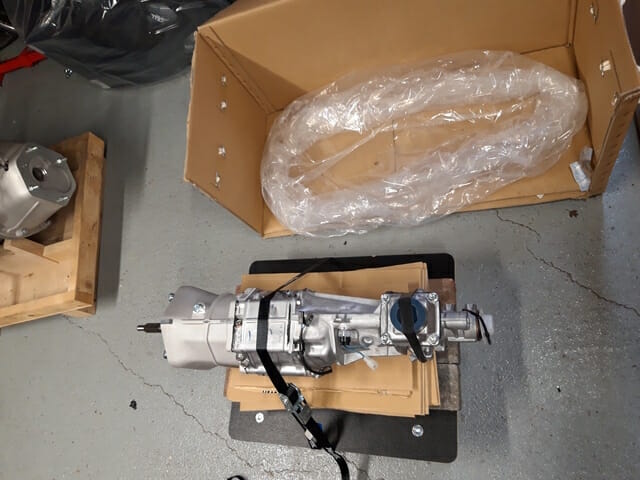
- The gearbox has two caps in place. One at the end, secured with a zip tie, and one on top, secured with tape. Do not remove these caps, they are keeping the oil in place!
- I used slightly modified torque values
- I didn’t use any copper slip
- You need a 10mm hex bit to attach the bellhousing to the gearbox
Before doing anything else, start off by cutting away one long side of the gearbox packaging. Using one layer of bricks on the dolly with maybe 5-6 layers of cardboard on top of that, you can get the gearbox to be roughly the same height as the bellhousing.
Remove the four bolts and washers which come in the front of the gearbox, these are not needed. Secure with one or two ratchet straps while you continue to remove the bellhousing.

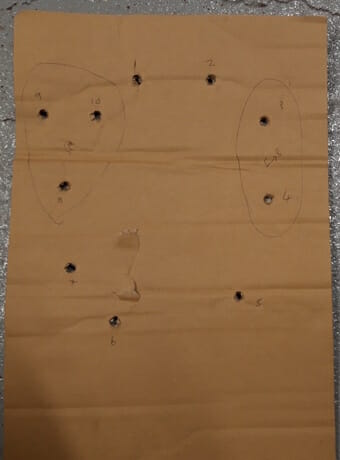
Before removing the bellhousing, make a note of all the various bolts on a piece of cardboard, poking a hole through it using a pencil. Number all of the bolts, and label the starter motor and the two bolts that are fitted front to back. Start by removing the starter motor – access is tricky on bolt number 10 (as labelled below), so take your time with various wobble bars and maybe a universal joint.
As you begin removing the bolts from the bellhousing, only remove one at a time and make sure you put it in the cardboard before removing another bolt.

Once all bolts have been fully removed you can remove the bellhousing. It isn´t that heavy thankfully.

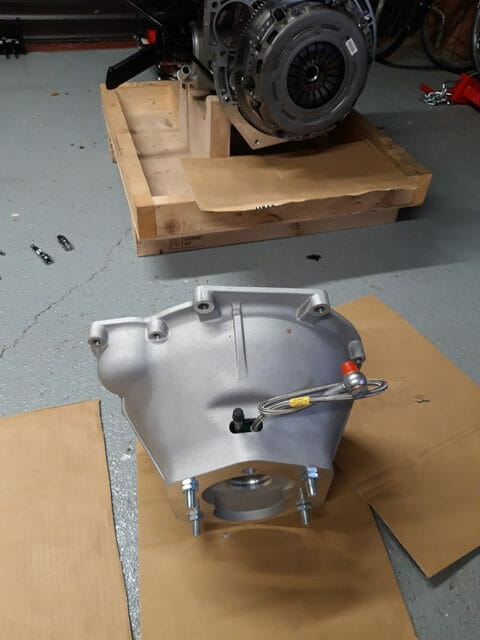
Remove the nuts from the outside of the bellhousing which are holding the caphead bolts in place inside the bellhoursing. These capheads are the bolts you use to secure the bellhousing to the gearbox, they will have a plain washer and split washer already fitted.
Carry the bellhousing over to the gearbox and slide it on gently. Using fingers just tighten each bolt up as far as you a little bit at a time. Once you have a fair bit of the thread engaged you can tighten further before torquing. I thought the manual looked a bit on the high side at 68 Nm, after asking Derek I torqued the bellhousing to the gearbox at 55 Nm. When you torque these bolts, the gearbox will want to rotate with the amount of torque you are putting down, so hold the gearbox with one hand or better still get a helper.
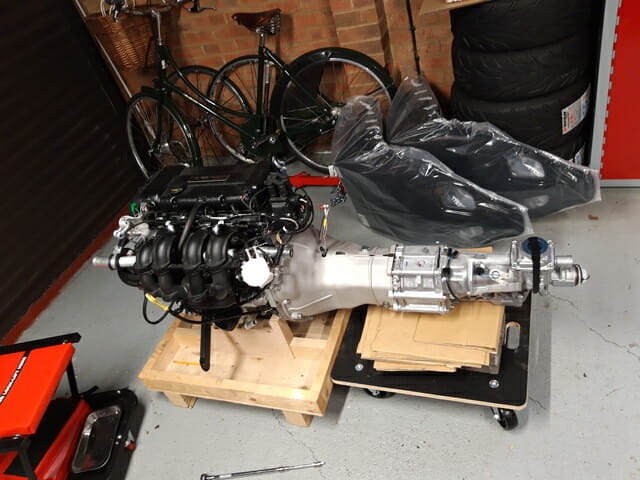
Once done, slide the assembled bellhousing and gearbox assembly, on top of the dolly, over to the engine and maneuver into place. You may need more or less pieces of cardboard to get the height right. It may not align first time either – if not try twisting the gearbox splines ever so slightly to change the alignment so they match the splines on the engine. Slide into place and take one of the top bolts for the bellhousing and using your fingers, tighten it as much as you can. Then start securing other bolts into place on the bellhousing, one at a time, using your fingers. Once you have bolts 1-7 on (all bellhousing bolts), tighten them very gently with a socket. Then put the starter motor in place and fit bolts 8-10. With all bolts, fit them one at a time, using your fingers only at first. Once all bolts have been fitted, tighten again with a ratchet, before finally torquing.
Again with torquing, mark each bolt as you go, particularly if you have average short term memory!
Bolt number 10, the furthest bolt on the starter motor, was the toughest to access on the 1.6l engine. I ended up using a UJ and several wobble bars. Because this made the distance between my hand and the bolt longer, I decreased the torque wrench setting slightly to 27Nm (back of fag packet calculation) and checked that a similar amount of thread was showing through the bellhousing to bolts 8 and 9, the other bolts on the starter motor.
I used the following torque values:
- Engine to Bellhousing : 47Nm
- Engine to Bellhousing (bottom two bolts, 5 and 6) : 35 Nm
- Starter motor to engine : 37 Nm
I did the bottom bolts at a lower torque as they were into the sump and not the engine/bellhousing. Some blogs have talked about lower torque values here or sometimes threading bolts. I did not want this hassle with the engine install planned for the next day. The old manual talks about 20 Nm for the bolts into the sump. Derek advised that builders use 35Nm on all bolts. I also figured if this is an issue I can rectify it later fairly easily and tighten these two bolts to 47Nm if required once engine has been fitted.

Leave the dolly in place now to support the weight on the entire assembly.
Finally, check that the two M14 bolts from the gearbox mount can easily (using fingers) tighten up into the bottom of the gearbox at the end. If not clean the thread out. Mine was fine, but if you need to do this you may need a few days notice to get the relevant tap size shipped to you via internet.