IVA Trim and Repeaters
Start by dry fitting IVA trim the whole way around the front wing. Have the join, where the two ends of trim meet, on the opposite side to the holes that are pre-drilled in the front wing for the side repeater.
There are three pre-drilled holes on the side of the wing – these face outwards from the car and are for the side repeater. Cover the three holes with masking tape, before using a 14mm drill bit to enlarge the middle hole so that the side repeater can fit. Careful – repeaters are handed. Look closely at the repeater itself and you will notice it is not symmetrical. Make sure that the lights on the repeater are facing backwards, double check you have the right side!
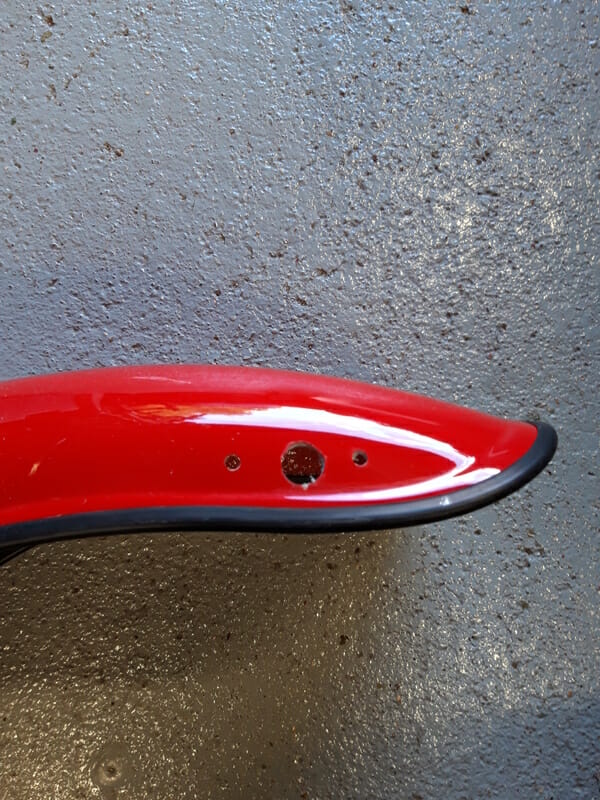
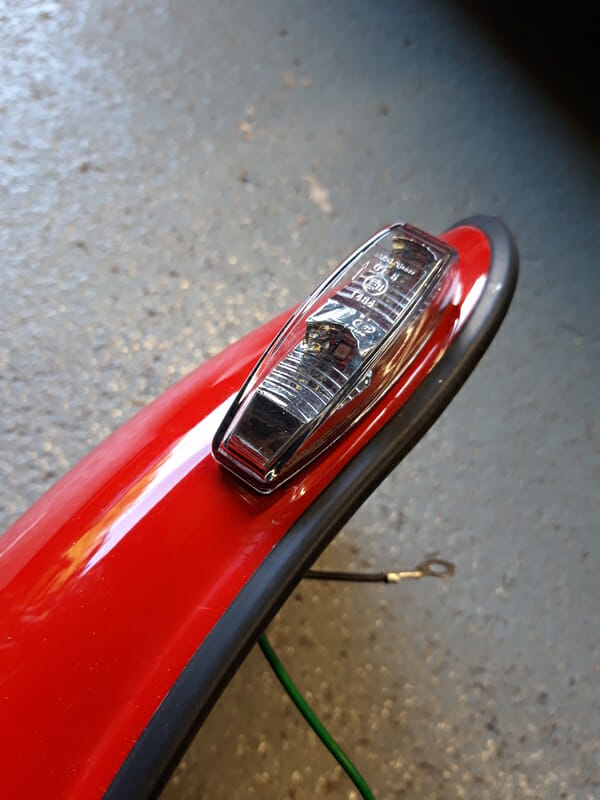
Now use superglue to fit IVA trim all the way around the front wings. Use a dab every 2-3 cm. Lift up the IVA trim on the inside and dab with superglue. Secure with clothes pegs to allow it to set. While doing this, apply about 20cm of heatshrink 4mm 2:1 to the green repeater wire – much easier access now. Once the superglue has dried, fit the repeater to the wing and zip tie cables loosely out of the way for now.
Prep The Wingstay
Use a 1/8in HSS drill bit to drill approx 5-10mm in from the end of the wingstay tubing as per manual – drill down from the top. This is for the repeater earth.
The wing is attached to the wingstay using a super strong bonding agent called Teroson. This should be included with the kit. To maximise the bonding, best to remove the powder coat where the wing will meet the wingstay, and then score it thoroughly with a file. This creates a nice surface for the bonding agent to work into.
Start by using the Dremel to remove powder coating from the top. You can protect the surrounding area from debris by pushing a bin sack over the wingstay as in this picture. That way nothing is going to get in the brakes etc.
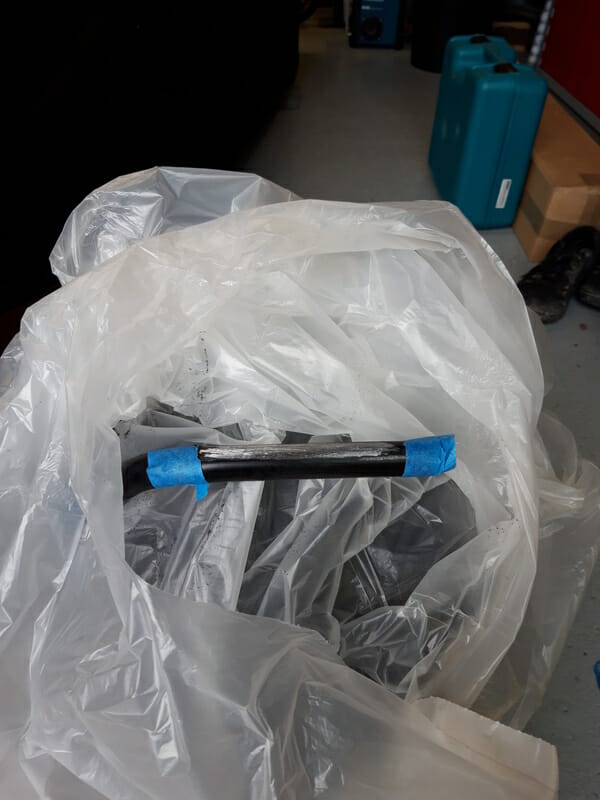
Once done, then score with a file.
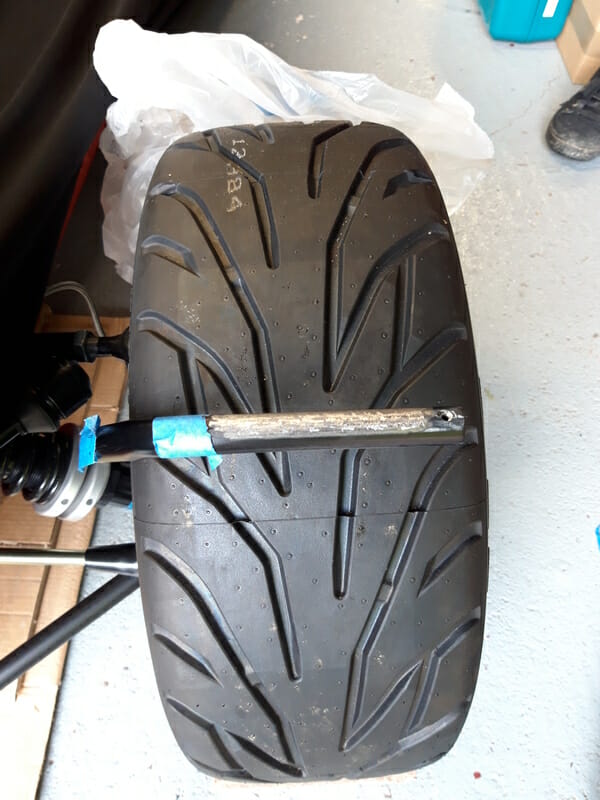
Repeat this for all other wingstays. Make sure it is the contact point that you are filing – especially on the rear prongs of the wingstay (contact point there is not just on top of the wingstay.)
Perfect Positioning and Practice
Now put the wing on top of the upright and check if it is level. It may be off very slightly, this is ok as the glue will compensate a little. If it is off severely, try to level it out – jam a screwdriver underneath and give it a good whack with the hammer – I only needed to do this for one prong.
Once you have the wing level, use a ruler to measure the distance from front of the wing to the front tube on the upright. This should be around 75mm to 80mm. The key here is that for the IVA, the front of the wing is ahead of the wheel (ie the alloy wheel), but behind the front of the tyre, when you look at it from the side.
Once you are confident on positioning, get pieces of masking tape and attach to the wingstay and the wing where they meet, and mark positioning with a pencil.
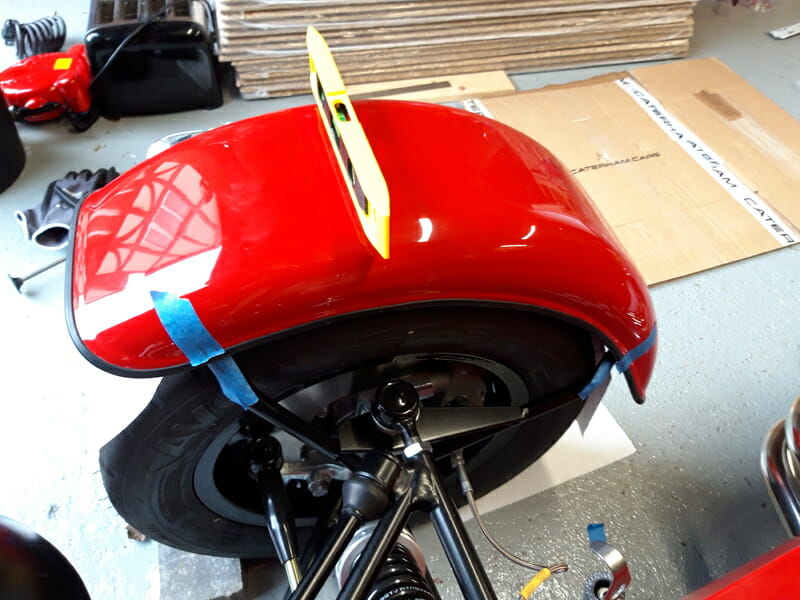
Use this opportunity to practice putting the wing on and off. As well as the front – back positioning being correct, you´re looking to have the left/right positioning correct as well. You want fingers to fit down both sides, and when you look down from above you don´t want to see the wing on at a strange angle. Get comfortable taking the wing on and off the wingstay now while there´s no glue present!!
Finally, mark on the underside of the wing the rough area where the wingstay meets with the wing and sand this (wear your mask obviously), this again will aid with adhesion.
Fit The Wings
Now jack up the front of the car if not already done, leaving the wheels on, and put some axle stands in position for safety. Fit one wing at a time – ie apply glue and then fit the wing and tape, before moving on to the other wing. Lay out the correct wing on the correct side before you start using glue.
Take the Teroson and push the bottom in with a screwdriver.
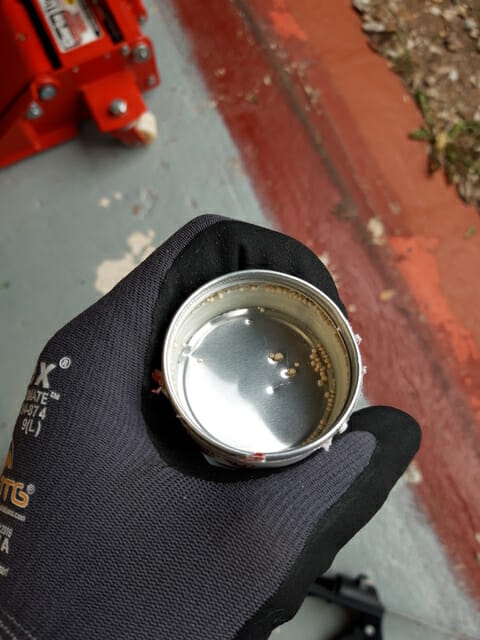
The top of the tube needs opening, then attach the long plastic head and use a Stanley knife to cut about 5mm off the end, so you get decent width bead on the glue you´re going to squeeze out.
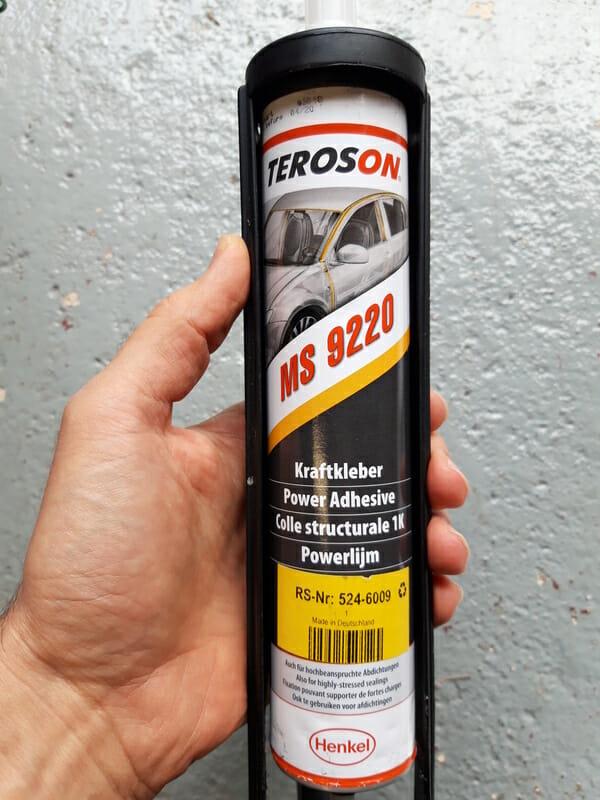
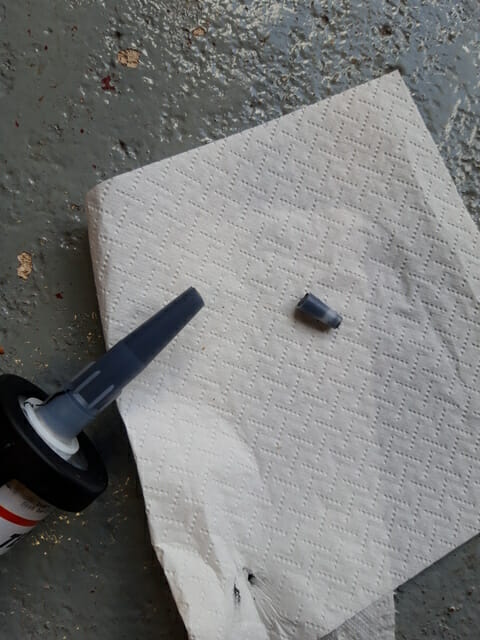
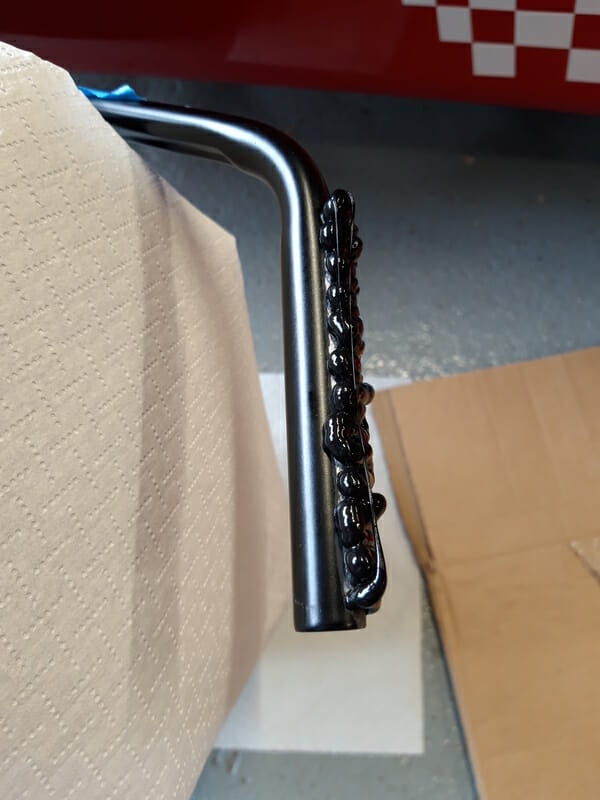
Now start on one side and apply a nice fat bead to the top of the wingstay.
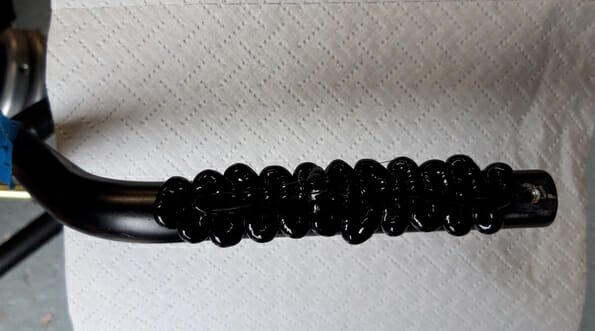
Same on the rear prong, note slight angle for best contact point.
Once you have applied the Teroson, bring over the wing (triple checking the repeater is on the outside!) and lining up the tape you already applied as a guide, press down just as you practiced. Make sure that the wiring is hanging out of the way – you don´t want to glue this. Again, make sure you apply the wing at the correct angle, looking down from the top as well. Should be able to fit a finger underneath on each side between wing and wheel. No need to press mega hard, but hard enough. Put the spirit level on top to check the wing is still level. Then take masking tape, and wrap around 4-5 times. In doing this, careful you don´t dislodge the wing.
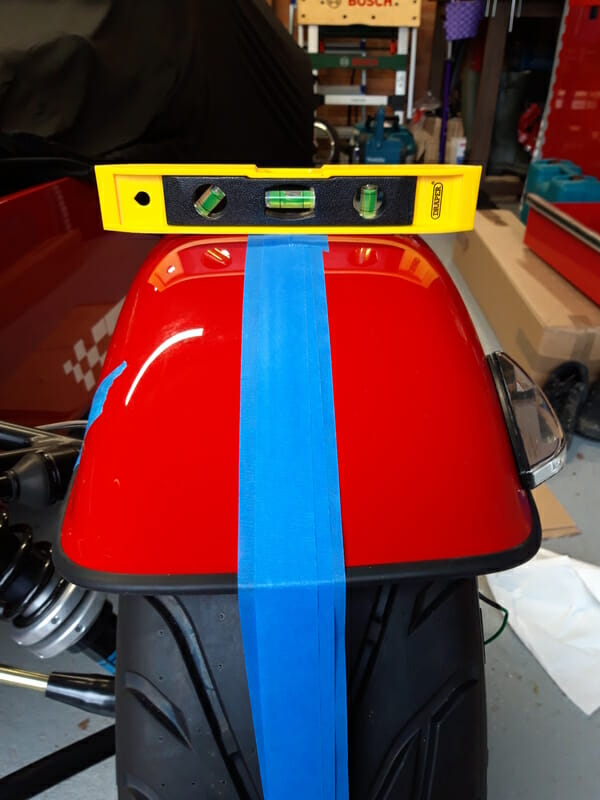
Take a breath… stand back and make sure it looks OK, then repeat on the other side.
Apply some insulation tape to the end of the Teroson to help prevent it drying out, and come back in at least 24 hours for the next part. I ended up leaving both wings taped for 48 hours.
Improve The Bonding
When you come back, start by removing the masking tape and give both the wings a nudge. They shouldn´t budge at all. Now time to shore up this bond, by applying a load of Teroson underneath.
Remove the front wheels, cover both the front disks with bin bags with some roll over the top – you don´t want any of this stuff dripping onto your brakes! Also place paper towels on the floor, as you don´t want this getting on floor either. (If it does, WD40 is solvent so use that to remove.) Sling the wire up over the wing as well to keep it out of the way.
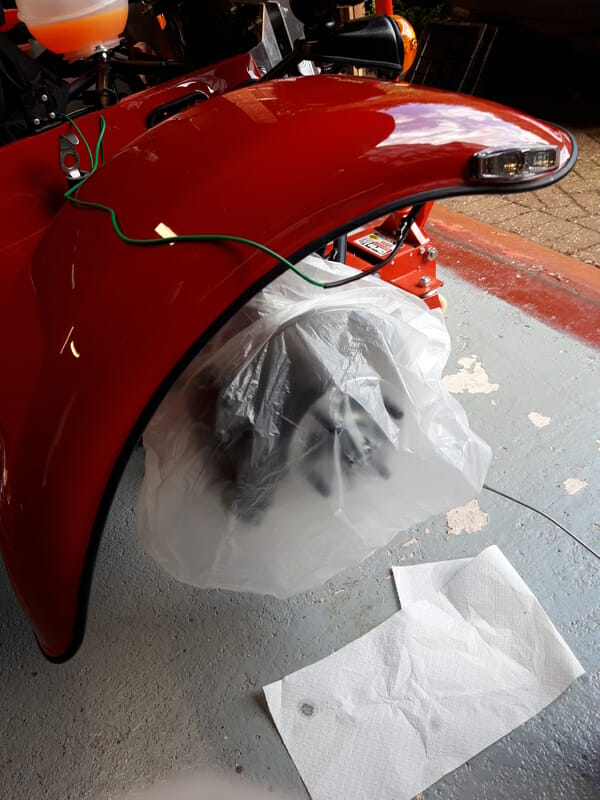
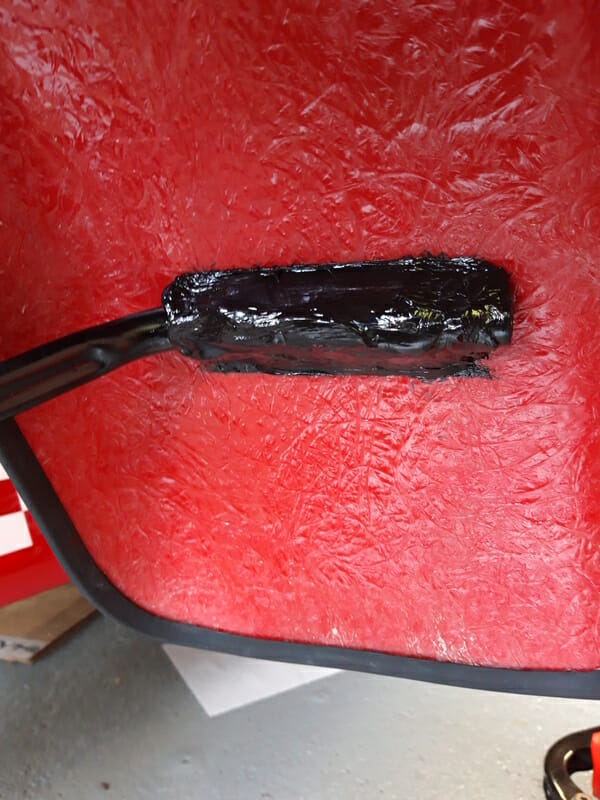
Now underneath the wing, apply masking tape on either side of the wingstays on both sides, this helps get a crisp line. Get your box of latex gloves nearby, a bin and a load of spare tissue, the next part can get a bit messy.
Once both sides are prepared and ready, get the Teroson out again. You will probably need to use the Stanley knife to cut the end of the nozzle off. Now put two fat beads down either side of each stay on the upright, and one or two fat beads along the top. Wearing latex gloves (i doubled up, don´t want this on your skin) and eye protection, spray a little bit of WD40 on top of the Teroson and then begin smoothing this with your finger. You may be surprised how well the WD40 works as a solvent, I was.
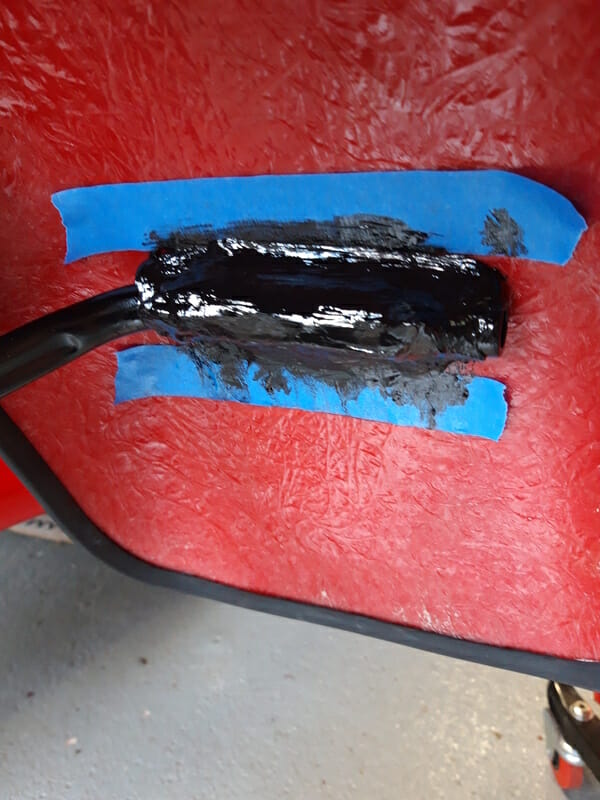
Smooth it over using the gloved finger, get it nice and smooth. The WD40 may drip a bit onto the towels on the floor. Once there´s not much more dripping, remove the masking tape (Don´t leave the making tape til the glue sets, itll be a right mess!). Repeat for the other three joins. Keep an eye out and be ready to mop up any final drips. When doing the front of the wingstays, be careful you don´t cover up the hole which is going to be used for the repeater earth!
Again, leave for 24-48 hours to set. You should now have wings bonded to the wing stays.
