Notes
- The various mounts needed for engine and gearbox are probably in the small Ford box labelled ¨Starter Motor¨. The bolts required may be in the ¨Miscellaneous pack¨.
- On a 310 you need 1/2inch x 2.5 inch bolt on the RHS, with split washer, and the 1/2inch x 1 inch bolt on the LHS, with no split washer.
- Fitting radiator, heater and airbox after engine to give more room
- You need a 3/8 inch hex socket to secure the engine mounts – if you don´t have one order it now!
Secure rubber engine mounts into engine bay. Start by checking that the large half inch bolts will fit through the engine mounts and clean out any debris in place. The longer bolt will have a split washer eventually and belongs on the RHS. The shorter bolt does not need a split washer and belongs on the LHS.
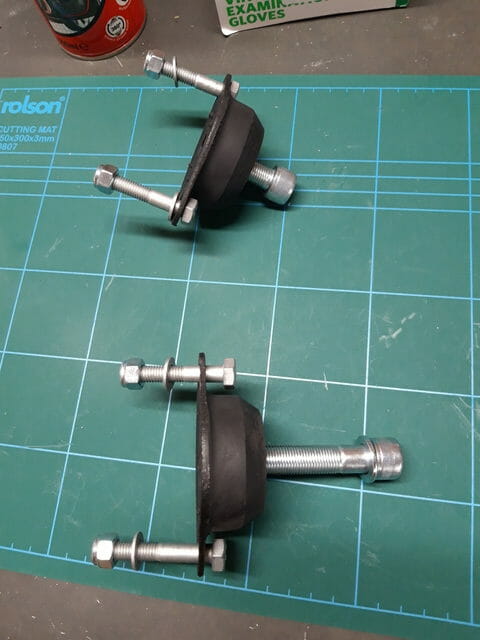
Now secure the mounts into the engine bay – three of the bolts are 45mm and one bolt is 50mm. This is a hangover from when an earth used to be fitted to one of these bolts. This earth is now fitted to near the battery, but the bolts haven´t been updated so don´t be worried that one is 5mm longer. There is only one washer for these bolts, and the washer should be on the bottom.
When you feed the bolts for the engine mounts down, you probably need to turn them and have the thread cut thru as the hole is quite tight. Access may be tight on the rear RHS engine mount, I got around this by very slowly turning the bolt with the spanner in a vertical position
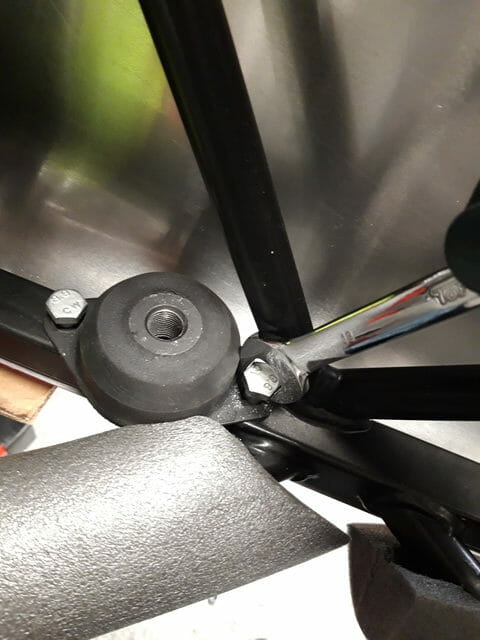
Don´t tighten these all the way you want plenty of wiggle room for later, but do put the washer and nut on the bottom to avoid losing them.
Remove the engine mount arms from the engine and touch up any damage with black hammerite paint. I used zip ties on each of the bolts to hold them in place, as again they are different sizes. On the RHS the two large bolts go at the top. On the LHS the front bottom bolt is the longer one. Place these out of the way on the correct side of the garage to avoid confusion when fitting engine
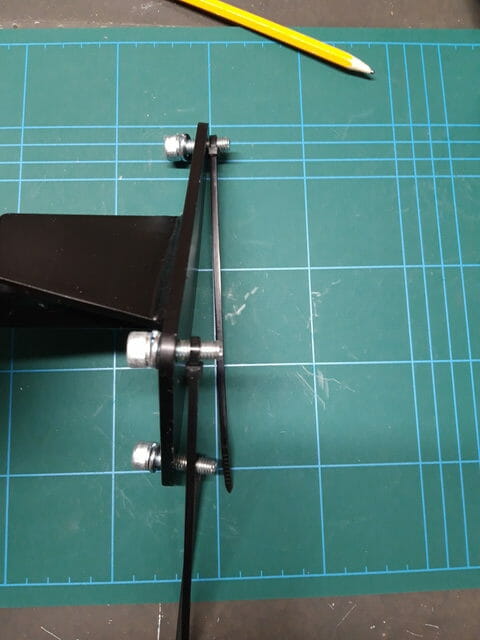
Get bolts ready for gearbox mount – the 4 bolts required to hold the gearbox mount in place, each with two washers and a nyloc nut, were already attached to my gearbox mount in the starter motor box. Get out the creeper, get on your back and pull yourself under the car, with the four bolts for the gearbox mount and the gearbox mount itself.
Offer up the mount to the car to identify the correct holes. It will only fit four.
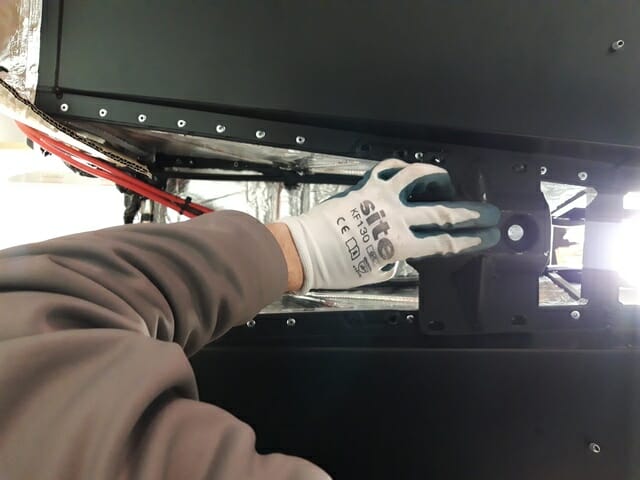
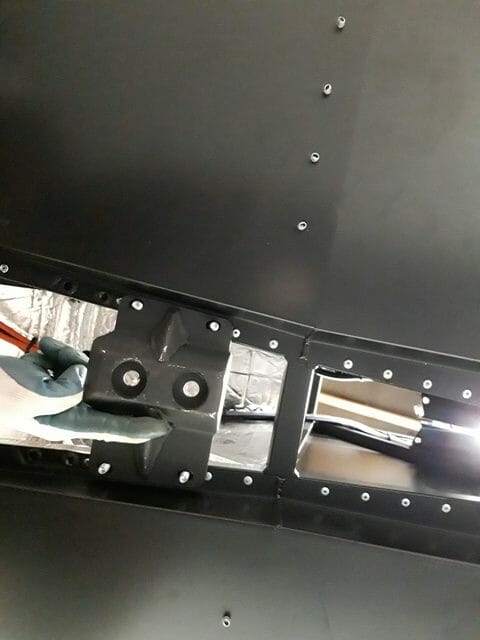
Once you have identified the correct holes for the gearbox mount, place the mount to one side and taking a bolt, push the bolt up through the holes that are needed. There is tape in place on the top side. Thread the bolt up and down a few times – you may need to gently push in the heatshielding above to allow access as it is very tight.
Once you have cleared out as much of the tape from the top of the holes as you can, take a washer and push into place on top of the chassis. This may tear a tiny bit of heat shield. Then push the bolt down from the top. Again you may need to use your thumb to gently push in the heatshielding to allow the bolt to push down. The goal is to keep the heatshielding as intact as possible.
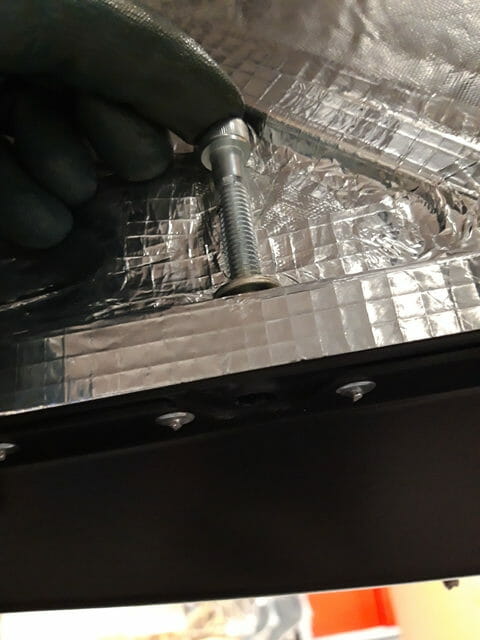
Two reasons for going down from top
- Access will be very restricted later once gearbox is in place, I figure this is easier.
- Some IVA inspectors apparently want to be able to check the thread on these bolts is visible (to ensure they are tightened) while looking underneath the car and can´t do that if the bolt is pointing up. This also makes sense to me.
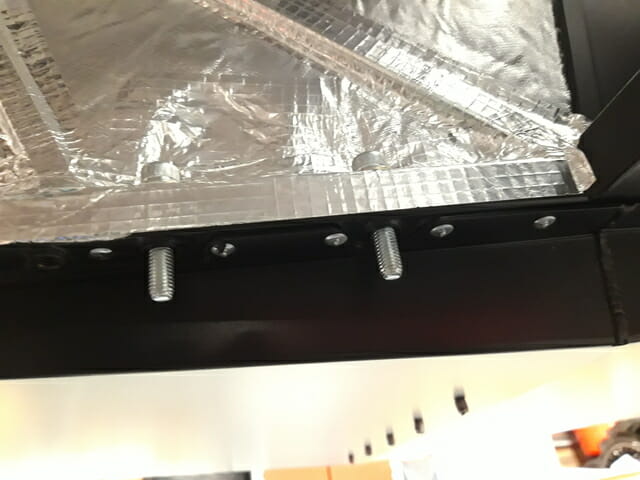
Once done you should have all four bolts in place. Get the gearbox mount and do a final check that you have the right holes. Make sure that any loose debris is not on the threads of these bolts, give them a brush to make sure they are clean and ready for the nuts. Store the nuts and other washer with the gearbox mount to prevent them being mislaid.
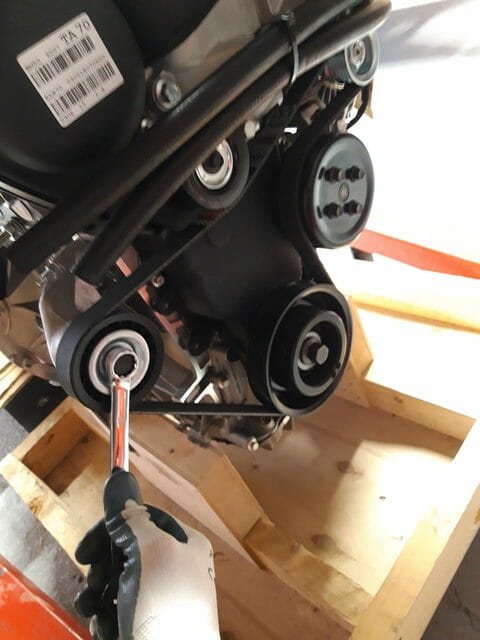
Remove timing belt and tensioner – using a 15mm spanner, turn the bolt on the tensioner clockwise. This is spring loaded and will remove tension from the timing belt, just slip the timing belt off one of the cogs and then relax the spanner. Pull the belt away and then loosen the three bolts holding the tensioner in place and take the tensioner off, then place the bolts back on the engine so as not to lose them. This is easy to reattach later and will save you space.
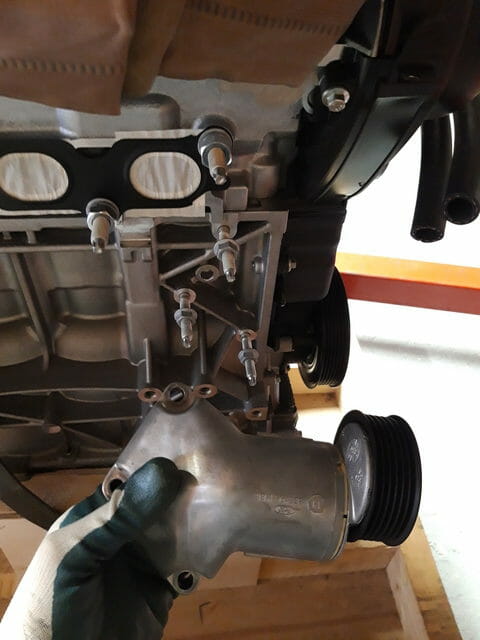
Now remove the tensioner :
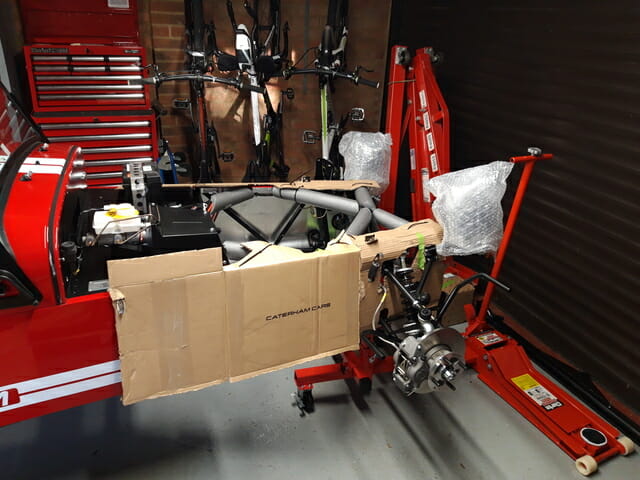
Check that the hoist can reach far enough forward to insert the engine – the blocker may be fitting the legs of the hoist around the mobile axle stands. i had to lift the car up at the front and close up the axle stands to get this working comfortably.
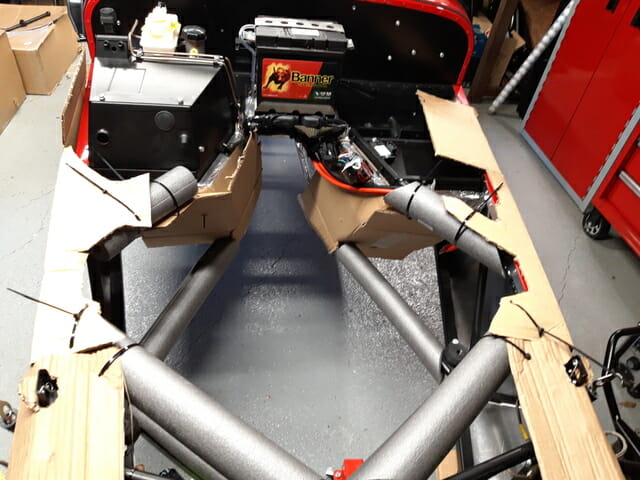
Finally, protection for engine bay – using a combination of cardboard and 22mm pipe insulation, make sure the chassis, bodywork and heatshielding is protected ahead of the engine install
