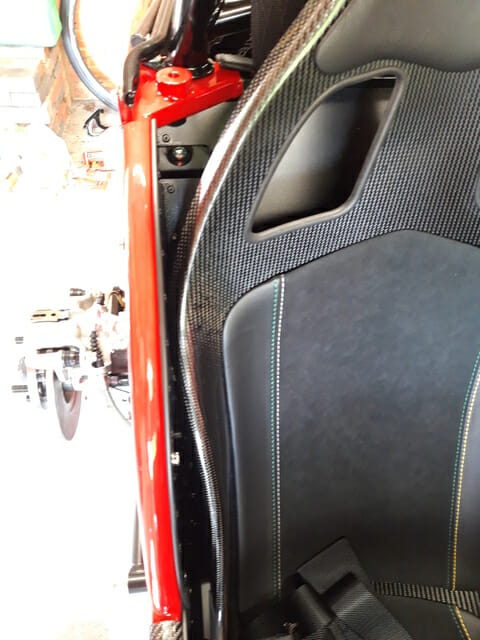
Driver seat.
Drivers seat is a bit more complicated as it has runners. There are some Caterham issues on the carbon fibre seats it seems. Again I am going off reservation a little but Derek hasn´t been responding. There are two runners. Once has a handle and one does not. The runner without handle goes on the inside of the car. The one with handle goes on outside of car, with the handle at the top.
The handle on the driver seat runner won´t fit underneath the cross support on the lowered floor version of the caterham, so travel of the handle is obstructed.
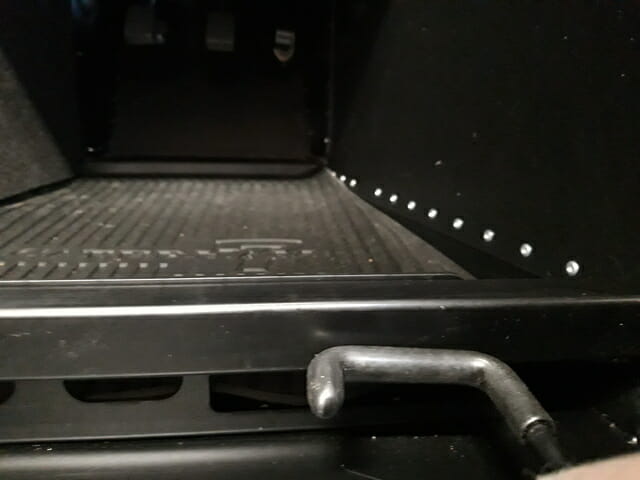
So the handle needs to be bent to allow it to travel. I did this using body weight and a breaker bar as the handle is quite strong. It needs to be bent down slightly.
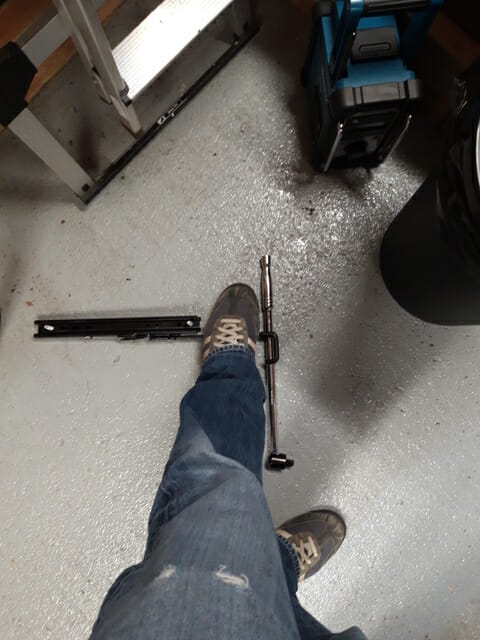
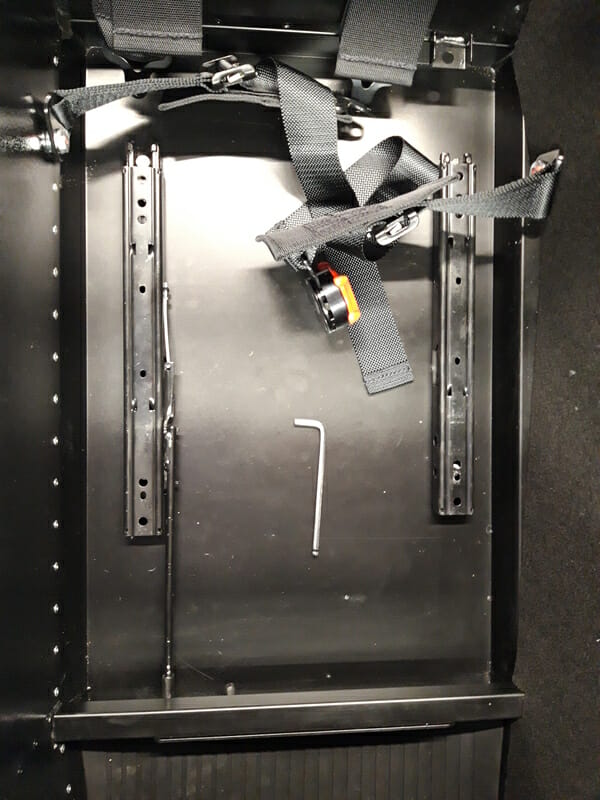
Secondly, the bolts on the driver side need 4xM8 nylocs which aren´t supplied with the seat fitting kit. I sourced my own nylocs (M8 A4 stainless steel – marine grade as they are going to be underneath car). The difference on the driver side is that the bolts come down from the car, with nuts underneath. On the passenger side, the bolts are done upwards, securing into captive nuts.
Third issue – You have a caphead going down and a caphead going up – and yes, it is off by about a millimetre. As you can see in the picture below, this will stop the runners from moving back and forward as the bolts will bang into each other.
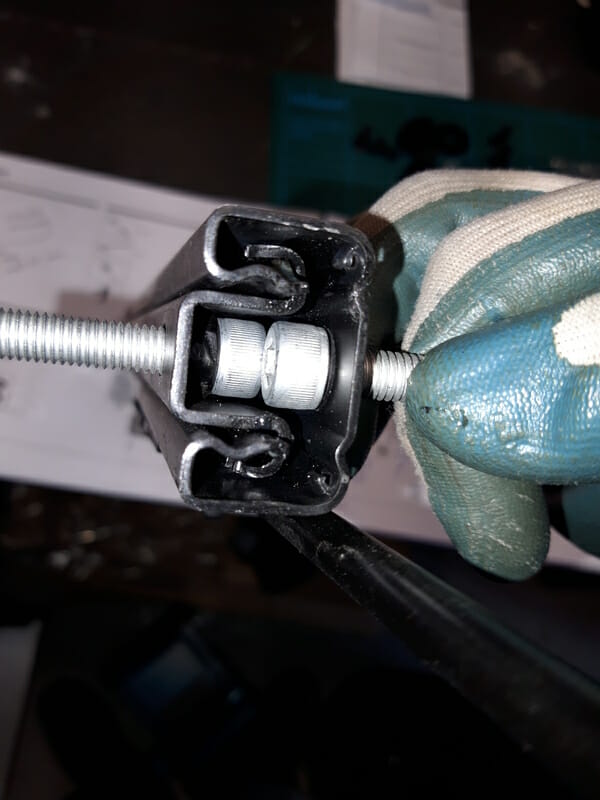
As a result I ordered 4 x M8 35mm 10.8 bolts from Westfield Fasteners, and these bolts will go up into the seat with some loctite applied to them.
Onto the fitting :
Start by threading the caphead bolts into the holes on the runners – youll notice that the holes are threaded, which should make fitting a lot easier. These are the bolts that are facing downwards and will go through the chassis of the car and have bolts fitted to them. You will need to move the runners backward and forward to do this, so you can only do one at a time.
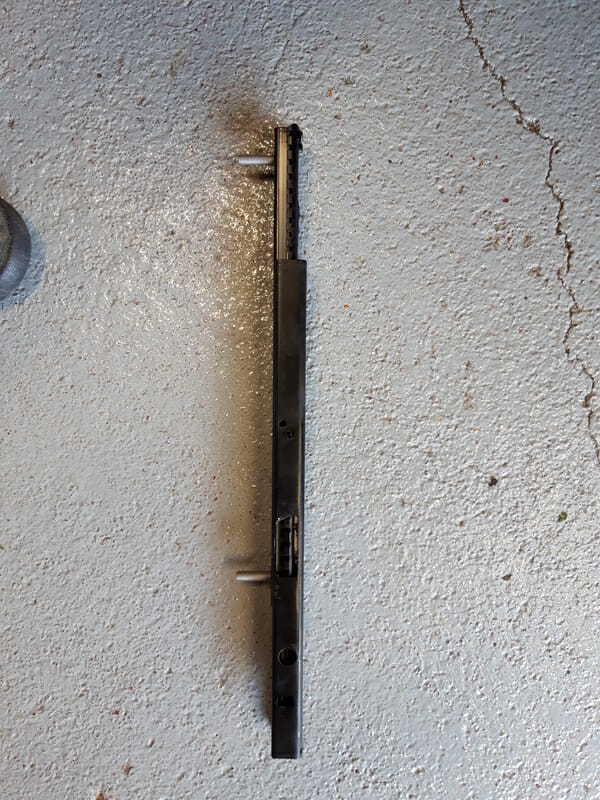
Now using the M8 hexhead (ie normal) bolts, secure up into the bottom of the seat, again separating the runners from the seat with two 10mm spacers on each corner, make sure you use some loctite on these bolts. The head on these bolts is thinner than the capheads, so the runners will be able to slide.
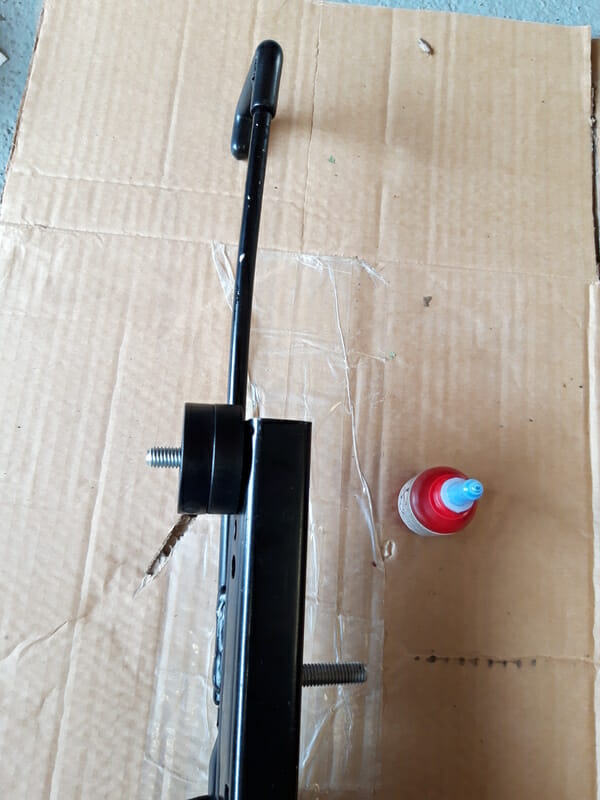
Locate and loosely tighten with fingers first, do not tighten one fully before doing the other. Tighten to 14Nm (same logic with torque as for passenger seat). You can only work on one bolt at a time, but you can pull the runner away from the seat if you want to change the bolt you are working on (this will allow the runner to travel back and forwards).
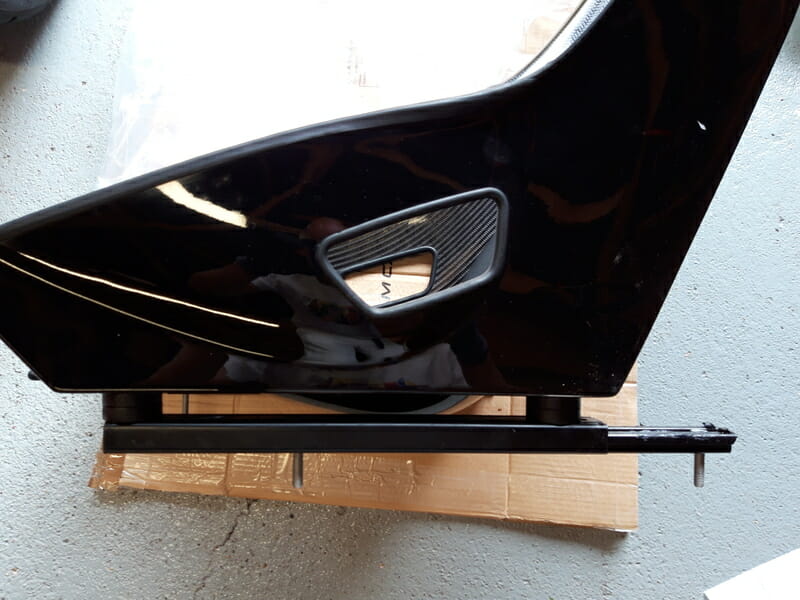
Be careful with the LHS runner (the non adjustable one) – you want to get it the right way around. It should have more forward travel than backward travel.
Now just do a sanity check that you can get an allen key on the front two bolts, and double check you have the LHS runner on the right way around!
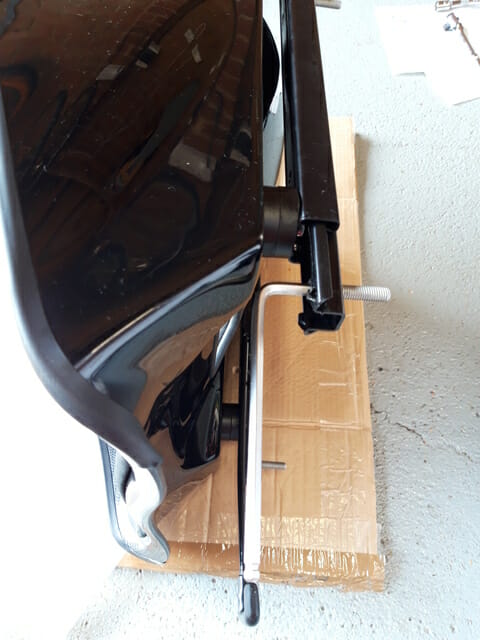
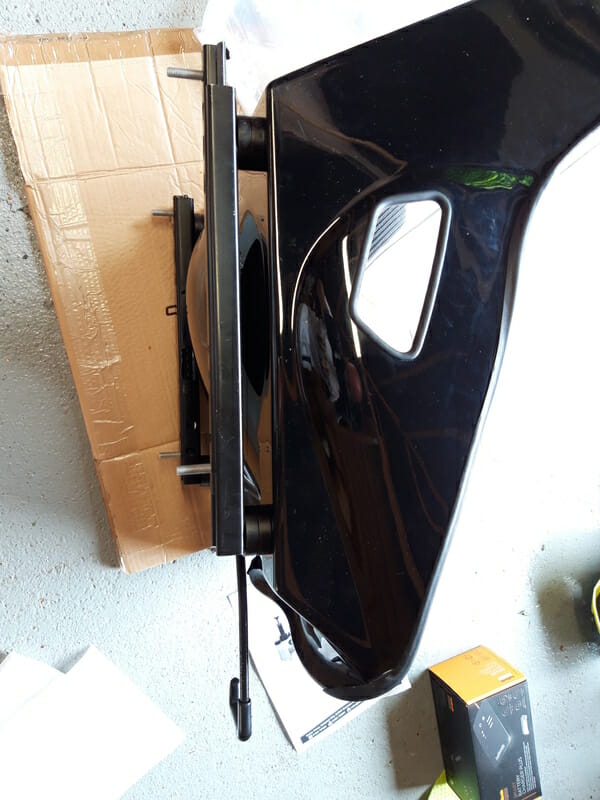
Once these runners have been secured to the seat, lift seat into car, similar to what was done with passenger seat, taking care to thread the lap harnesses through. Move the seat around slightly until all four bolts poke through the holes.
Now add M8 plain washer and M8 nyloc nuts from underneath. You may find that you can slowly tighten the nut from beneath with a socket/spanner without the bolts themselves rotating, but you will probably struggle to torque them without an allen key in the top.
You will need to hold the top of the bolt in place when you tighten up using an allen key. Move the seat fully forward, you should easily be able to get an allen key on the back bolts, as in picture below. Twist allen key clockwise to make sure tight, then torque the nut underneath to 14Nm.
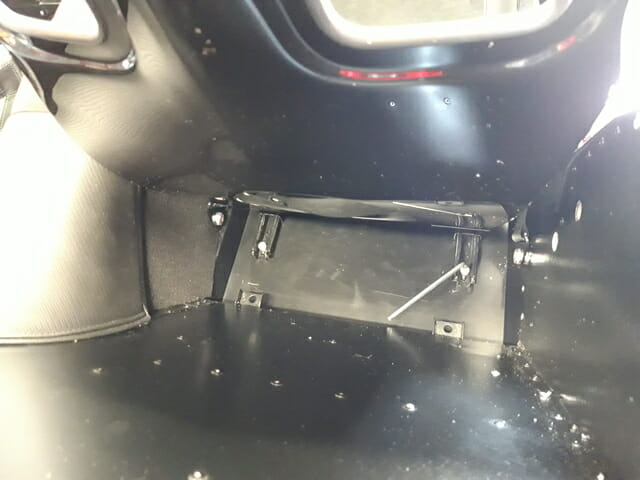
Same again on the front – slide the seat fully back and fiddle around to locate the caphead bolts with an allen key. This is a bit trickier, but having done a dry run you should have an idea. Use your fingers to find the caphead and slowly work the allen key onto the top of the caphead. Again, torque to 14Nm. If it needs tighter, can be done at PBC and I will update the blog.
Seats fitted.
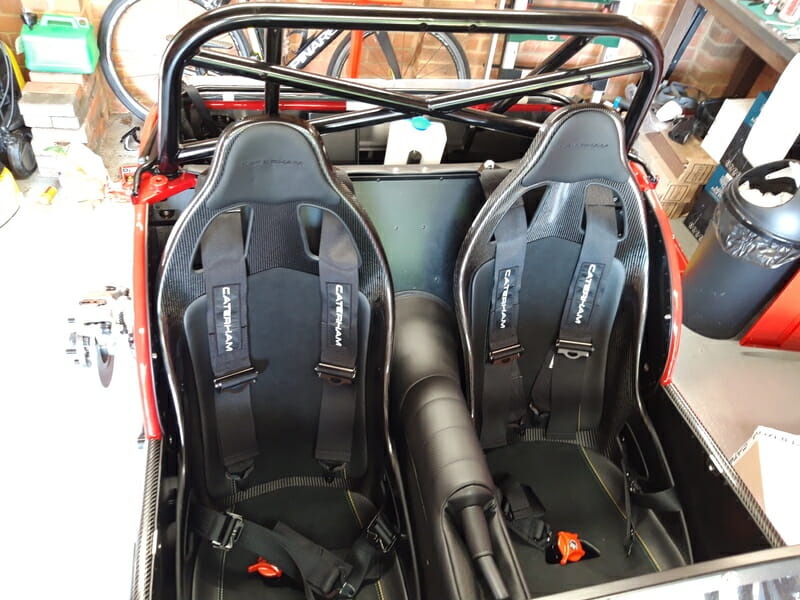
One little note – the door button on the drivers side obstructs travel of the seat a little. Bit annoying having it scrape the side of the carbon seat, but I figure I will nearly always be driving, so once set up I won´t be moving back and forwards. If you struggle to move the driver seat back and forward, it may be due to that.
