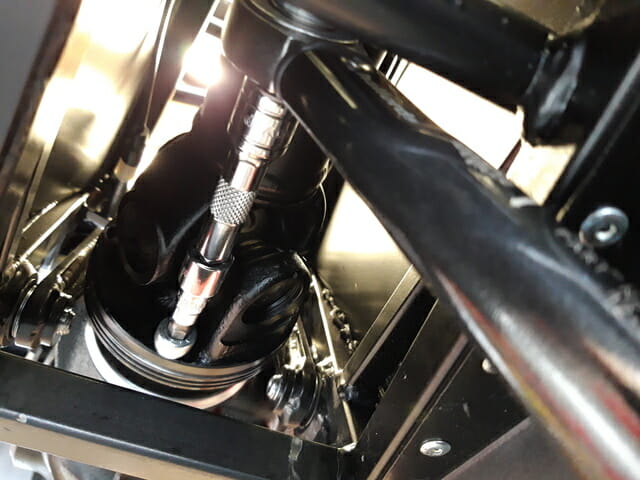
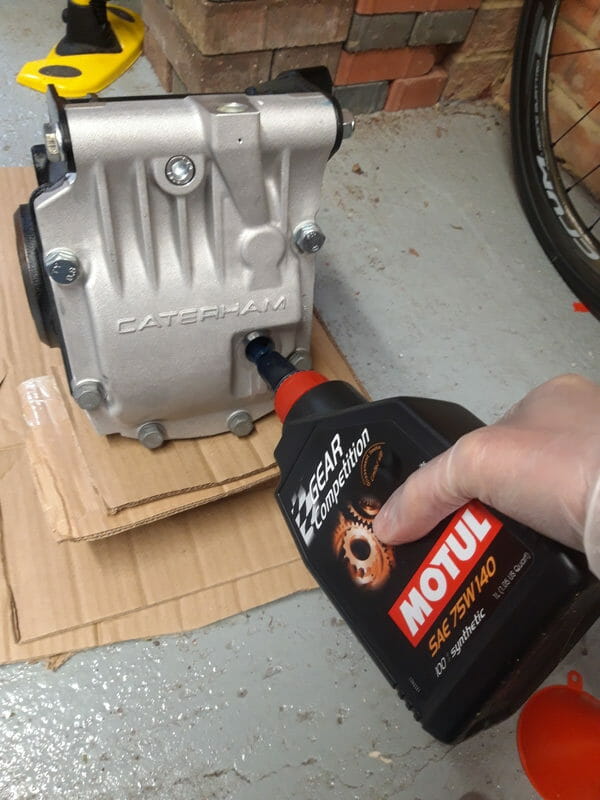
It is easier to fill the diff with oil before it is fitted. You need a 14mm hex key to get access. Diff oil should be provided with the kit. I placed a few layers of cardboard down and also raised the back of the diff up on a brick to help get an easy access angle, this is not strictly necessary. The diff oil bottle is a very handy design – take off the safety strap, then pull the cap upwards, you will see the neck extends with some force. Then twist the cap off and it means you shouldn´t need any funnels. Having measurements on the side of the diff oil bottle helps as well.
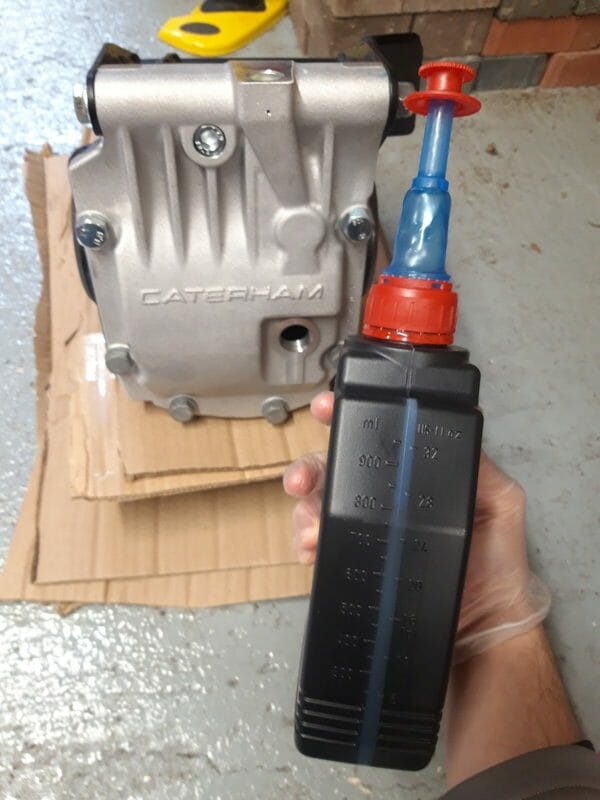
The diff needs 800ml so pour in until the oil on the back of the supplied 1L bottle is at the 200ml level.
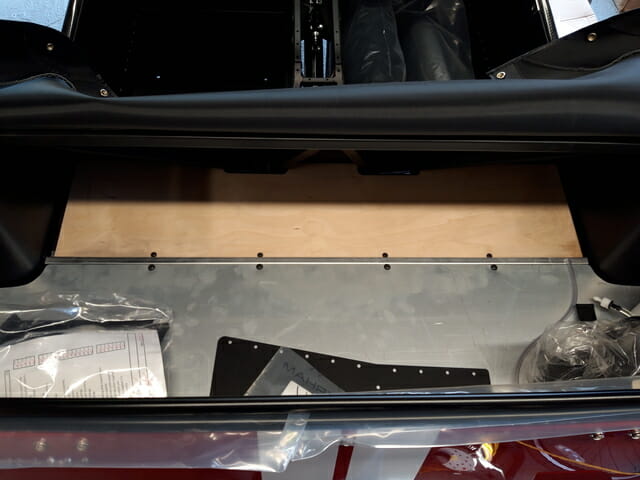
Now remove the wooden flooring from the boot. This will give more access, more light from above and also makes it a lot easier to get the diff into position. You unscrew the four screws holding it in place and pull out, very simple.
A lot of blogs have issues with the jack not being high enough with the axle stands. Thankfully I seem to have somehow found the tallest trolley jack out there – this goes up to 61cm and is high enough with the mobile axle stands at their highest setting to hold the diff comfortably in place which you work, which helps enormously. I didn´t need to apply any large amounts of force for example and everything was aligned nicely to slot in bolts.
Get some help (I employed my wife) and jack the diff up into place, one person working on the jack and one person at the side of the car, reaching in, to maneuver the differential into place. Remember this diff is very heavy, the very last place you want to be right now is underneath the car while jacking the diff, so resist any urge to get under the car until it is secured into position.
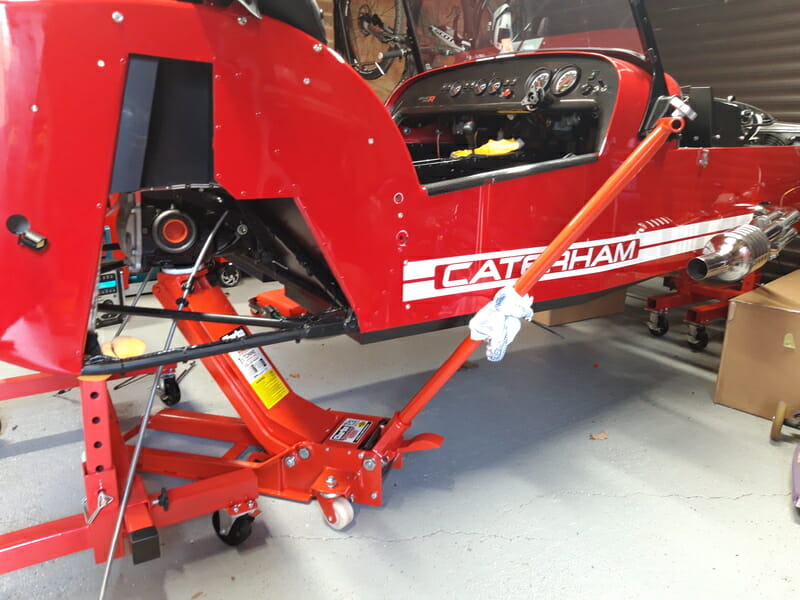
Once you have the diff in rough position, use four pin punches, thickest possible parts which sometimes means pushing the handle in, to hold the diff in rough position and allow you to take a breather. Check the jack is secure and centered under the diff, then make sure you leave the jack in position until all bolts have been added and tightened for safety reasons.
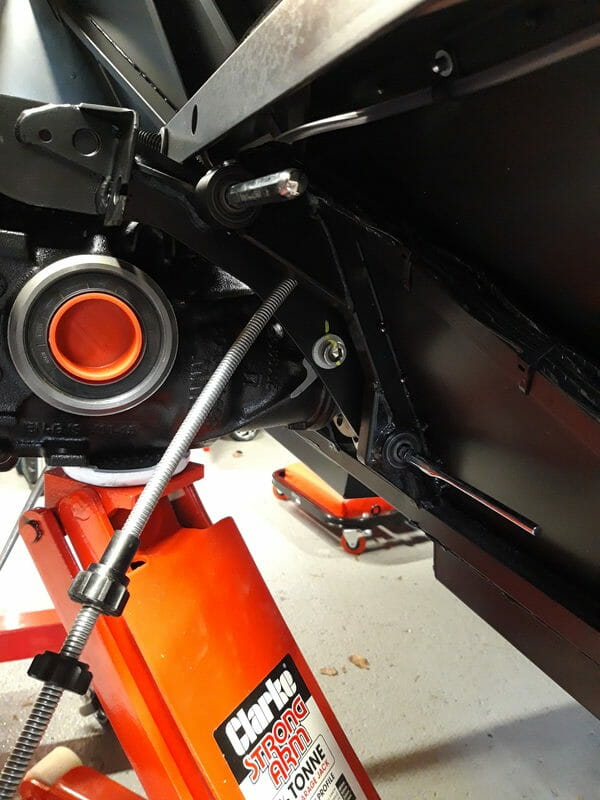
It´s a good time to thread the handbrake cable through the bracket on the RHS of the diff. This is where you will be glad that you didn´t tighten the bolts securing the handbrake to the chassis, where access is a bit tricky! Wind the barrel adjuster on the RHS handbrake cable back. Then pull the handbrake cable on the RHS back far enough that you can slot the thin, black cable through the relevant hole on the differential, before pushing the cable forward and then push the bolts holding the handbrake into place, before finally tightening the handbrake to the chassis.
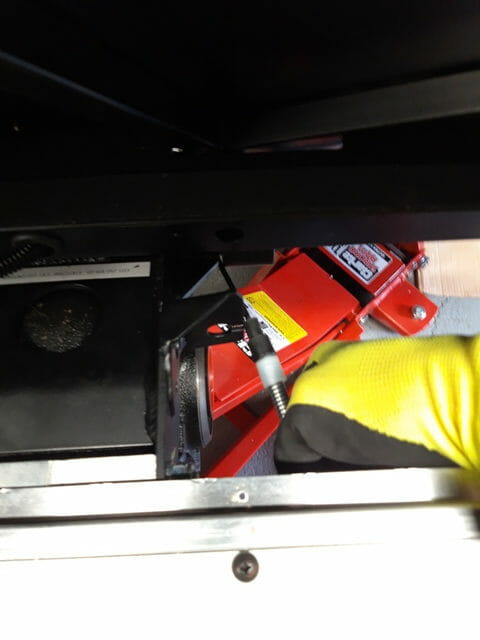
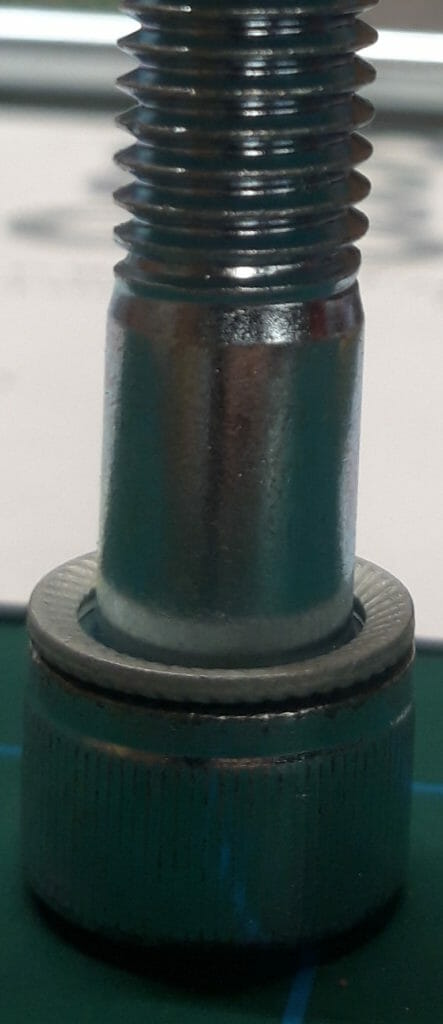
Now the diff needs to be secured into place with bolts. The bottom bolts will be done first, then the large top bolt. There are four knorr washers provided. One needs to be used on each bottom bolt, and one washer on the top bolt on both sides. These are similar to split washers, and stop the bolts loosening. The manual is missing a picture of these washers on the bottom bolts in the diagram, but you will notice it mentions IQ.
There is a very small gap between the chassis and the differential that needs to be filled with washers to stop the differential sliding around when you are pulling donuts outside your local tesco. The diagram in the manual only shows washer IM being used here. If you look at the list of parts in pack I, you will see the following
- IL – ¨Fine tuning diff set up¨ – 16 available – which I class as medium around 0.5-0.6mm thick
- IM – ¨Free play on diff¨ – 8 available – which I class as small around 0.1mm thick. There is no way you are filling all the gaps with these, although this is the only spacer mentioned in the manual.
- IN – ¨Diff shim washers¨ – 14 available – which I class as large around 1.2-1.3mm thick.
It did take me a couple of goes to get the correct number of washers on each side. Getting them into place is difficult, but pin punches make this possible. Make sure you add some copperslip to the bolts. Start with the bottom LHS bolt. Slide the diff so that it is close to the LHS bolt so can help hold the bolts, use a pin punch to pull the washers into position and slot first bolt into place. Do not forget the knorr washer on the bolt. Once done, measure from this side to the outside of the car (where the A frame attaches, use a clamp and ruler). On my SV, this distance should be approx 49.1cm from the diff body to the ruler. Get the correct number of washers for this measurement, which can be a slightly lengthy process, but is quite satisfying in the end.
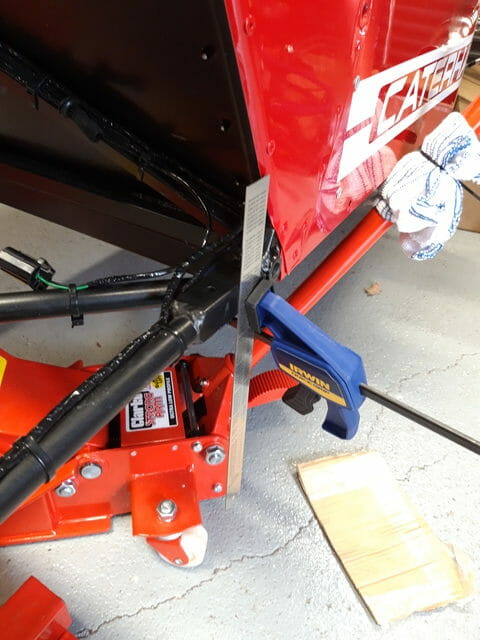
Once the LHS is done, you can do RHS bottom bolt. It should be a bit easier to pack the washers in now because there will be no give on the bottom of the diff. Use a pin punch to pull them into position, so when you look through the mounting hold you can see a clear route for the bolt. Again, making sure you have the knorr washer on the bolt, slot into position and tighten a few turns. Now give the diff a little bit of a wiggle. There should be no give at the bottom, and measuring on the RHS from the diff to the outside of the car you should get the same as the LHS, within 1mm. I measured around 49.0-49.1cm which was close enough for me.
For measuring, its tough to pick a consistent spot to measure from because the diff is asymmetrical. I did some measurements from the cage, but I also measured from machined flat part of the diff, just behind the cage. This was the point I chose to measure from. Further reassuring me was the fact I used a fairly even number of spacers on each side.
Hand tighten the bottom bolts with a ratchet, but do not torque them yet.
Once the bottom bolts are fitted, move to the top bolt. First check alignment of the diff with the top chassis holes via the jack. With the bottom bolts secured, you can move the jack up or down and looking from the side of the car, you will be able to see the holes come into (hopefully) perfect alignment, which will save the usual brute forcing.
Now, looking down from the boot, through the removed boot floor, you will be able to clearly see the gap which needs to be filled.
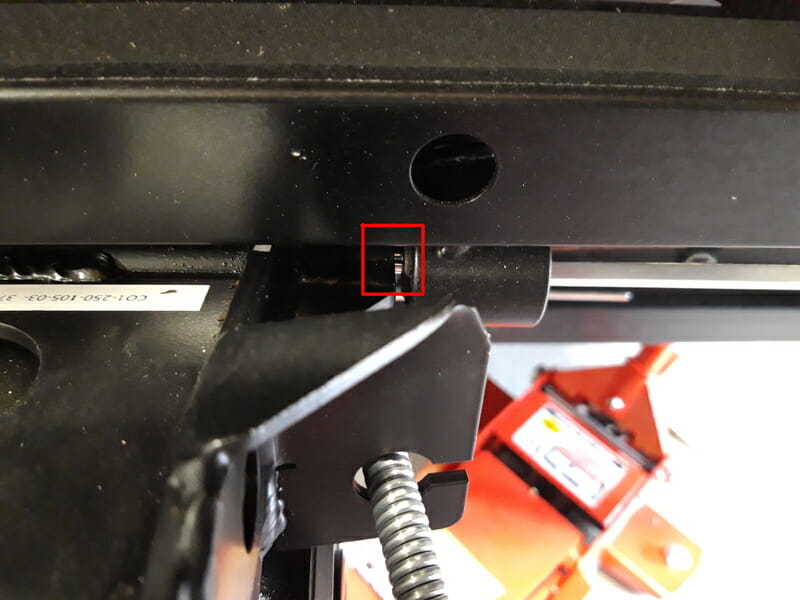
There should be no real play (left-right) in the diff at this point, with the bottom bolts in position. Trial a few different washers in these gaps, I inserted the washers reaching down through the boot floor (mind the sharp edges on the metal boot floor. The washers that I inserted were actually held in place without any assistance, it was that tight and I packed as many as possible in. The trick is to use a combination of washers, I preferred medium and thin, to really fill the space. Again, use pin punches to maneuver the washers into place, looking from each side inwards so you can check alignment. Apply plenty of copperslip to the long bolt (mainly in case it needs to be removed later) and slide it through. Don´t forget the knorr washers, there should be one on each side!
I ended up with the below washer configuration (2M 2S means 2 medium and 2 small washers). Every car is different :
| LHS | RHS | |
| Bottom Bolts | 2M 2S | 3M |
| Top Bolt | 3M | 3M 1S |
Measuring around 49.1cm on both sides from diff to outside of the car where the A frame attaches (the boxy section on the lower chassis)
Then tighten all bolts, check for a final time that there is no play (ie the diff cannot shuffle around because of the washers), and torque all bolts. Once torqued, you can remove the trolley jack.
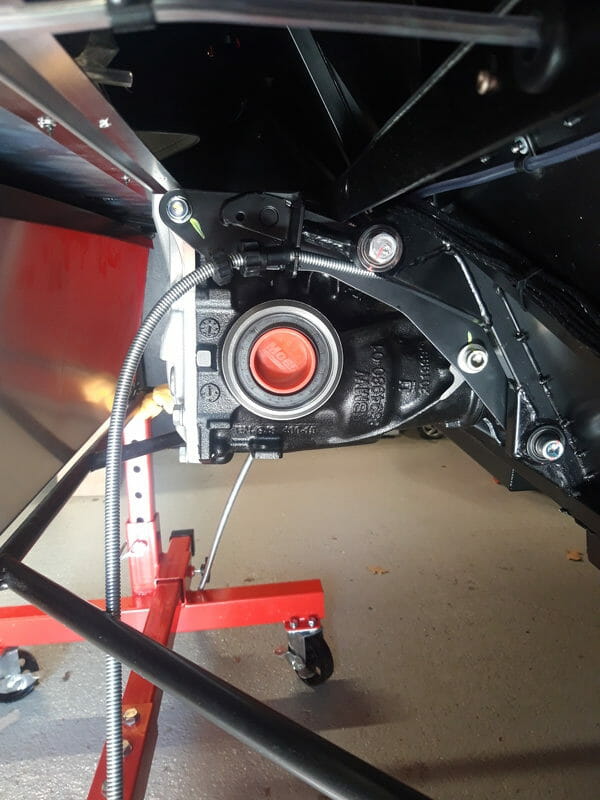
You can now attach the propshaft to the diff. Do this from under the car. The diff will rotate freely, and the propshaft will rotate if the car is in neutral. Whilst in neutral, rotate the propshaft until you line up with the threaded holes. Then loosely add all 4 bolts, make sure they screw in freely and that you have it aligned properly. Once this has been done, slide out from under the car and put the car in a low gear, such as first or second. If you put it in fifth, the prop shaft can still rotate under enough torque.
Then one bolt at a time, remove a bolt, apply loctite, put the bolt back in and torque to 47Nm using 8mm hex socket. One of the bolts has problems with access, the grease nipple is in the way. The inside of the propshaft is packed with grease and this is how you add it, using a grease gun, a little like pumping a bike tyre up. I am going to check this later in the build when I add other fluids. In the meantime to access this bolt, some builders will do it up by feel, others say you can unscrew the grease nipple. I didn´t fancy either of those, so opted to use a ball joint hex and torque.
