While it´s not absolutely necessary, a dry run assembly of the De Dion tube on a workmate makes a lot of sense – it gives you the chance the see where everything goes and bend the brake lines into position more easily. A lot of the spare parts that you need are all in one bag. As always it makes sense to make sure you have everything before you start the job! This bag has two giant nuts and washers in it (to secure the disk to the hubs), along with the speed sensor, spacers and various other parts that you will need, so make sure you can find that first.
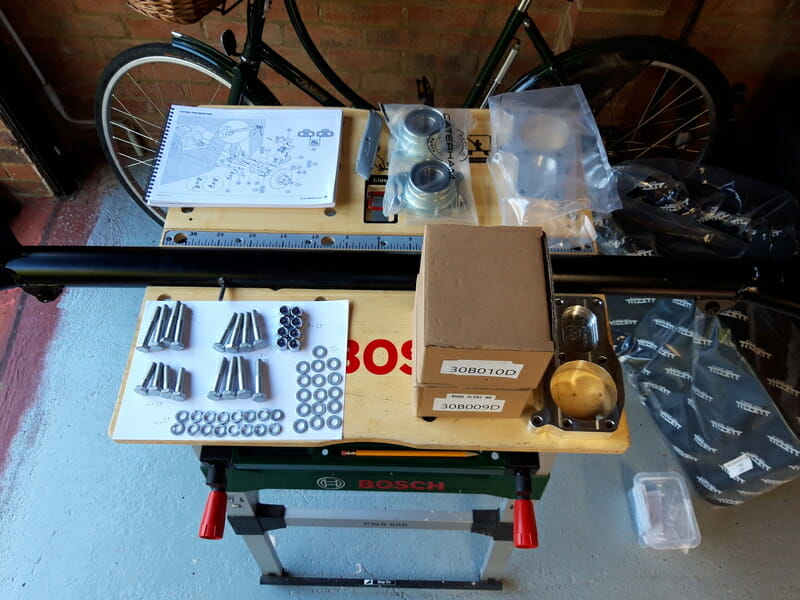
NB – It makes more sense to fit the rear brake hose to the de dion tube before it goes into the chassis, but I´m missing those from my pack and due to the COVID-19 lockdown, Caterham aren´t shipping any components. So if anyone is following this one day, it´s best to fit the hose now! I can probably source these locknuts on the web, but I decided to proceed without them for now as it will be possible to fit the hose later.
Fit the ears loosely into position on both sides of the de dion tube. This is a good chance to work out which bolts go in which position, the guide page for this is quite complex. You may need to clean threads on the ears.
A few things to note – the caliper mount needs to have two black caliper pin bolts slid into it, this is what the bolts will thread into when you attach the caliper to the caliper mount.
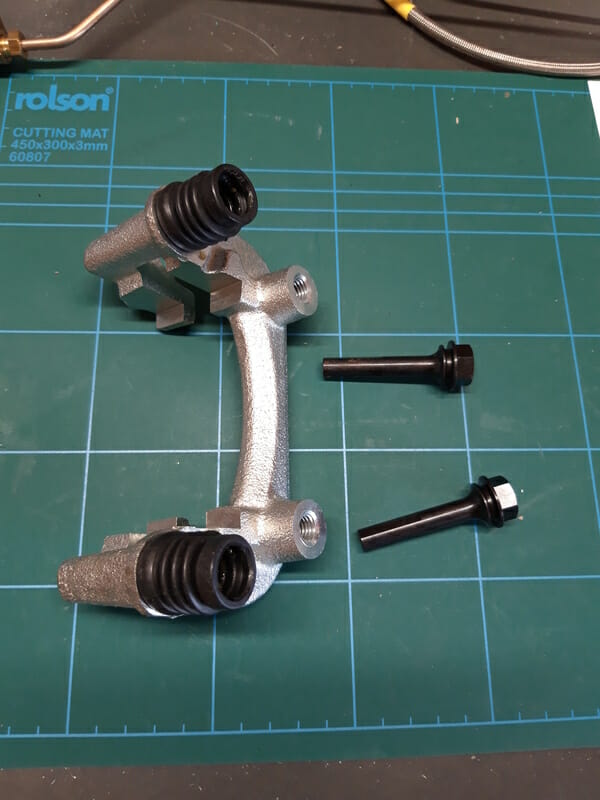
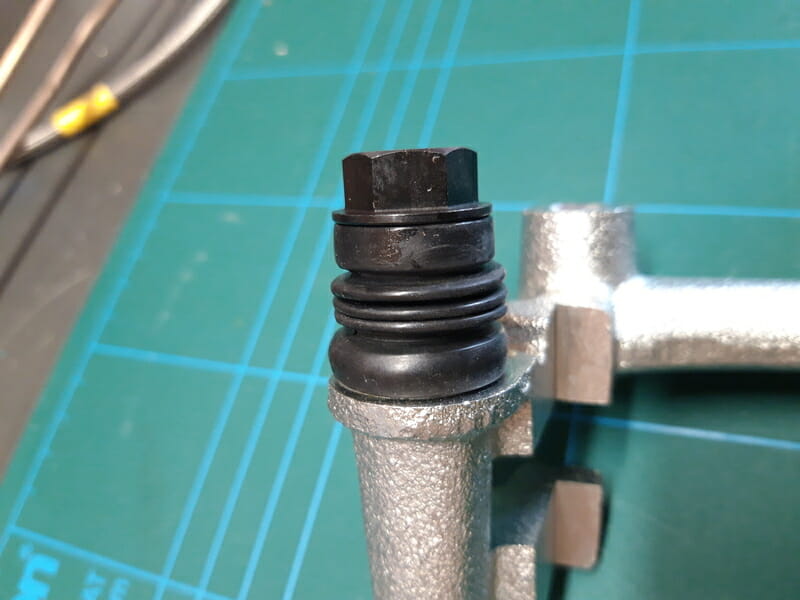
There are also two spacers on each side required between the ears and the caliper mount, these spacers are the size of a very chunky wedding ring and are hiding in the assorted bag that also includes the rear hub washers and nuts. If you don´t fit these, you won´t be able to fully build up the back!
Once the ears and calipers are fitted you can start on the brake lines. There are already five pre drilled holes on the de dion tube, but they are too small for the required rivets. Use a 4mm HSS drill bit to drill each of these out, don´t make your own holes.
Connect the brake lines to the T piece and then connect the T piece to the de dion tube and secure with washer and nyloc nut. Now bend the brake lines so that they are nearly in position – it does not need to be perfect, but just a rough alignment. The LHS brake line is routed fairly well already, but the RHS is pointing to the sky and needs a bit of work!
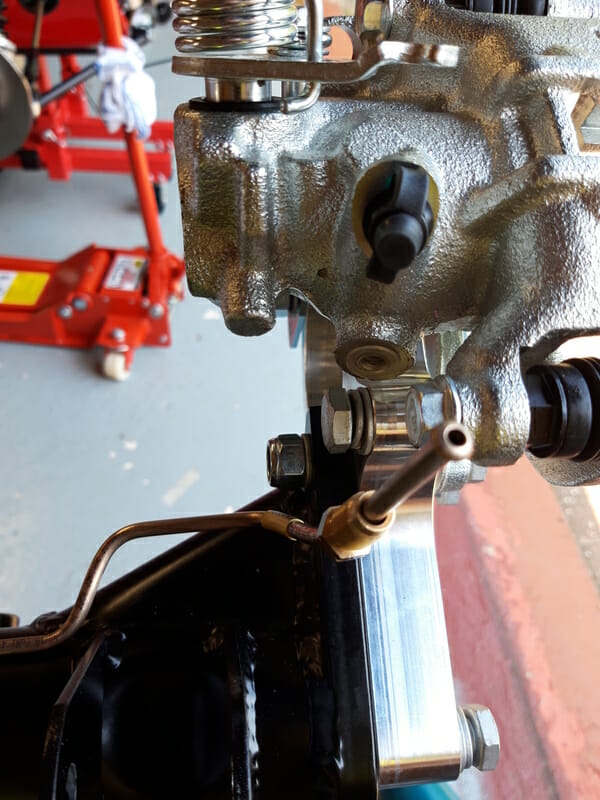
It can help to use a socket to bend the brake line around to avoid too sharp an angle. The brake lines are quite flexible, but you want to avoid any sharp kinks, so take your time. I stopped just sort because I intend to screw the brake line in before bolting on the caliper and this should make it easier.
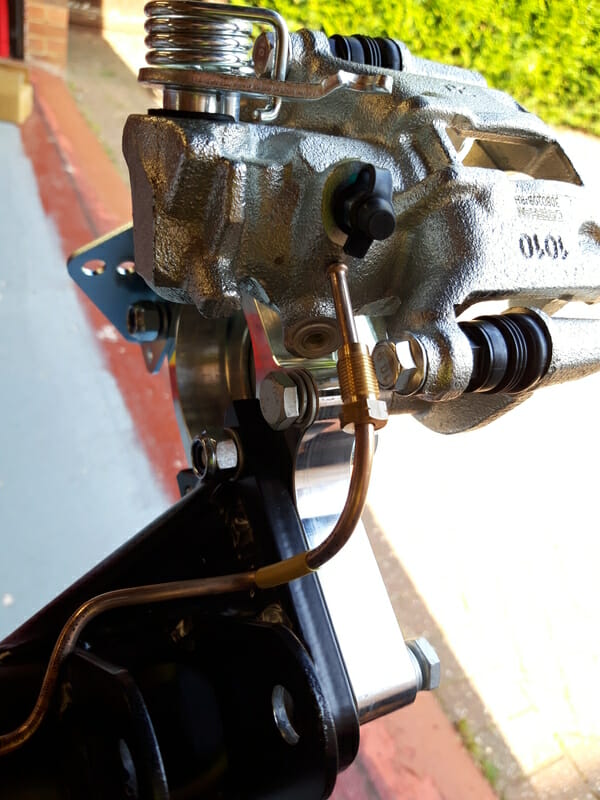
Once you are happy with the alignment, rivet the brake lines into position using the P clips and rivets supplied in bag. Note carefully the right hand P clip is pointing up, the left hand is pointing down.
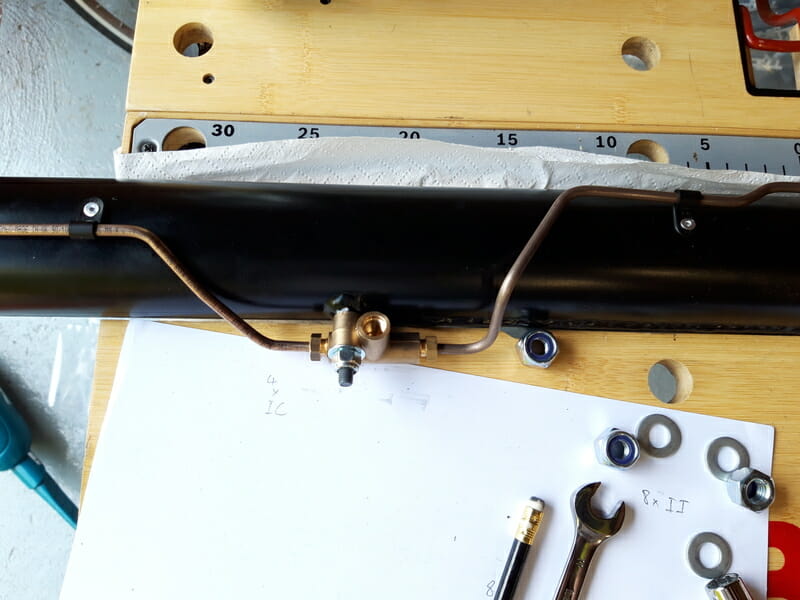
While the de dion tube is out on the workmate, get the lower suspension bolts out and clean threads now, there can be some dirt in there and you want to avoid any cross threading later when attaching suspension which can be tricky with angles.
Now you should have a prepared de dion tube. Remove the ears from both sides, but keep them assembled so you know the bolts are in the right position. Now slide the de dion tube into the rear of the car. Get some pipe lagging on the chassis ready to rest the tube on. Getting the de dion in can be quite a tricky fit, it helps to have someone on the other side of the car but you can do it on your own.
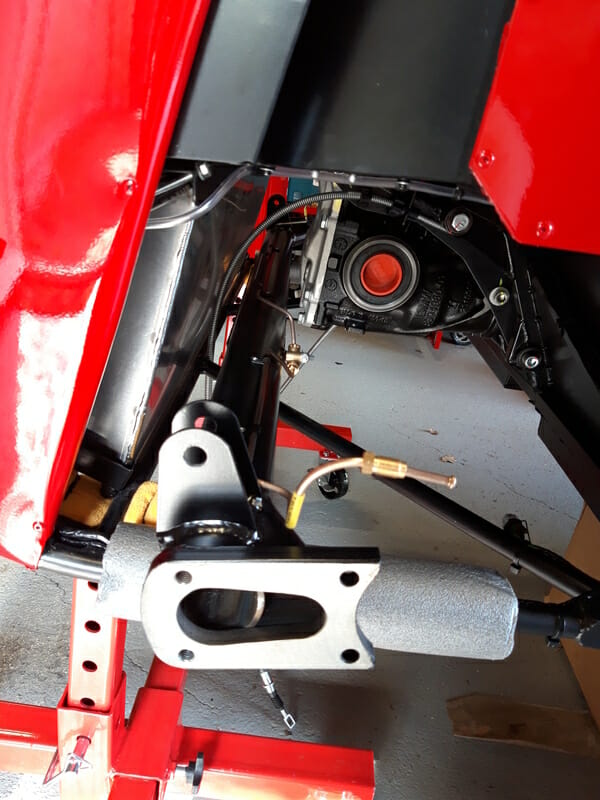
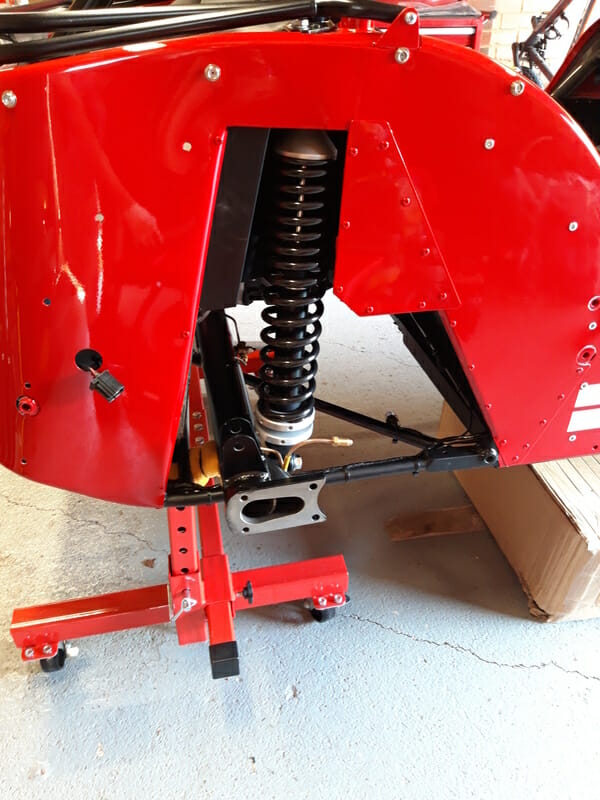
Once the de dion is in position, it is time to put the rear dampers in. Secure the top of the dampers first, then the bottom. Do not torque anything until later.
Get rear dampers from the box. Unlike the front dampers, a sleeve only goes in the top of the rear dampers. You do not use a sleeve in the bottom. Again, coat the sleeve in copper slip. Make sure you have fitted the roll bar before installing the dampers.
You may find tolerances come into play again. One side was fine for me, but the other side was a pig. You already removed the top bolts for the dampers when you installed the roll over bar. Copper slip this bolt, and push the rear damper up into position. You may need pin punches to position the damper.
On the LHS the top bracket which receives the top of the damper was too tight for me to easily get the damper into position. I applied some copper slip to the bracket and damper, held it in position, then hammered the bottom of the damper upwards with the large rubber mallet. This took some force. Once there was some alignment looking back through the cockpit I worked through the pin punches to pull the damper into position.
Once you have done the bolt up, you want to look up from below to check that the bolt has gone all the way through. One side easy, other side was hard, needed to use rubber mallet from bottom to hammer in and pin punches to pull the damper on the LHS into position. The RHS I could position just using my hand.
Once the tops of the dampers are bolted, secure the bottoms. It is easier to remove the lagging that you are using to protect the chassis to do this, just be careful you aren´t damaging any of the wires that are ziptied to the chassis. Once removed, you should see a rough alignment.
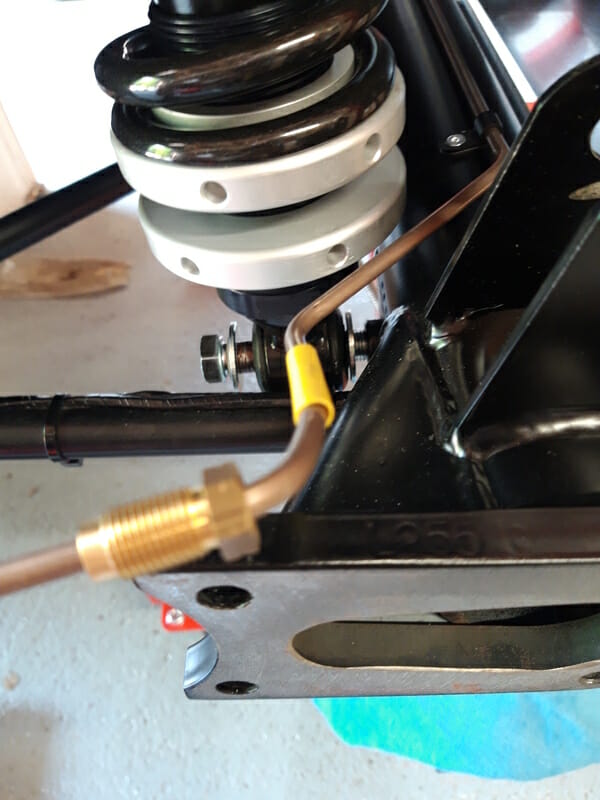
You need two large heavy duty washers and another knorr washer. The bottom of the damper won´t have much give, whereas the de dion is not secured to anything. Using one hand, rotate the de dion until it is in alignment with the bottom hole of the rear damper. Then tighten the bolt using your fingers so you catch the thread. Once you´ve done a few turns without issue, use a ratchet to tighten.
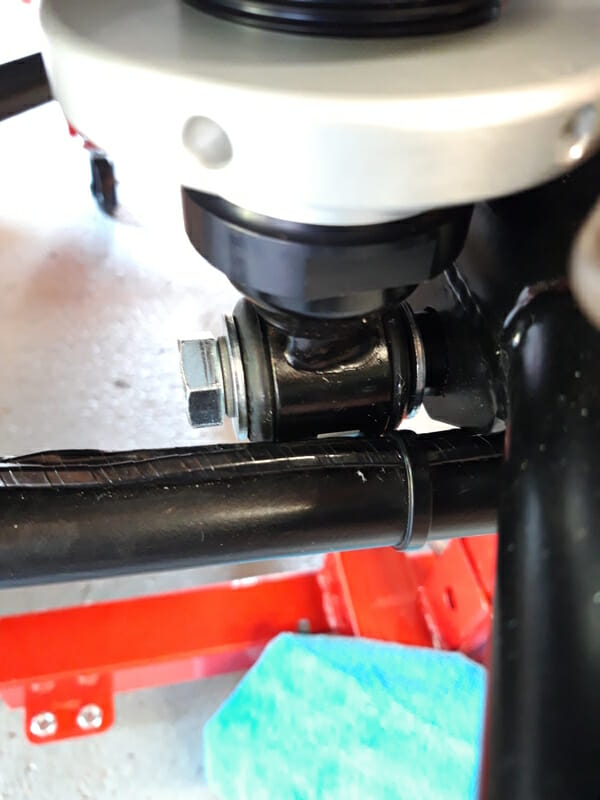
Do not torque yet, need to wait until the radius arms are fitted and the rear suspension is taking weight.
