I have left the fluids until this point. Make sure you put protection down around the reservoirs for clutch and brake… I used a couple of pieces of cardboard cut to size, covered with paper towel.
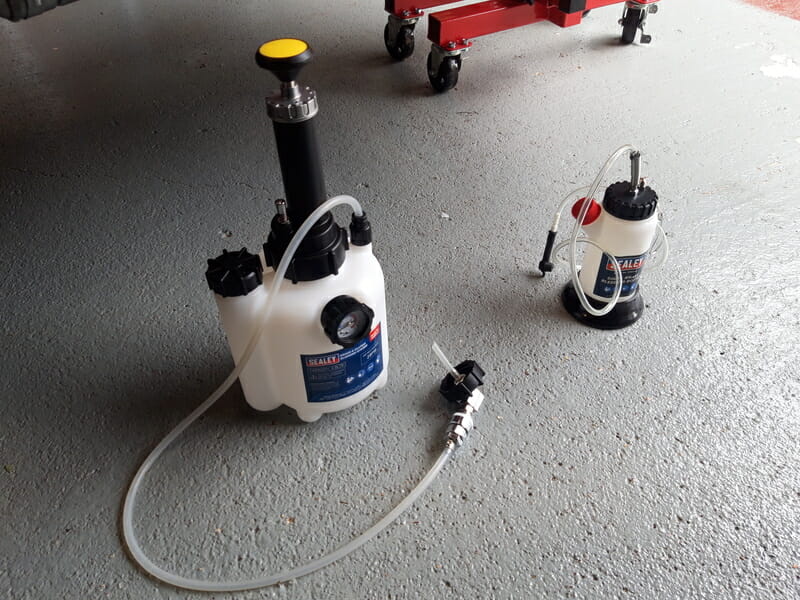
In terms of kit for the brake bleed I am using Sealey VS820 pressure bleed system (LHS in picture) which will force brake fluid through the system thanks to a pressure chamber and the Sealey bleed bottle (RHS in picture) to catch any fluid coming out from the bleed nipples on the various calipers. This is of course slight overkill. Plenty of people just get someone to pump the brake pedal and use a bit of tube and a jam jar, but after some research this apparently is an easier method. Given it is my first time I thought I would try it.
Brake fluid is not good for you, or your car – wear eye protection, long sleeved shirt and vinyl gloves. If you get any brake fluid on paint or powder coat, it will blister the paint and look bad, so be careful to make sure the system is tight before filling with fluid and monitor closely for any leaks.
Also, be very careful with the pressure bleed system if you use it. Do several dry runs with air only so you get used to how it works – you don´t want to depressurise the wrong way when it is full of brake fluid! I started with brakes, then clutch, then fuel and coolant.
Before doing anything else, the benefit of the pressure system is that you can do a pressure test to see if you have any leaks in the brake system. You can do this with the VS820 without using any brake fluid – you just connect the empty VS820 to the brake reservoir and pump air into the system.
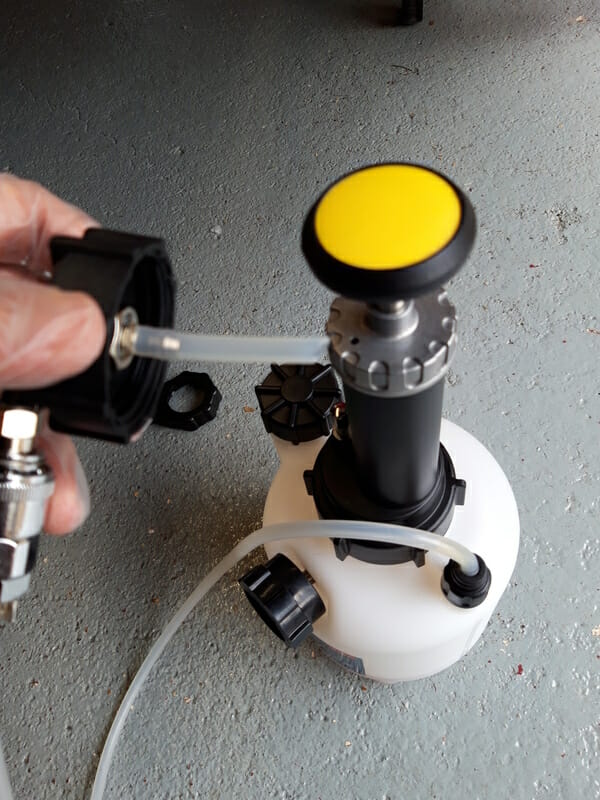
The benefit of this is if you have loose connections, you just hear a hiss of air and can tighten up the leaking connections – instead of leaking brake fluid all over your lovely new car! Hook up the kit to the brake cylinder and try to pressurise to about 10 psi.
My brake lines would not hold any pressure at all. I could hear air absolutely hissing out, so I am very glad I did this dry run. My issues were actually on some caterham fitted links. The rear most connection on the brake reservoir itself and the connection into the brake T piece on the front LHS side were far too loose. I couldn´t even pressurise the system to 2 PSI. Both these nuts were marked as torqued by Caterham! However I could actually finger tighten the joint into the front LHS T piece. It looked like they had torqued them up, then undone them several turns and lined up the paint marks again. If I hadnt done this test, fluid would have leaked everywhere, so make sure you check all connections, including the caterham ones.
After I had tightened the relevant nuts up, I could pressurise the system, so I pumped to around 10 PSI. It took about 15 minutes to leak from 10PSI to 6 PSI, then about another 30 minutes to leak from 6 PSI down to 2PSI. I decided this was ok, I figured some leaking inevitable considering it was air and also the pressure chamber itself would leak air even if the brake lines are tight.
Move around the car, taking the caps off the bleed nipples on all four calipers. The rear calipers are easy, but my front calipers had two bleed nipples – one on the inside, one on the outside. I used a pin punch to help prise these caps off as they were quite tight. Check all bleed nipples are closed (turn clockwise). Pack tissue around the various linkages, such as the front and rear T pieces.
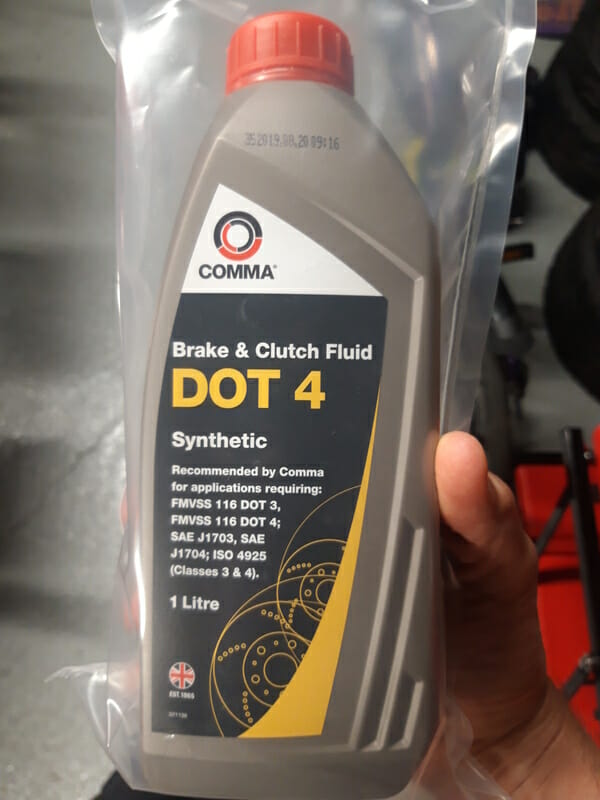
Using a funnel, I poured some fluid into the brake reservoir until it was about half full. I then poured the rest of my fluid into the Sealey VS820 and tightened all connections on the pressure chamber. Then I held the cap of the VS820 near the reservoir and started pumping, watching the brake fluid move up the line towards the cap. Once brake fluid was at the top, I put the cap on the reservoir and made sure it was fully tightened. I then pumped until the pressure gauge read 20 PSI. Be careful you do not pump beyond 28PSI!
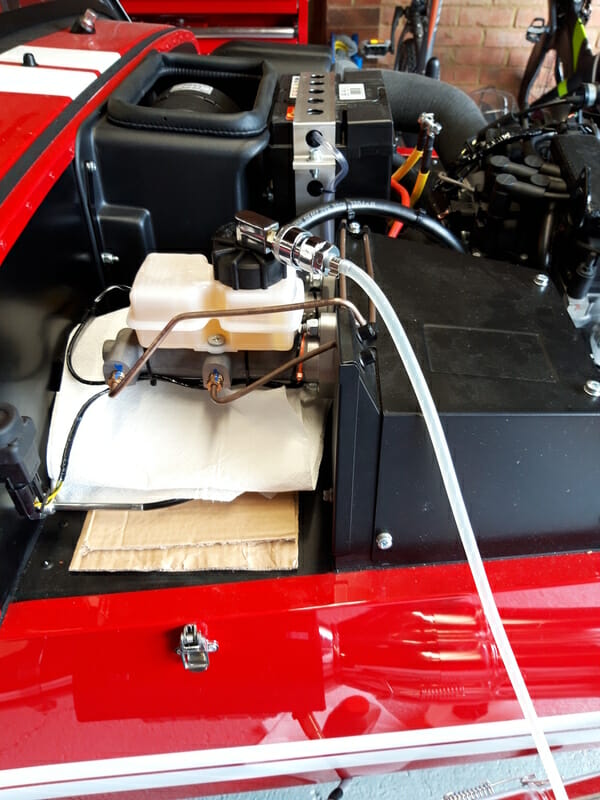
Now in order bleed the brakes. The pressure cylinder is basically giving the same effect as someone pushing the brake pedal – it is forcing fluid through the system using air pressure instead of pumping the pedal. The idea is to start with the furthest location from the reservoir, moving to the nearest. I bled as follows :
- Rear LHS
- Rear RHS
- Front RHS, inner bleed nipple
- Front RHS, outer bleed nipple
- Front LHS, inner bleed nipple
- Front LHS, outer bleed nipple
On the front calipers, you start with the inside bleed nipple because it is closest to the reservoir, then finish with the outside nipple.
Rear calipers need 10mm spanner. Put this ring spanner on , then fit the tip of the sealey bleed bottle.
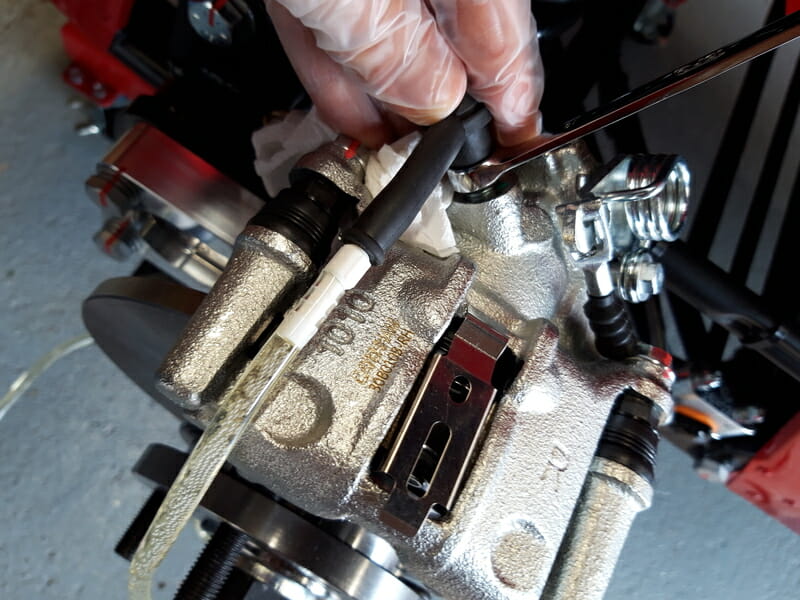
As you crack open the nipple, you will see nothing at first, probably pure air. After a while fluid will begin to flow through the tube. If you look at the tube you should see lots of bubbles, probably big at first :
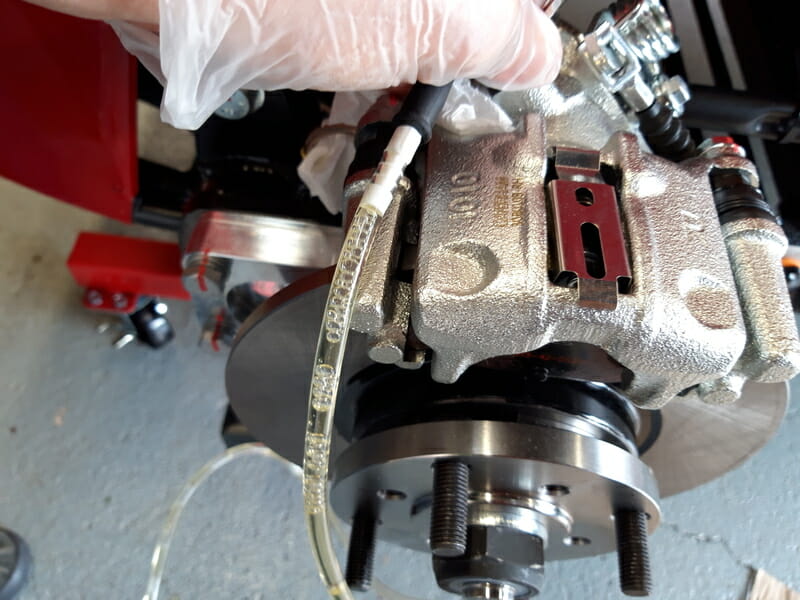
Followed by small :
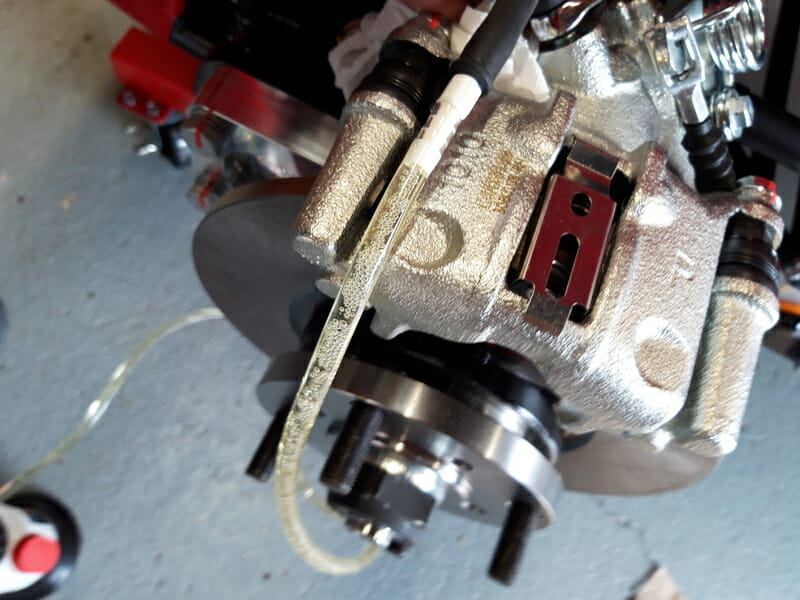
Keep going until the fluid is totally clear of bubbles. Then close off nipple. Check the pressure cylinder is around 20 PSI or thereabouts still then move to the rear RHS and repeat.
Then do front. The calipers on the front you may find tighter to undo and access on the inside calipers slightly more restricted. Front RHS, inner then outer. Then finally front LHS, inner then outer.
Once you have done a full circuit, come back to the VS820 and press the pressure relief valve. This will depressurise the container safely. Check the pressure gauge to make sure there is no residual pressure, then remove the cap from the reservoir. Be careful not to get any drips on the car. I then gave the brake pedal a couple of pumps for good measure. Top up the reservoir.
I actually repeated this entire bleed process one more time, but got no bubbles at all on my second go from any of the calipers. I have no idea how firm the pedal is supposed to be, but its a lot firmer than the family car according to the wife. Waiting for PBC to give an assessment!
Note I have had very very slight leaking from the front bleed nipples. It wasn´t a dripping leak, but you could tell it was full. This was despite being very tight. Going to get checked at PBC and will update.