Now front wings are on, time to wire up the repeaters and tidy the headlight wiring in general. It is a good idea before proceeding to test both repeaters actually work. You can do this by plugging green wire into the relevant socket in the headlight econoseal, and earthing repeater against metal on car body. Check it works and is not defective – last thing you want is to do all this then have to fit another one!!
When working on this, apply full steering lock in the direction of the side that you are working on. If you are doing LHS, lock the steering full left, and RHS, lock steering full right. This improves access, and also means when you zip tie the cable into position it will be at the maximum stretch point. If you don´t do this, when you steer, you are going to be stressing the wire.
The repeater has a long green wire which goes through the wingstay, along the upper wishbone and connects to the headlight connections. It has a short black wire with a ring connector on it – this is the earth and will be riveted to the wingstay. You have already applied heatshrink to the first 20cm of the green indicator wire. Now add around 10cm of clear tubing on top of this heatshrunk wire (this is to stop it rubbing against the rivet that will be used to secure the earth to the wingstay).
Push this wire through the wingstay. Unravel a paperclip, and make a small hook in the end. Use this to fish the wire out and pull it through gently. Note that it can be tight with the econoseal terminal still on the wire, but it is possible. Also an option to remove this wire.
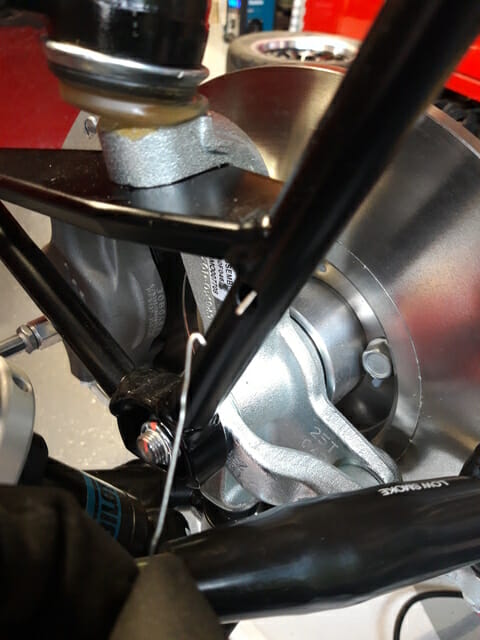
Once you have pulled this wire all the way though, slide 4mm 2:1 heatshrink onto the wire, all the way up to the wingstay and preferably a little bit inside. Apply heat, starting at the wingstay, and slowly making your way to the end so now air bubbles form in the heatshrink.
Once cooled, take the smallest grommet from the box, make a hole in it, and slide it all the way up the wire.
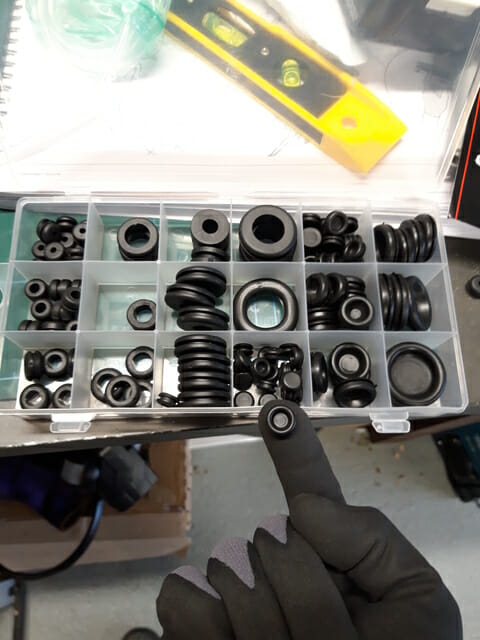
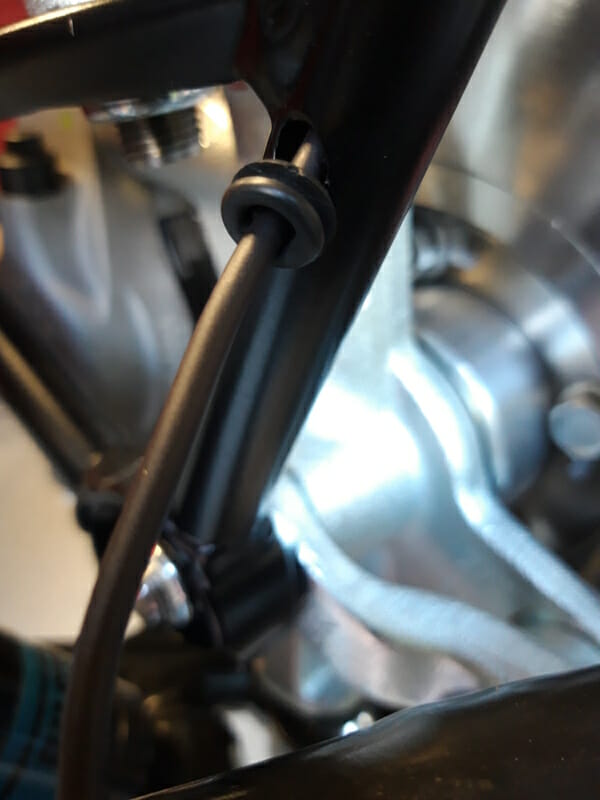
As usual grommet is a pain to get into position, but using small pin punch helps.. You may also cut away a little bit of the rear flange
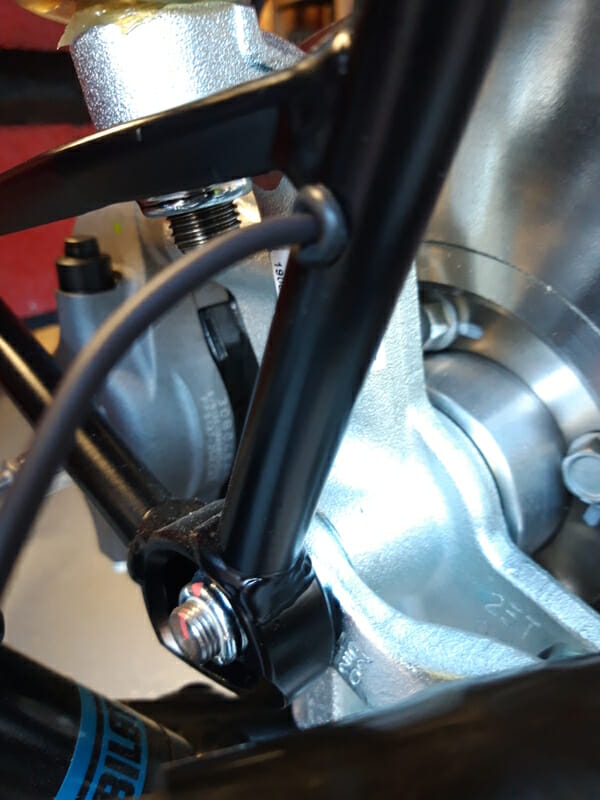
Push another 10cm of clear pipe over the end of the wire – this will protect the wire where it enters the car body.
Again making sure steering on full lock for the side, route the wire across the rear upper wishbone arm and into the car body. Zip tie into position.
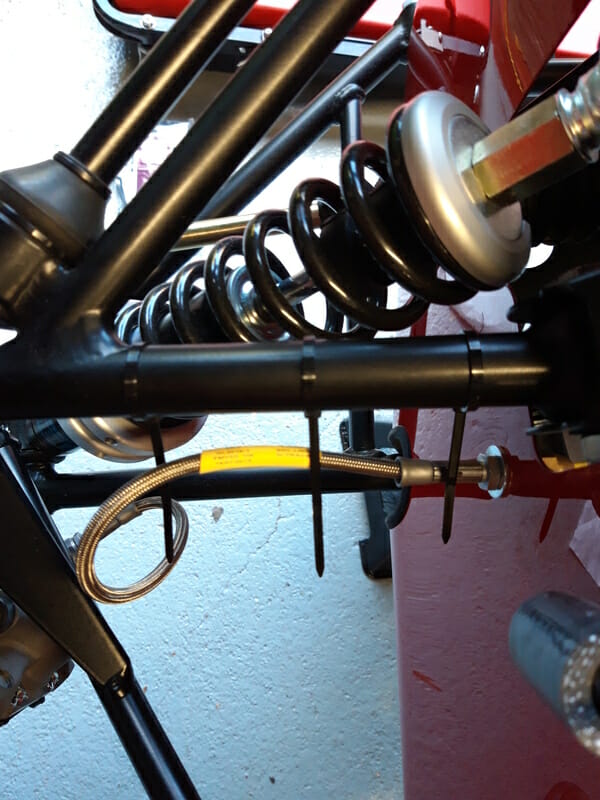
The below shows the cabling entering the car body, note positioning of clear tubing. Make sure tubing is zip tied so it doesn´t move.
Now route this cable to the headlight econoseal connector.
Now go back under the wingstay, and get a suitable rivet and a washer. Rivet the earth connection to the wingstay.
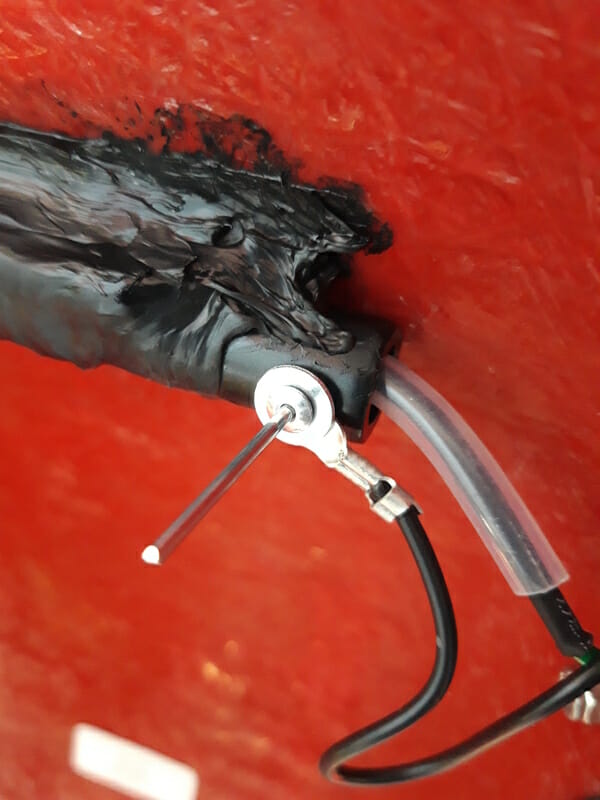
Once done, tidy all wires under the wing out of the way with a zip tie.
Econoseal/Headlight Wire Tidy
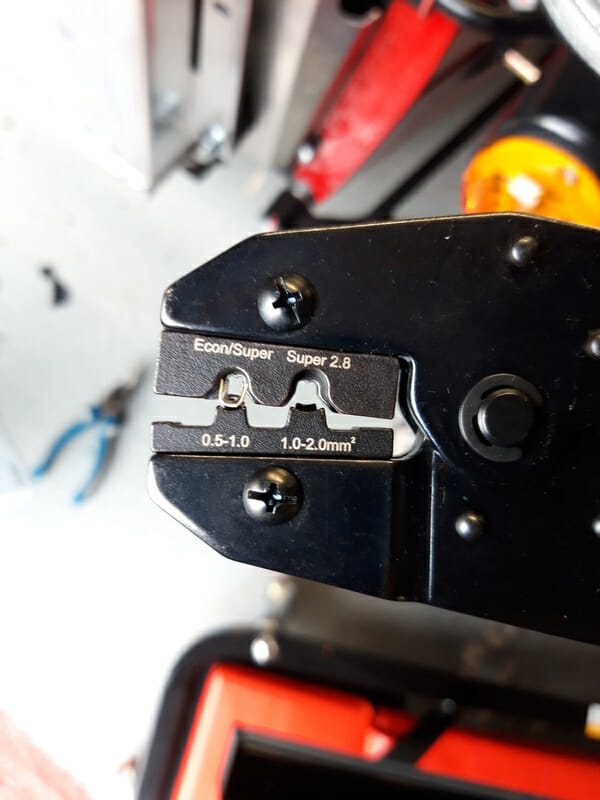
I took opportunity to smarten up the headlight connectors at this point by trimming to length and applying new terminals. You will need a special crimp tool to do this. You can get the terminals and cone seals on the caterham parts website.
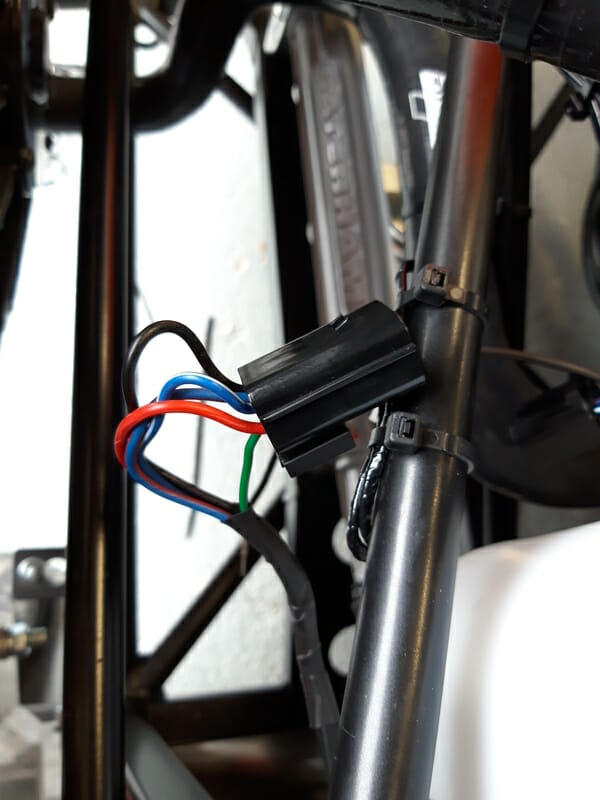
Extract one terminal at a time, cut off the existing terminal, cut to length, strip the insulation and add a cone seal
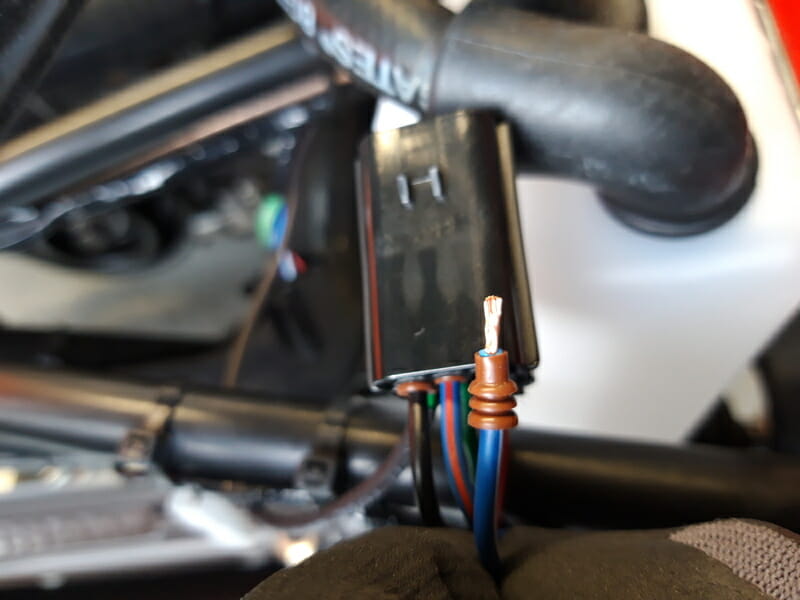
Attach new terminal using crimper
Terminal done
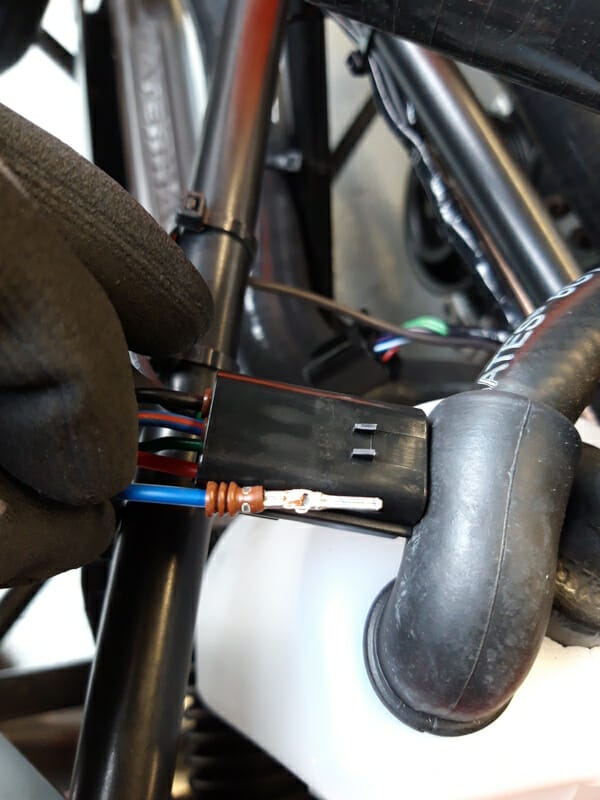
And reinsert
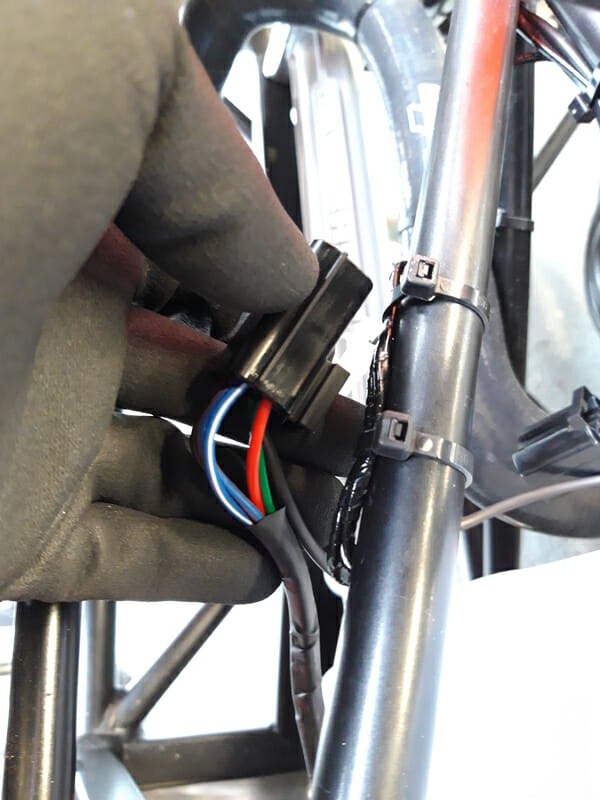
Finally, connect to the wiring harness and give it a full test!
Wheels back on, car back on floor. Torque front wheel nuts to 85 Nm. Nearly done.