I have fibre glass wings with carbon fibre wing protectors. Note that I did all sawing and drilling of the rear wings outside with a proper mask on due to fibre glass dust. You do not want to be breathing that in. I also used a hoover to suck up any dust that accumulated and wiped the wings down at the end, on top and underneath. Also note that wing protectors and the wings themselves are sided, so take your time to triple check before sawing or drilling!
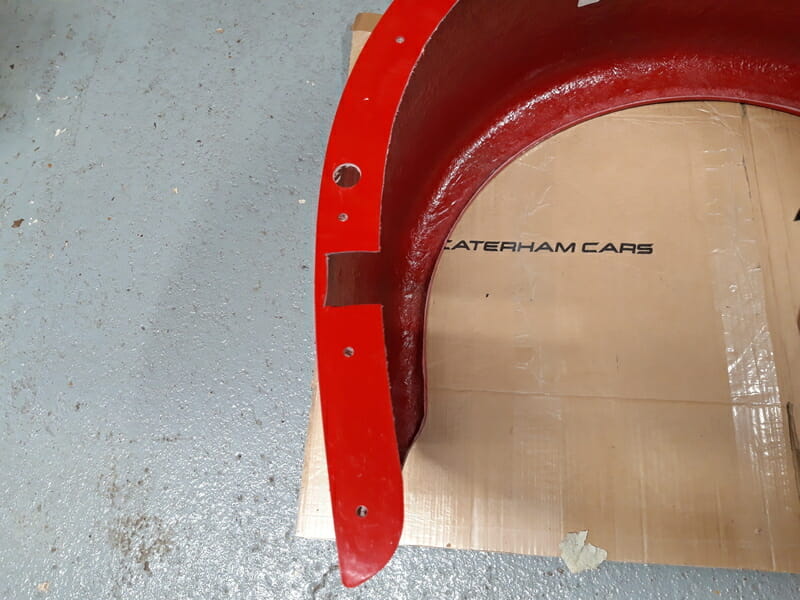
The manual says fit wing first and then wing protector, but that makes things unnecessarily tricky. First you need to saw out a section of the wing (closest to the car) to accommodate the radius arm. Depending on where you have set the radius arm this may vary, so take the time to mark this with a sharpie, before cutting this out.
There are two lots of piping in play. Pack Q is to fit the wings to the car, and includes relevant piping for between wing and body. Pack P (for carbon fibre) includes rivets and piping that goes between the wing protector and the wing.
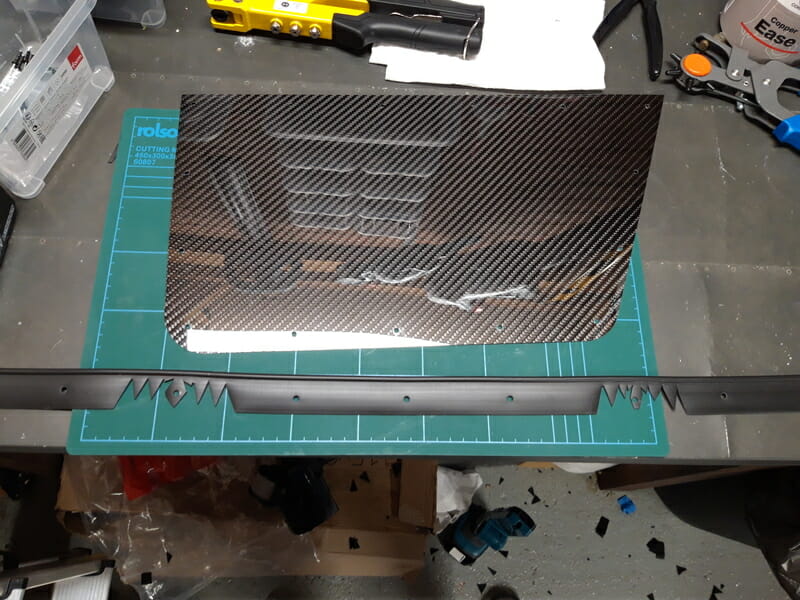
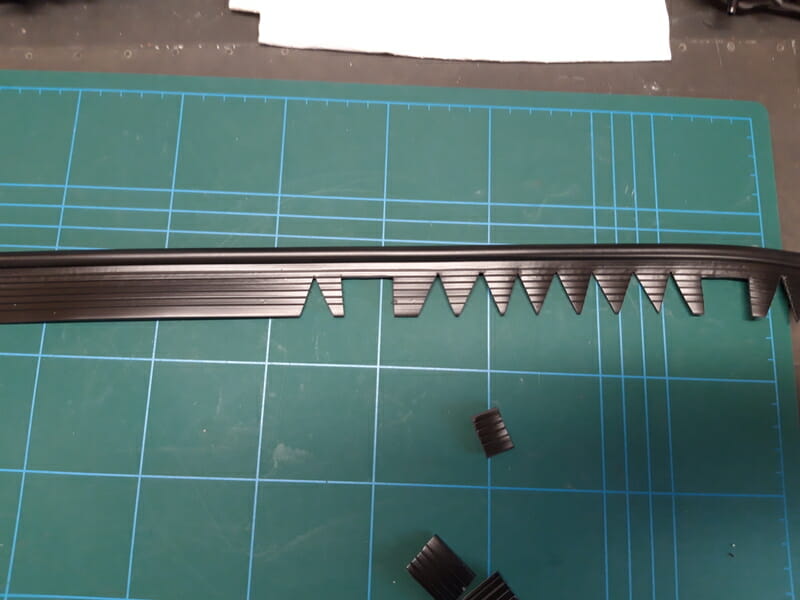
The next step is to break open pack P and prepare to fit the wing protectors to the wings. These protectors were squirreled away in a random box and simply wrapped in plastic. Cut the supplied piping in Pack P in half, and then leaving the wing itself to the side, fit to the bottom of the wing protector on your workbench. This involves cutting notches in the piping to allow it to round corners (as per the manual).
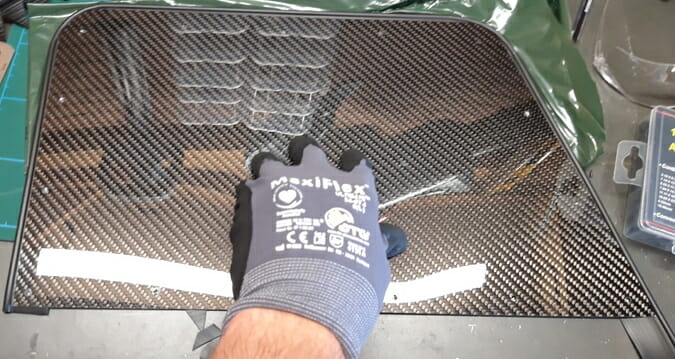
Once you have a nice fit under the wing protector, use something sharp (I just used a rivet for this) to mark the location of all the holes. Then remove the piping and punch all the holes out with the hole punch tool.
Now fit the wing protector to the wing, with piping underneath. To do this you can use a couple of clamps on one end, and plenty of masking tape at strategic points on all other sides. Note the orientation of the wing protectors – they are sided, just like the wings, so be certain you are applying the correct protector to the correct wing, on the correct side! The straightest edge of the wing protector goes at the top.
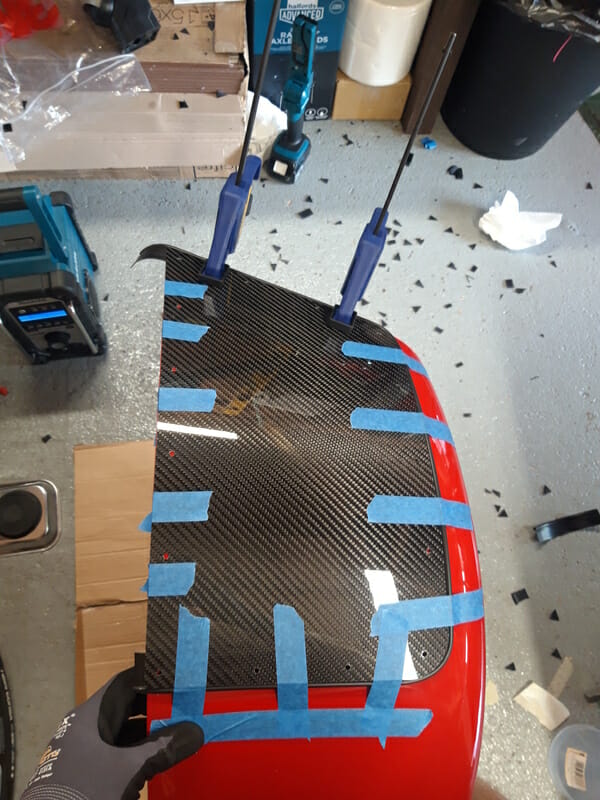
It is good at this point to have the piping underneath to ensure you position the protector correctly. Note a little bit hanging over the edges as well.
Now I moved outside for this and drilled a hole with 1/8 inch HSS drill bit. My starting point was the top edge (flat edge) on the inside of the wing. Then fitted the rivet.
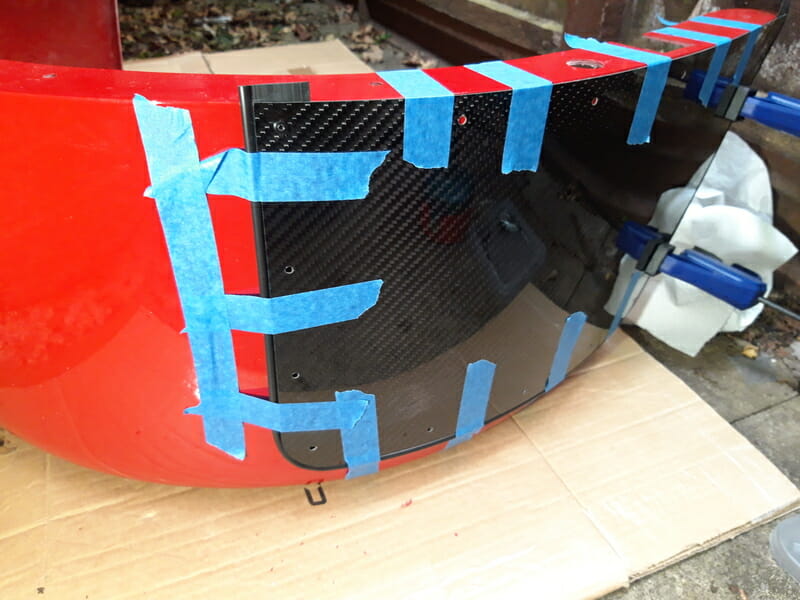
Then proceed to drill a hole, and fit a rivet. Then drill another hole and fit a rivet. I started at top inside and worked my way all down the inside edge. I then worked across top, then down outside, then along bottom from inside to outside.
Your wing protector should now be attached nicely to the wing – trim any excess piping off.
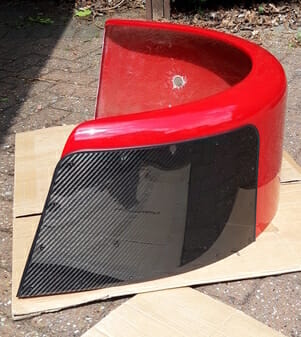
Now it is time to attach the rear wing to the car itself.
From pack Q, cut the supplied piping in half – dont try to guess correct length at this point, or youll have to buy another length of piping (like I did!). Run the piping along the inside edge of the wing while it is resting on the floor, marking where you need to cut to make space for the bolts. Once this is done, cut small triangles all along the rest of the piping to allow the piping to bend around nicely.
Now put the prepared piping to one side and offer the wing up to the car. The front most 5 bolts are screwed in to pre fitted rivnuts in the car, with a large washer. The rear most five bolts start from inside the car, with a washer and nut on outside of car. Access can be a little tricky on the rear most bolts. Easiest way to do this is offer wing up to the car and put the top/highest two bolts in place – the front bolt going in to the car, the rear bolt coming out of the car. Do not fully tighten these, fingers only, you just enough to support the wing which is very light. Then add all other bolts – again do not do any up tight and take care not to cross thread. This is to check whether any holes need modifying – I did not need to modify any holes in the wing for this, I found just by flexing wing I could get all bolts in place.
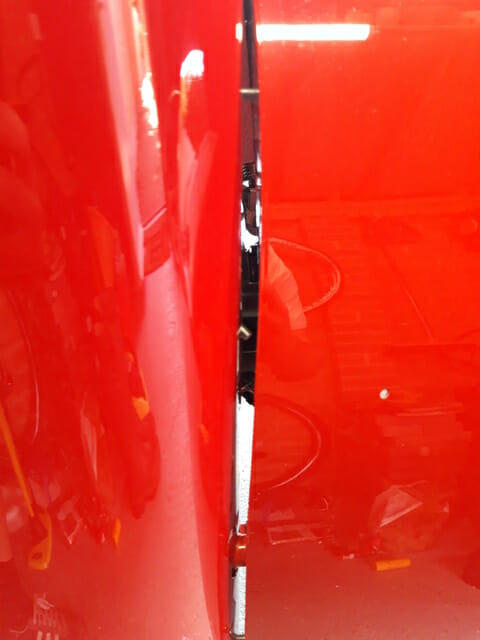
Now get the piping you prepared and put it into place. Slowly tighten up, making sure the piping doesn´t slip into the gap between the car body and the wing. Once the bolts were fairly tight and everything was looking good I again took a leaf out of the 420 detailed build blog and put some copperslip on the front five bolts (which screw into the rivnuts in the car) to make any later removal easier. Then give everything a final tighten and your wing is fitted – trim any excess piping at this point for a nice clean finish.
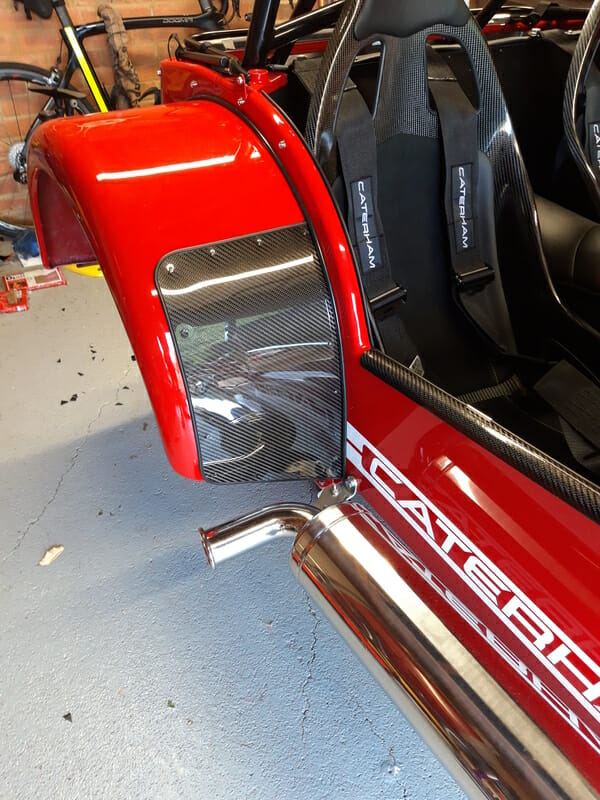
And repeat for the other side (second time is always easier!)